Magnetstreifen auf EC-Karten enthalten Daten. Das ist klar. Doch wie funktioniert das?
Mit einem Eisennagel, einer Feile und etwas Geduld kann man den Code “knacken”:
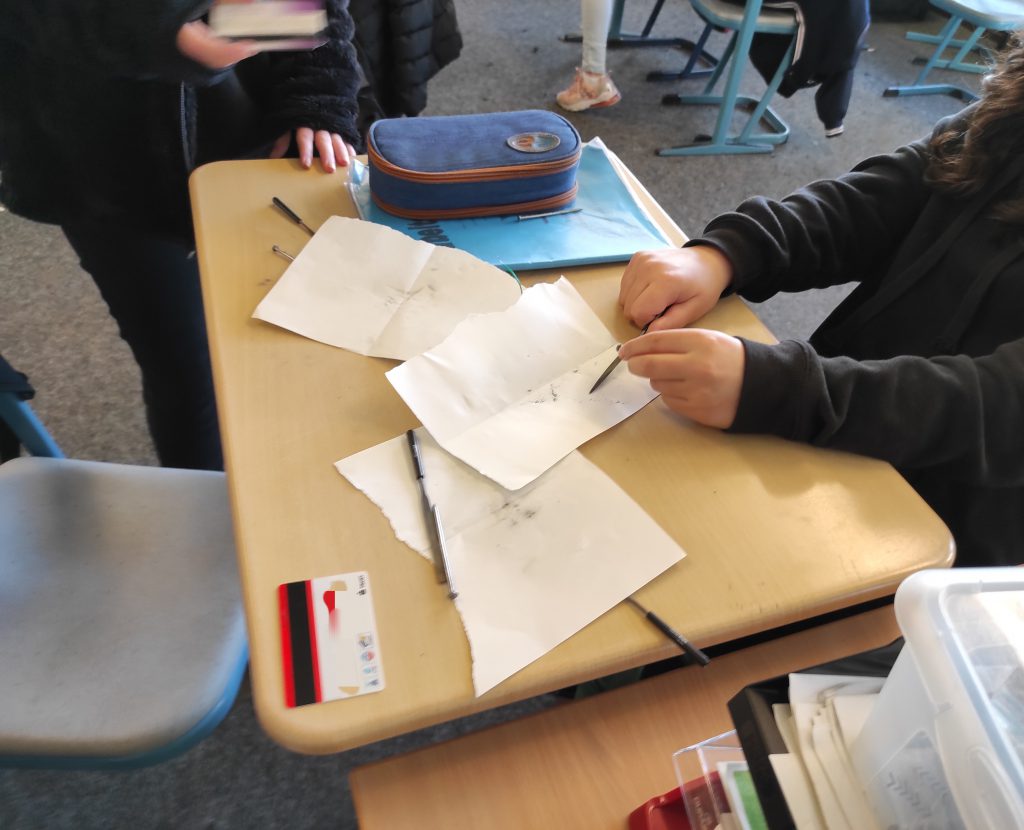
Eisenpulver wird abgefeilt, und auf einem gefalteten Blatt Papier gesammelt.
Wenn man dann das Eisenpulver vorsichtig auf dem Magnetsteifen kippt (und durch sanftes antippen oder klopfen verteilt), wird ein Muster sichtbar:
Eisenpulver bleibt an den magnetisierten Bereichen des Magnetstreifen hängen.
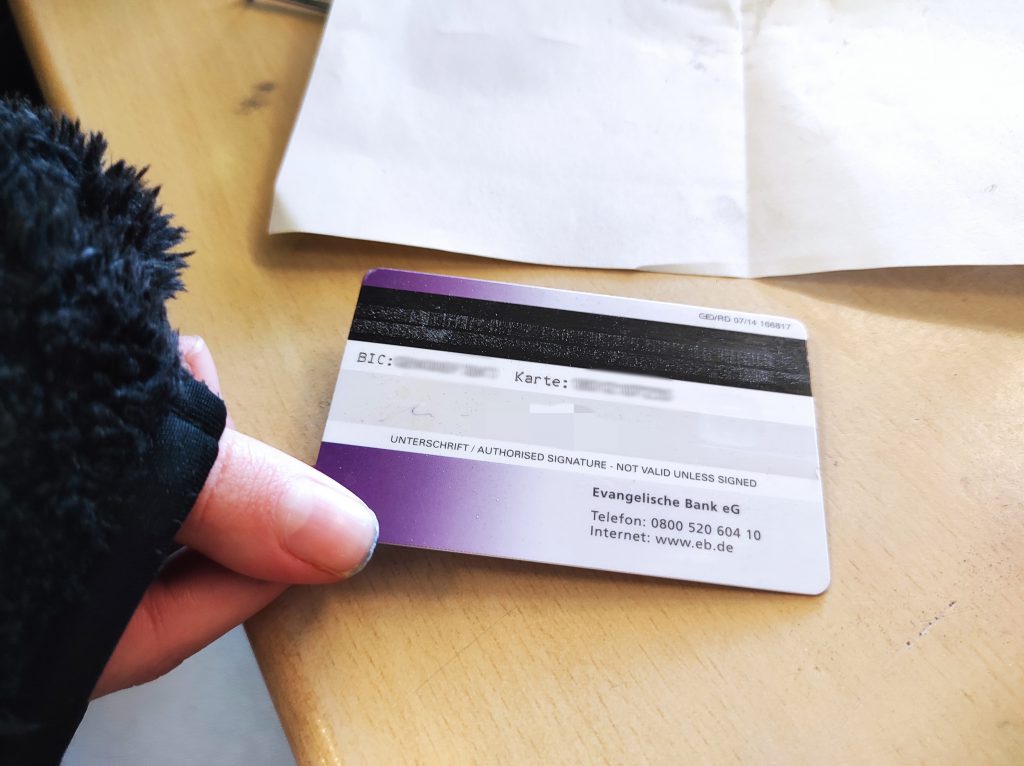
Auf dem Magnetstreifen ist nun ein “Barcode” zu sehen, wie man ihn von Verpackungen aus dem Supermarkt kennt. Verschiedene Streifen-Codes stehen für Nummern oder Zahlen.
So kann man beispielsweise Kontonummer oder Bankname speichern.
Leider wird der Kontostand nicht auf der Karte gespeichert. Sonst hätten wir noch ein paar Streifen hinzugefügt!
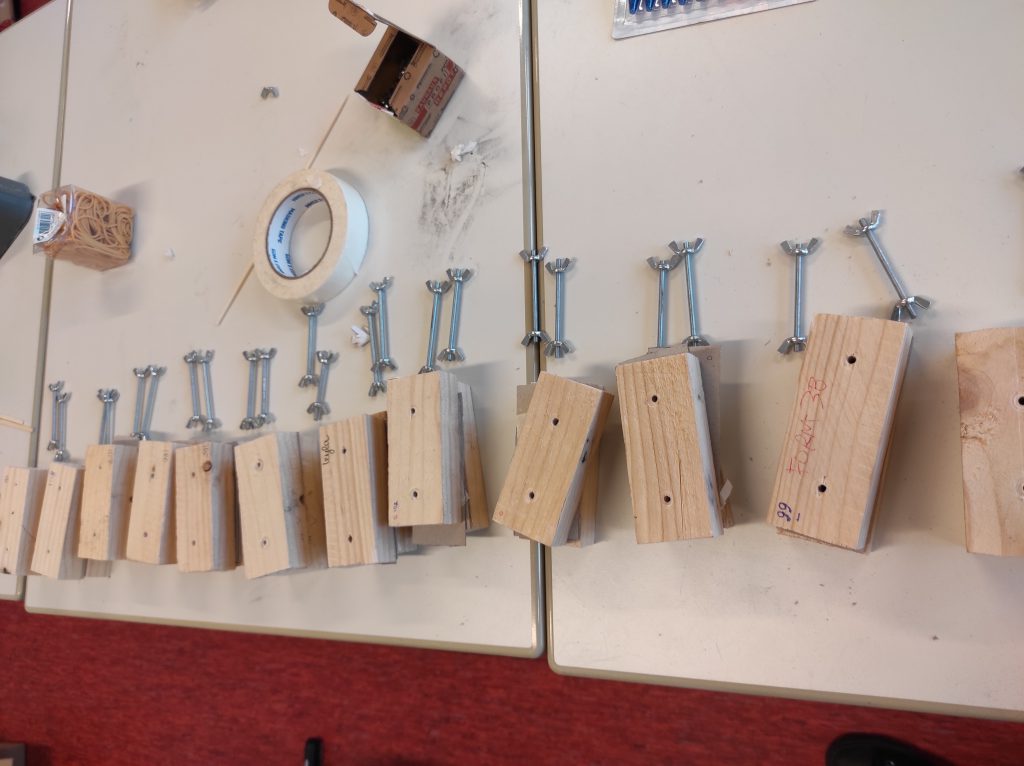
Genau senkrecht bohren ist nicht so einfach, vor Allem wenn man zuverlässig viele parallele Löcher benötigt.
Münzgussformen: Holzstücke mit Löchern
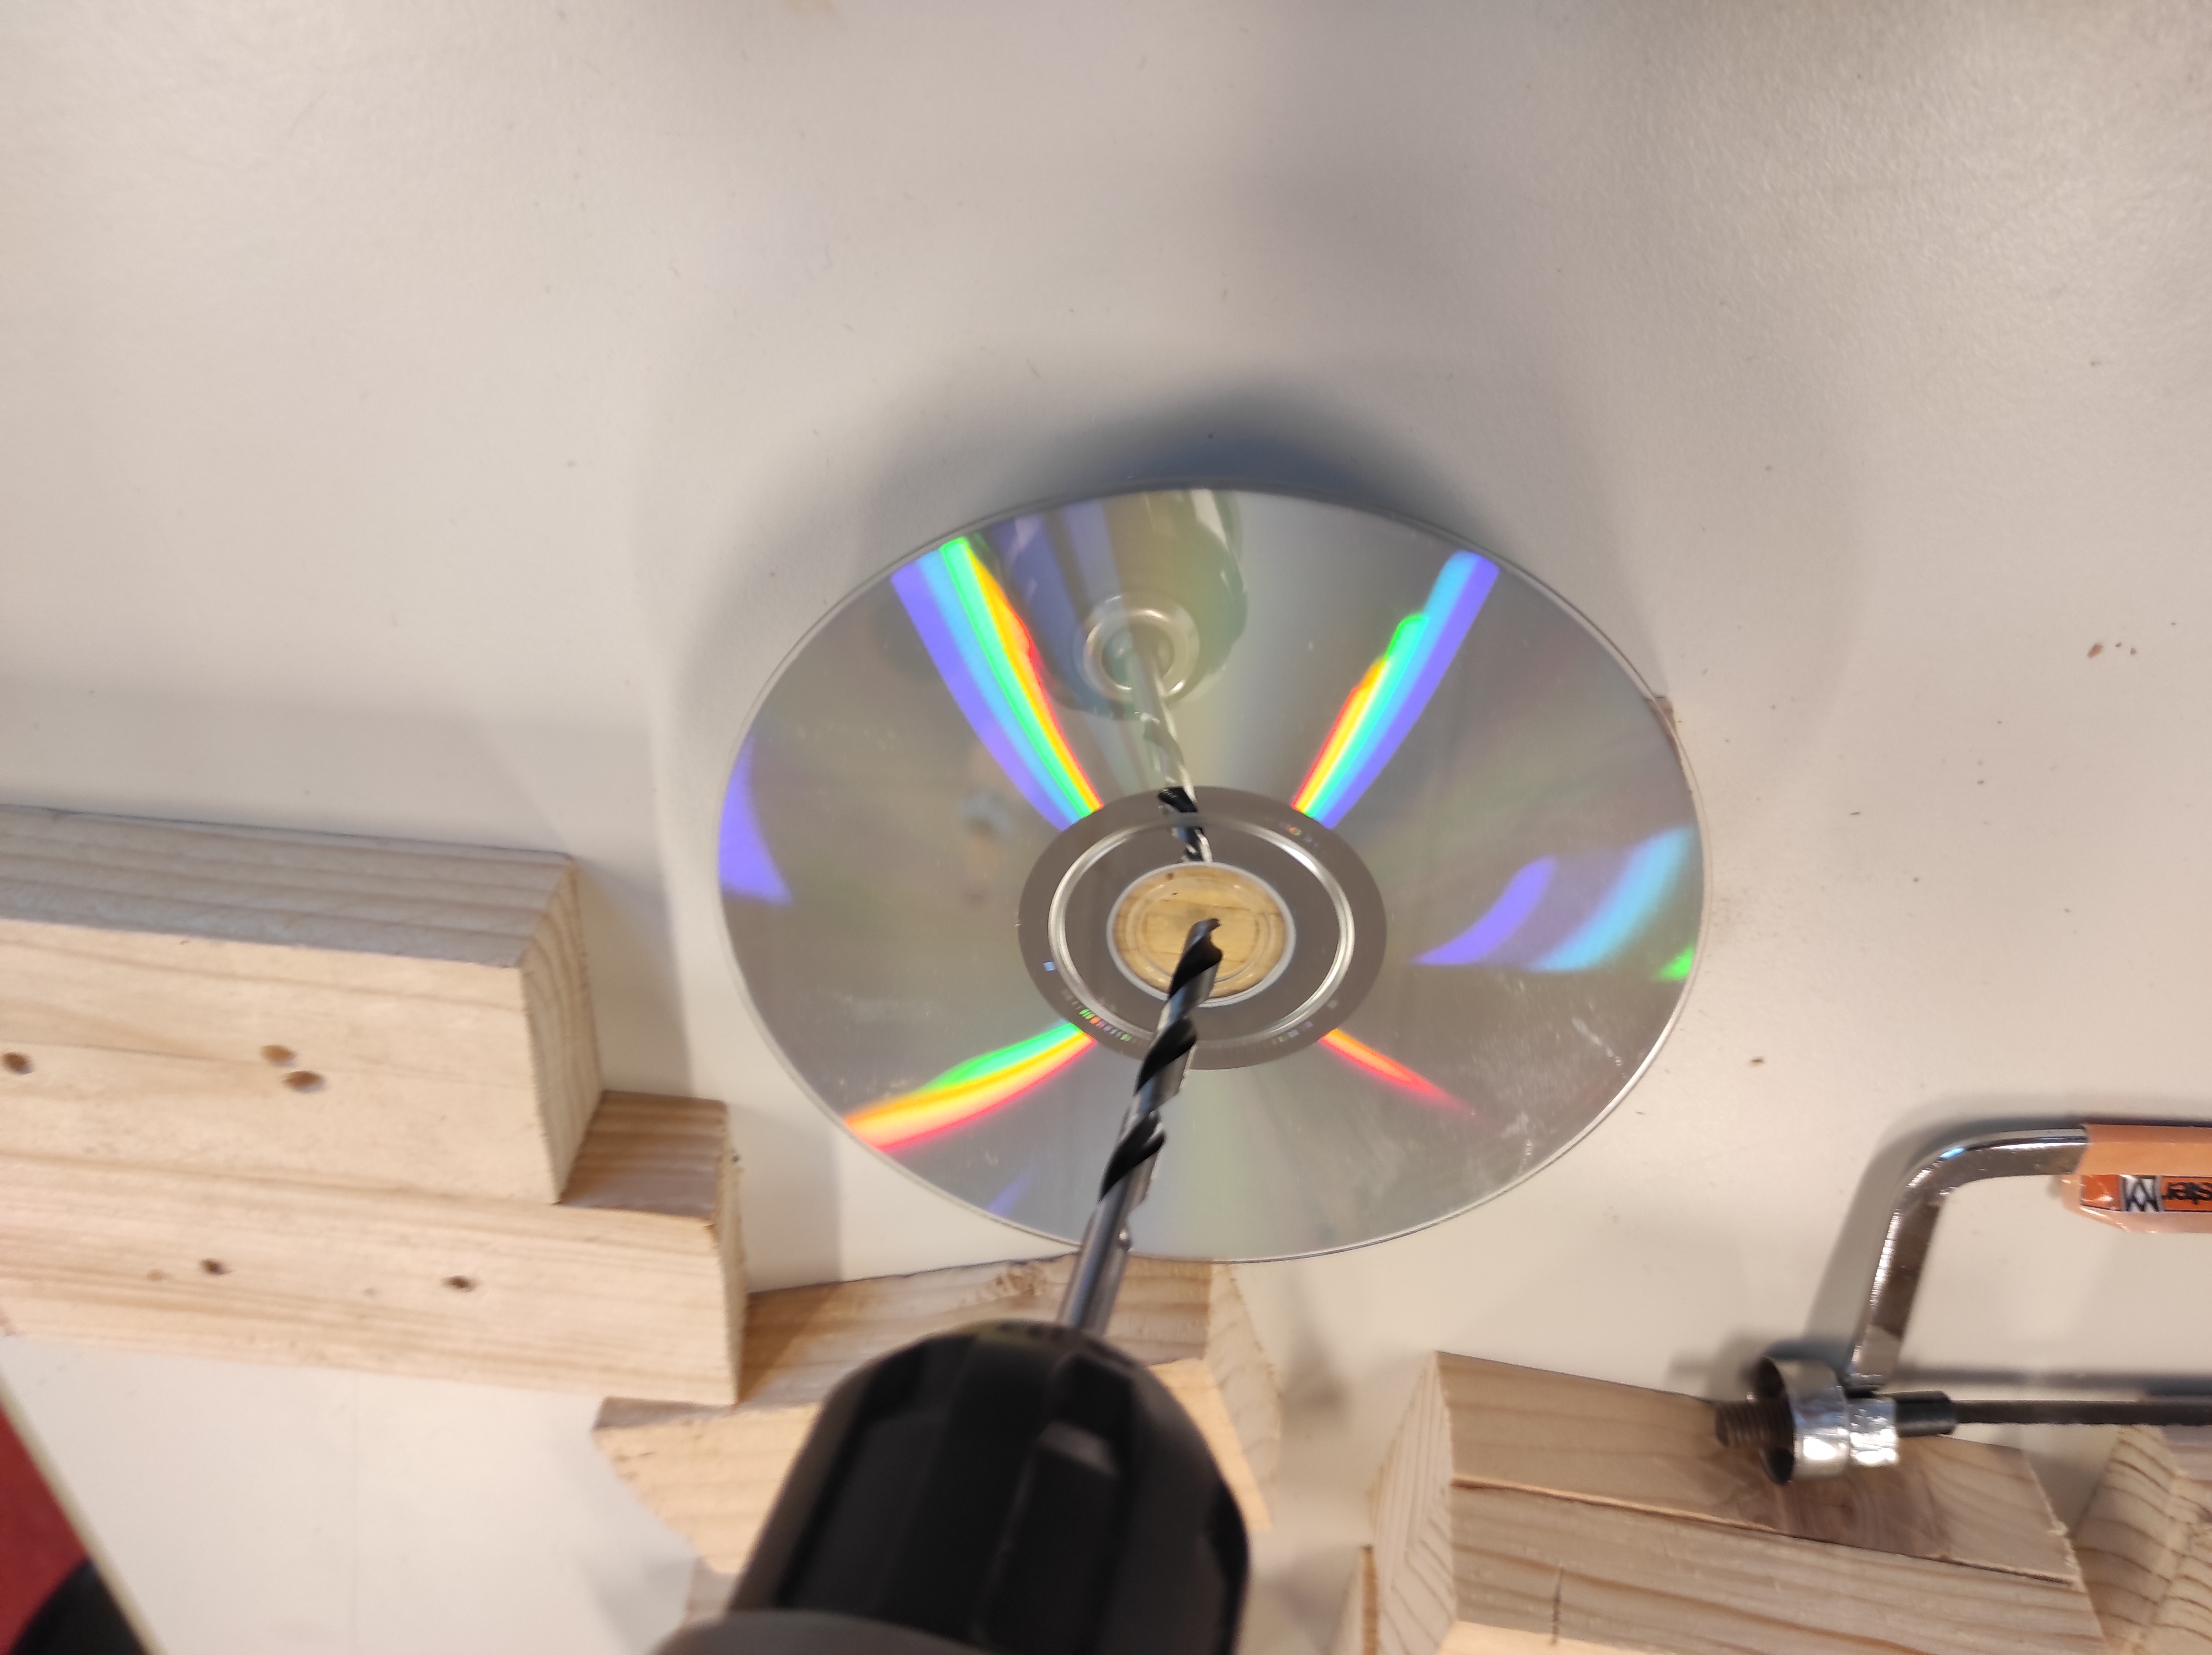
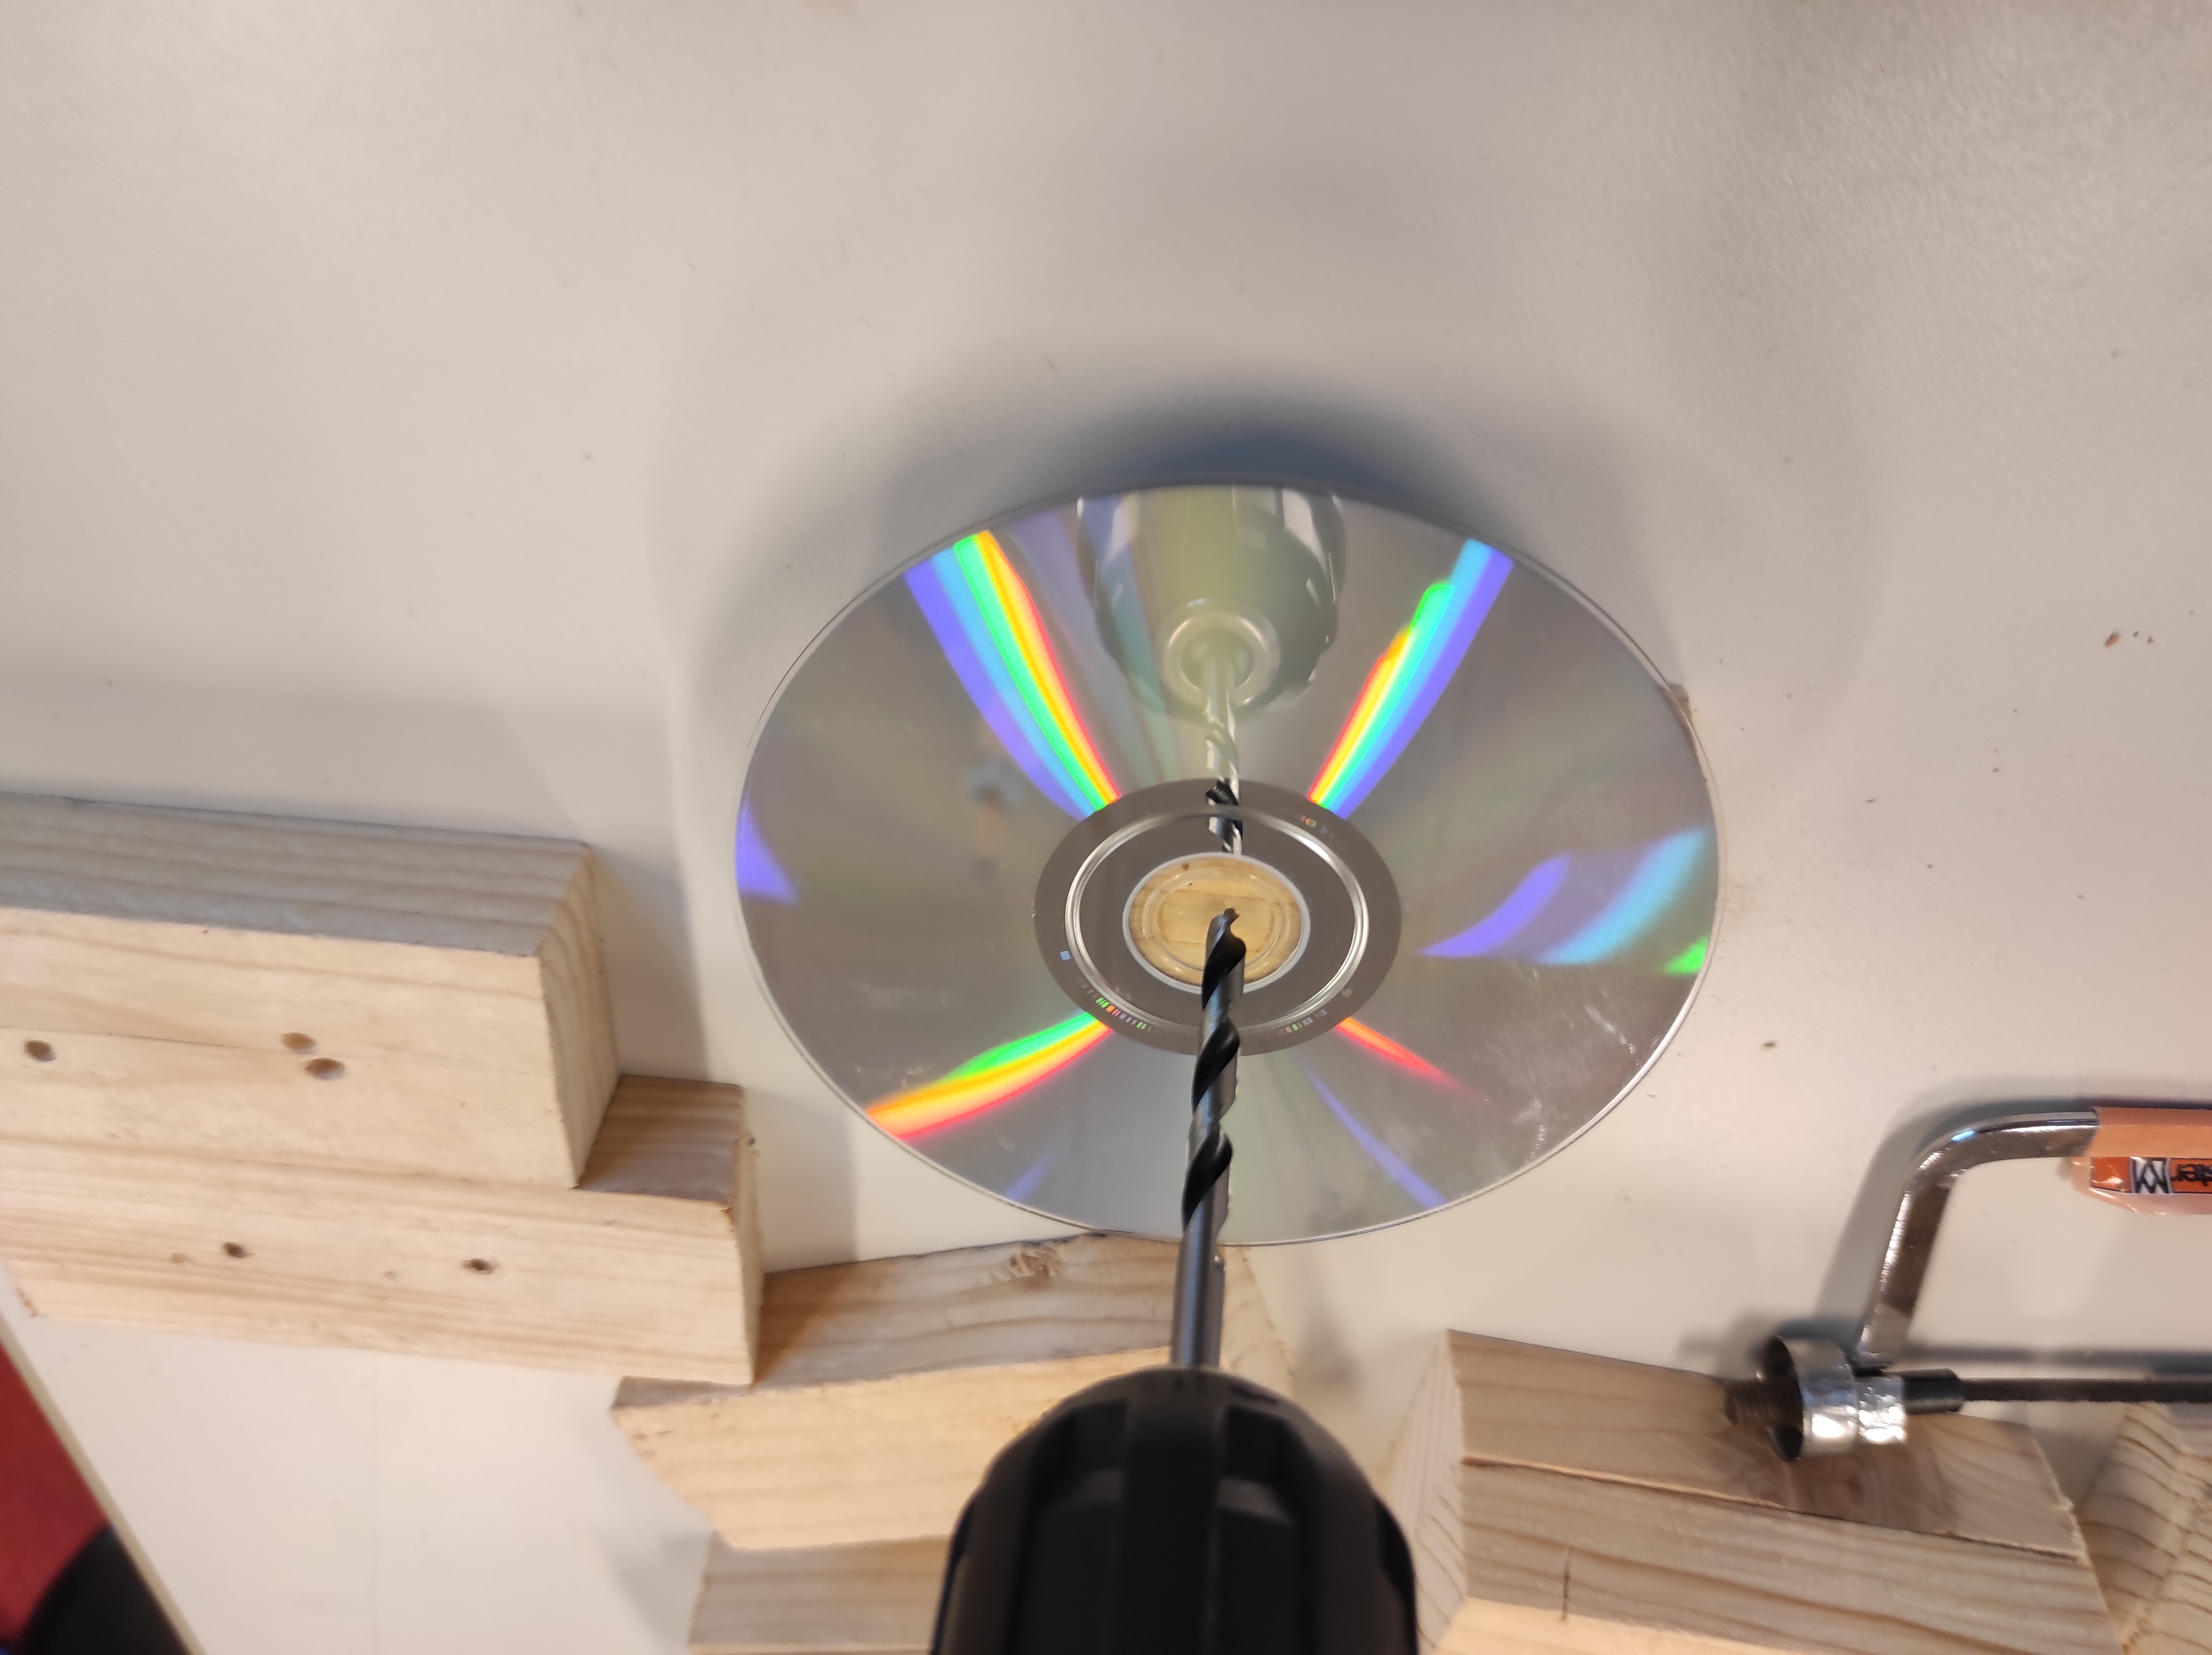
Die Reflektion des Bohrers in einer CD oder DVD kann helfen, den Bohrer gerade zu halten. Es ist einfach zu erkennen, ob die Reflektion gerade zur Bohrmaschine läuft:
Die Reflektion der Bohrmaschine in der CD oder DVD hilft beim gerade Bohren.
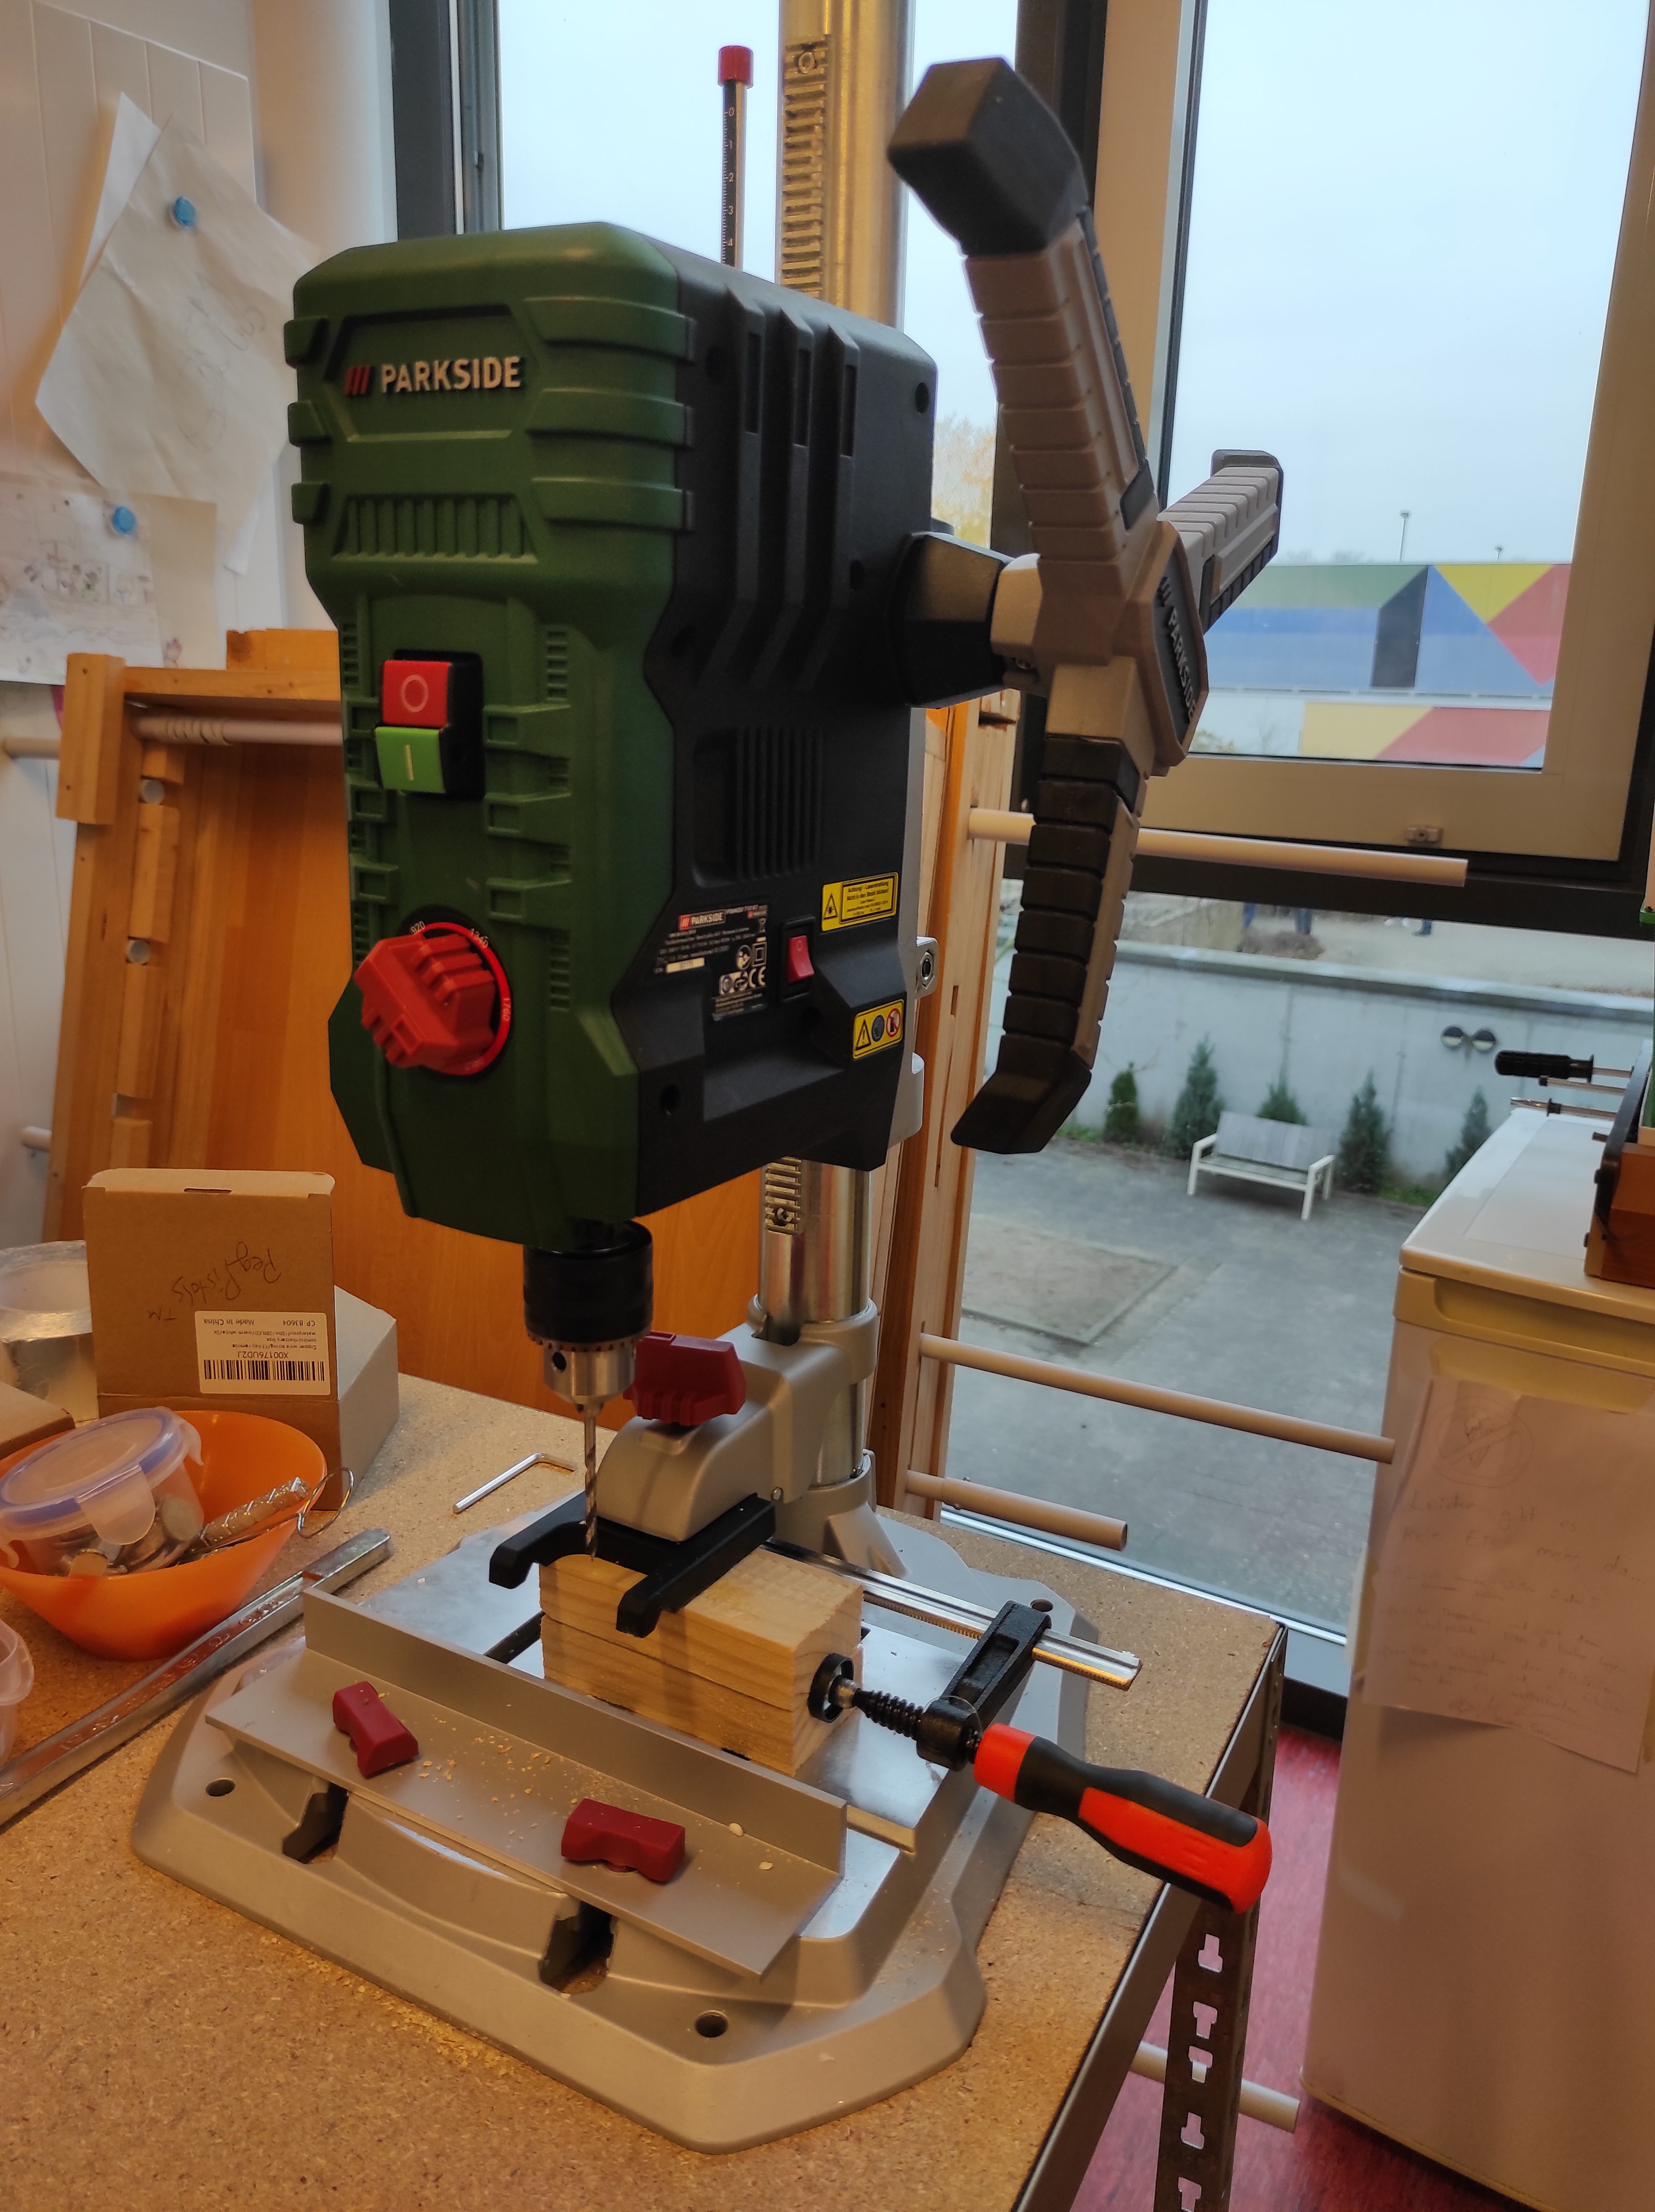
Doch vor Allem bei vielen Bohrungen ist es schwierig jedes mal perfekt zu bohren, und kostet Zeit. Dafür gibt es günstige Tischbohrer bzw. Säulenbohrmaschinen. Beispielsweise gibt es für 50-60€ Mini-Tischbohrmaschinen für kleine Arbeiten (150-350 Watt).
Für anspruchsvollere Arbeiten gibt es Tischbohrmaschinen ab ca. 100€ im Baumarkt. Über Retoura oder eBay kann man günstig z.B. Parkside (Lidl) 700-800w Tischbohrmaschinen erwerben. Diese sind bei weitem nicht perfekt, doch für gelegentliche Bastelprojekte mehr als ausreichend.
Senkbohrmaschine/Tischbohrmaschine für ca. 70€.
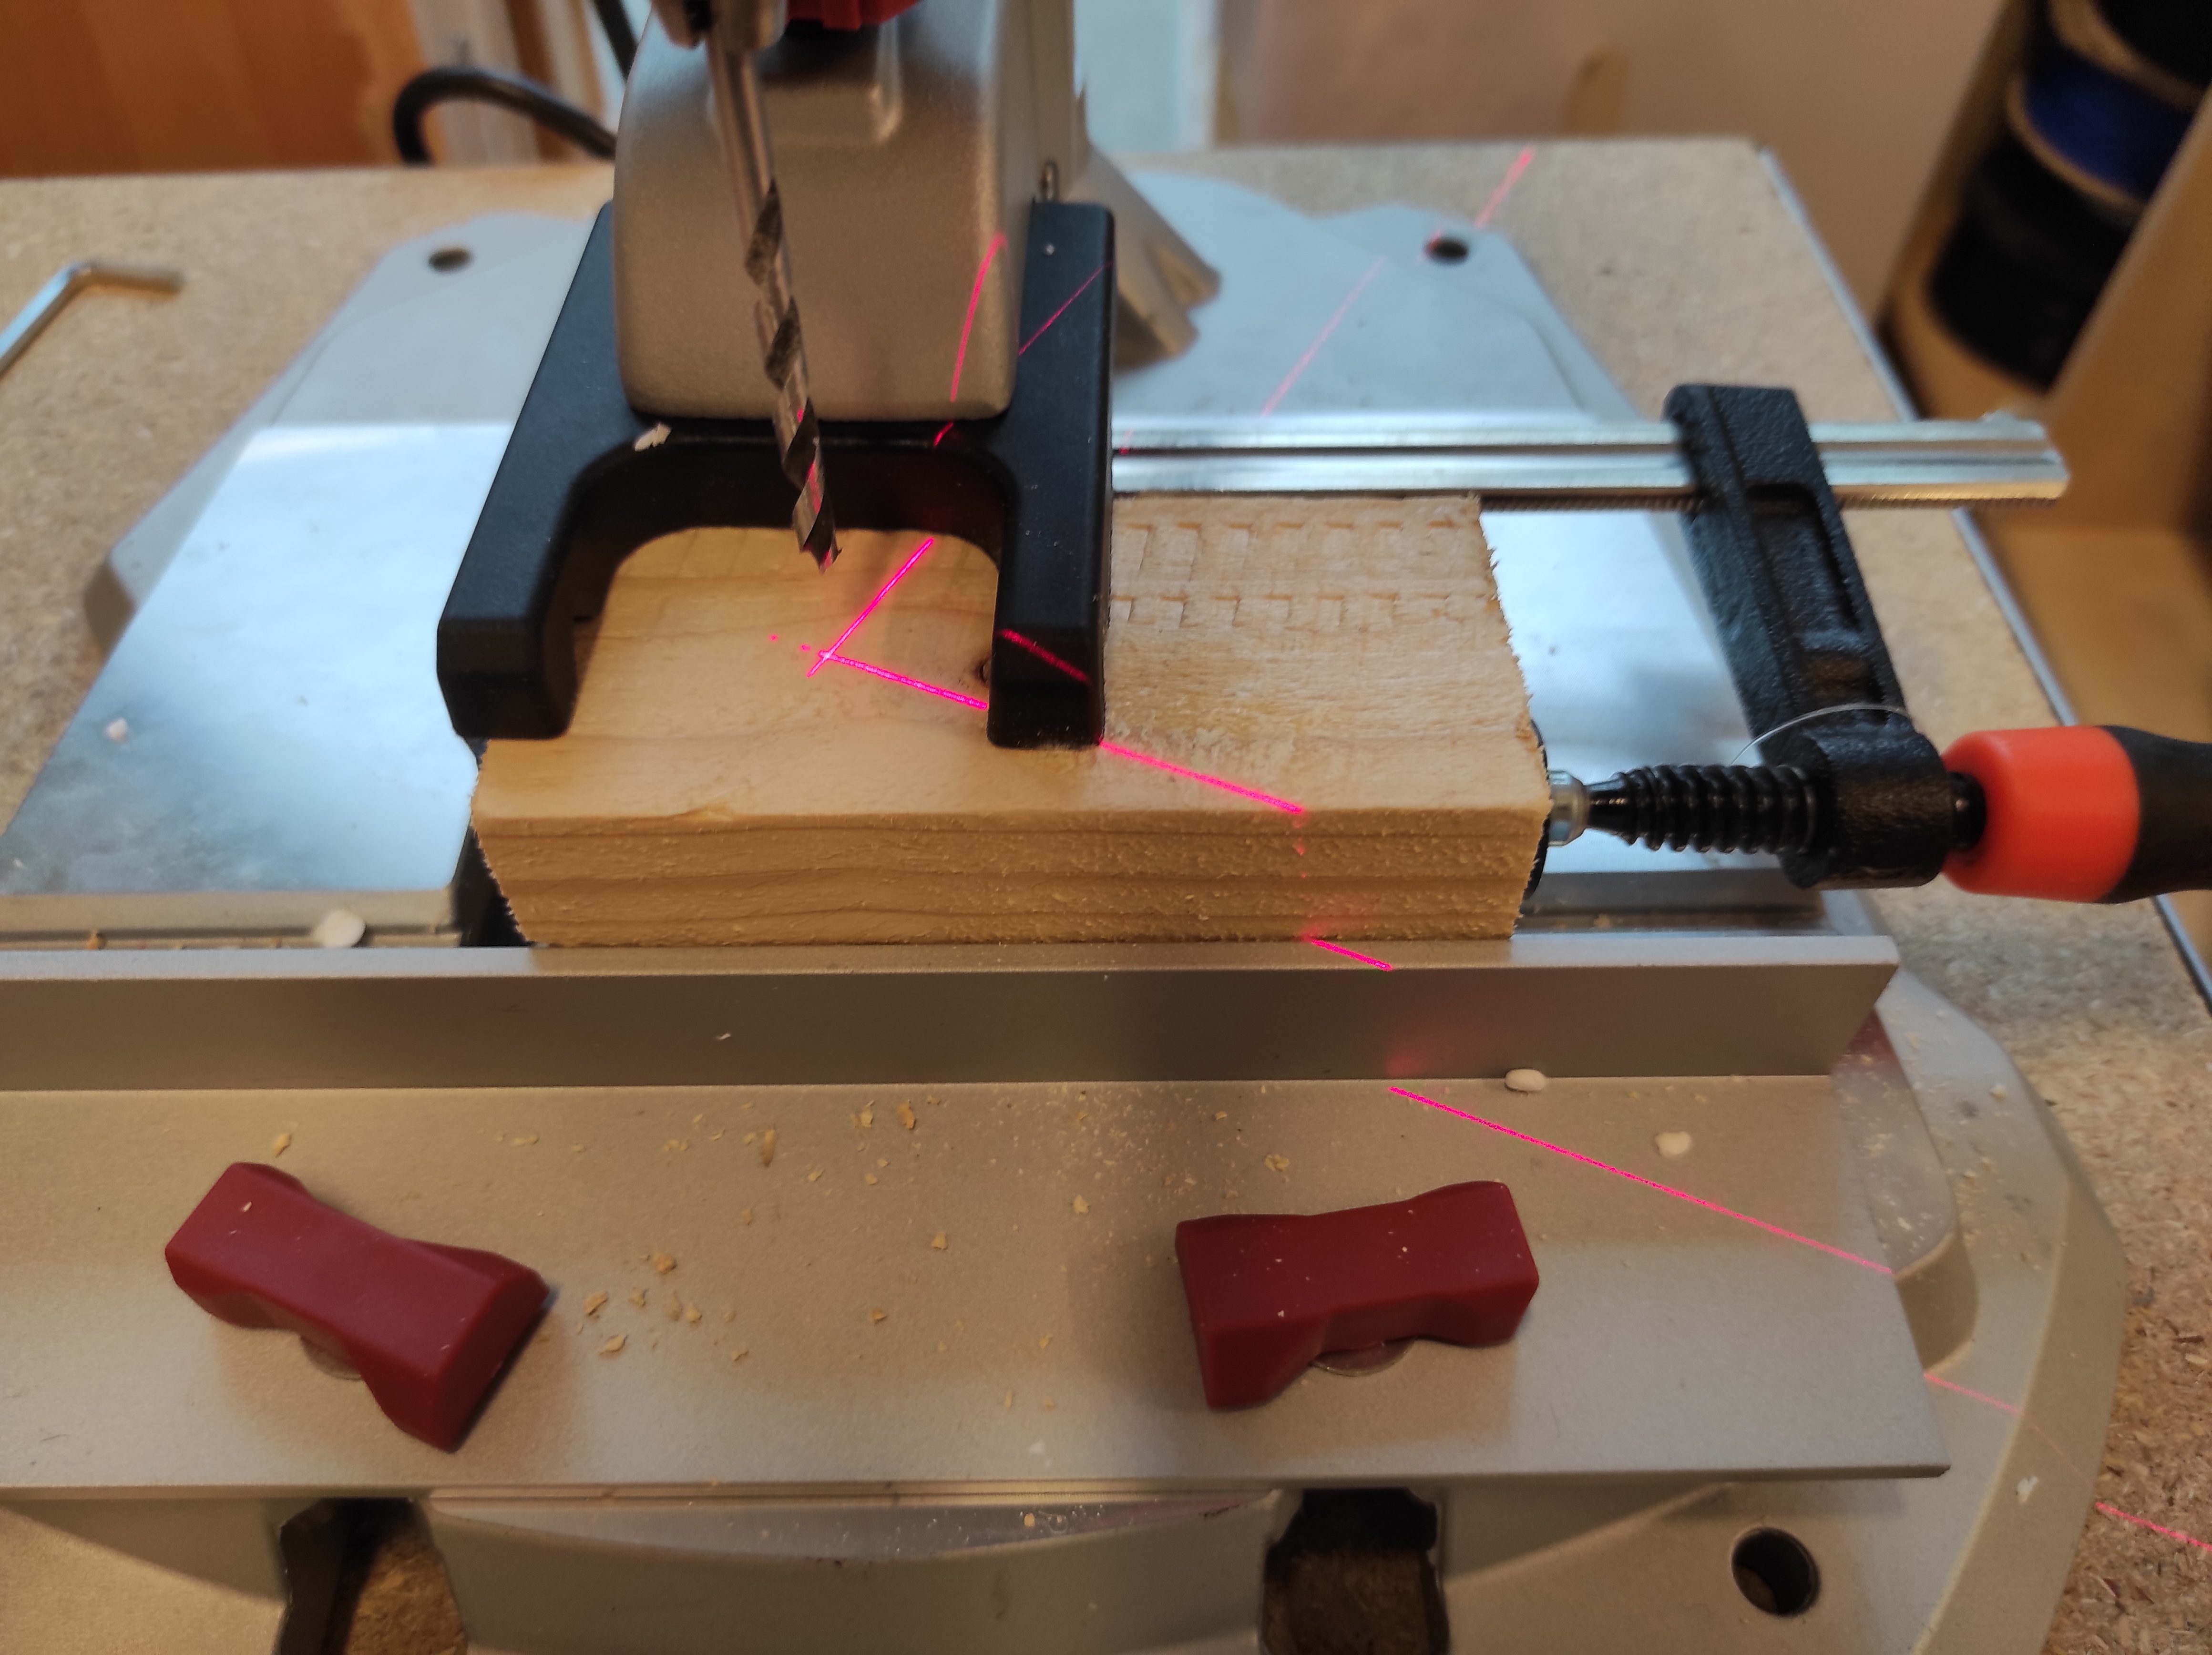
Laser!
Die günstigen Bohrmaschinenaufsätze (15-40€) taugen in der Regel leider nicht mal für gelegentliche Nutzung. Alternativ kann man auch zwei Kanthölzer zu einem 90° Winkel der Länge nach zusammenschrauben, um eine Art Führung herzustellen. Diese nutzt sich aber durch den Bohrer relativ schnell ab.
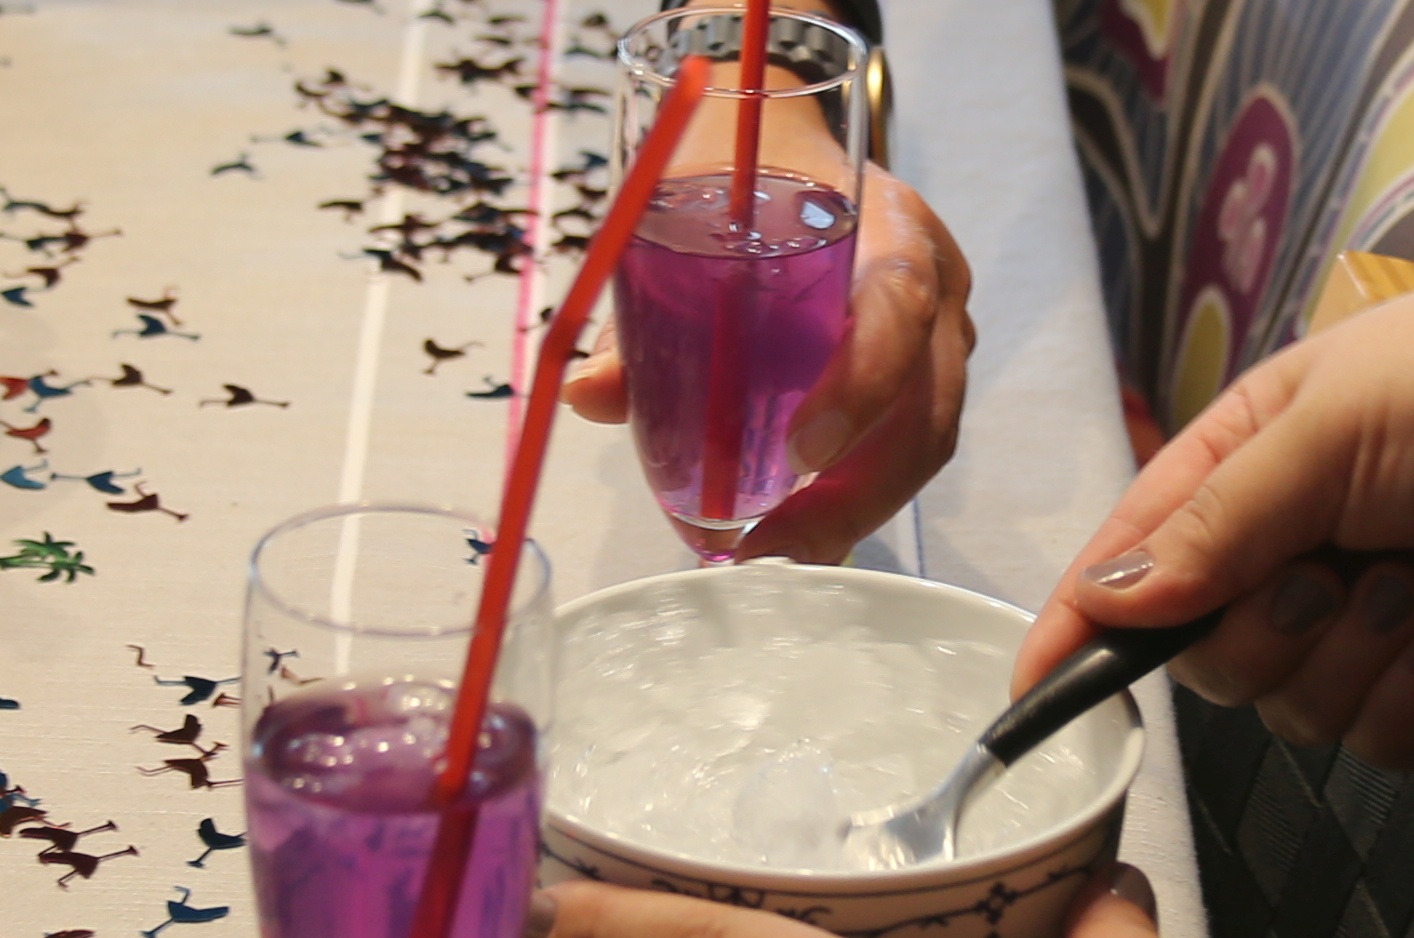
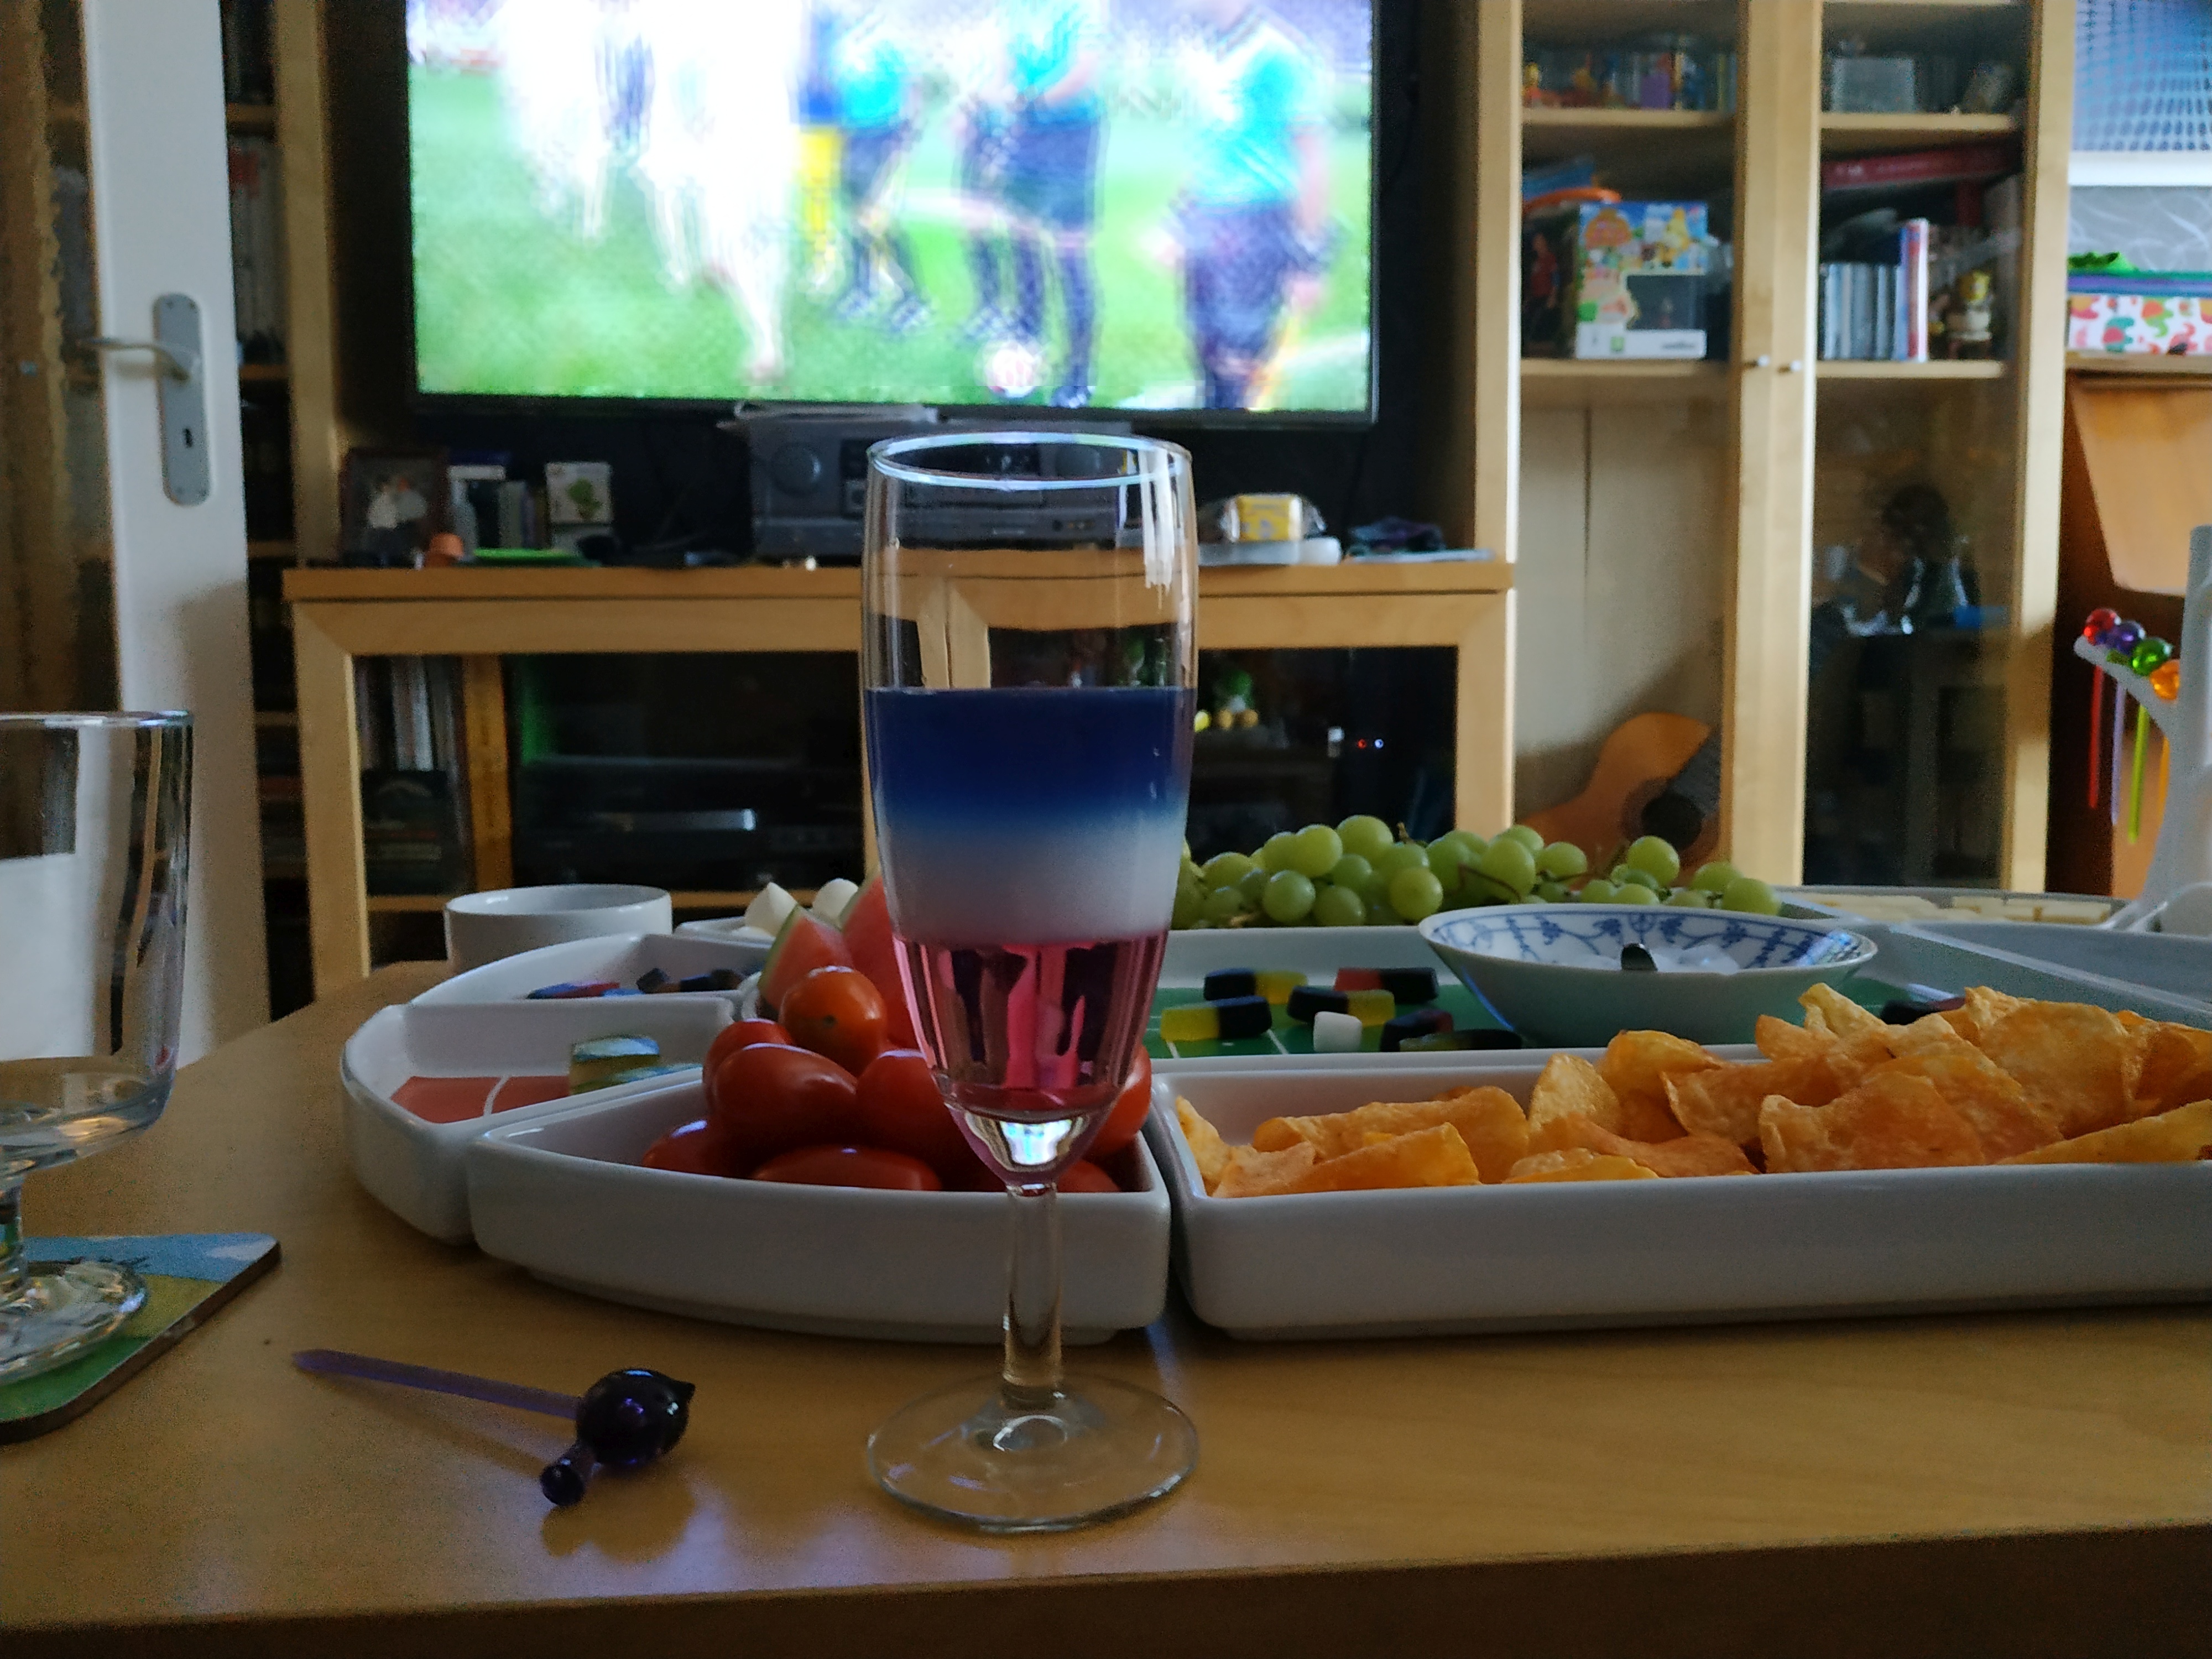
Color changing cocktail – Baltic Sunset! Final mix 🙂
Fill the glass with sand, add a piece of sky, and that’s it!
Kidding.
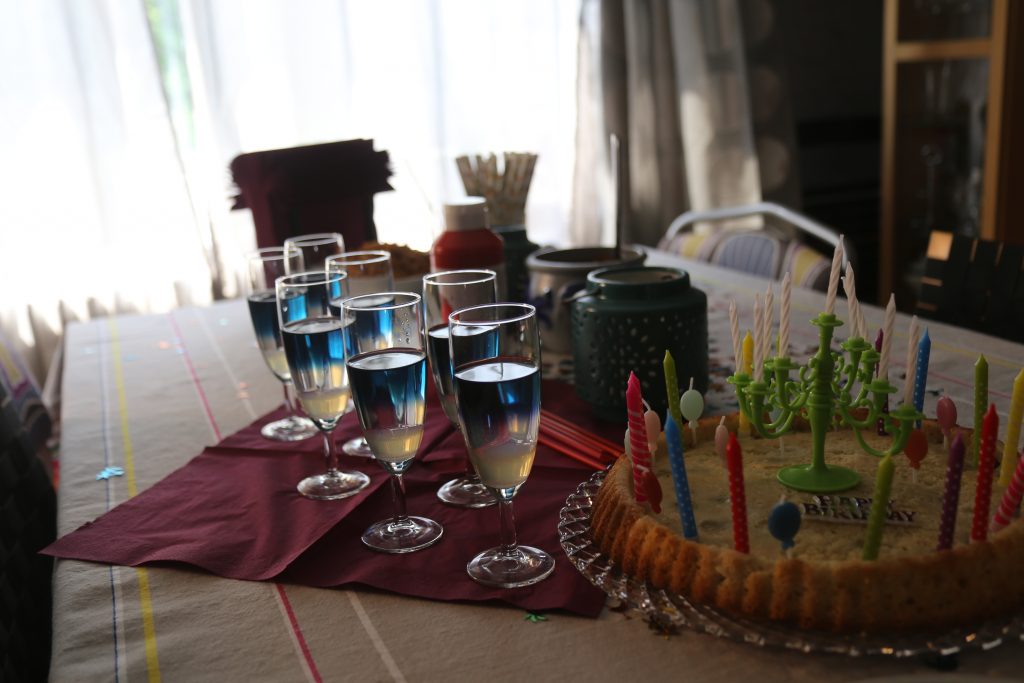
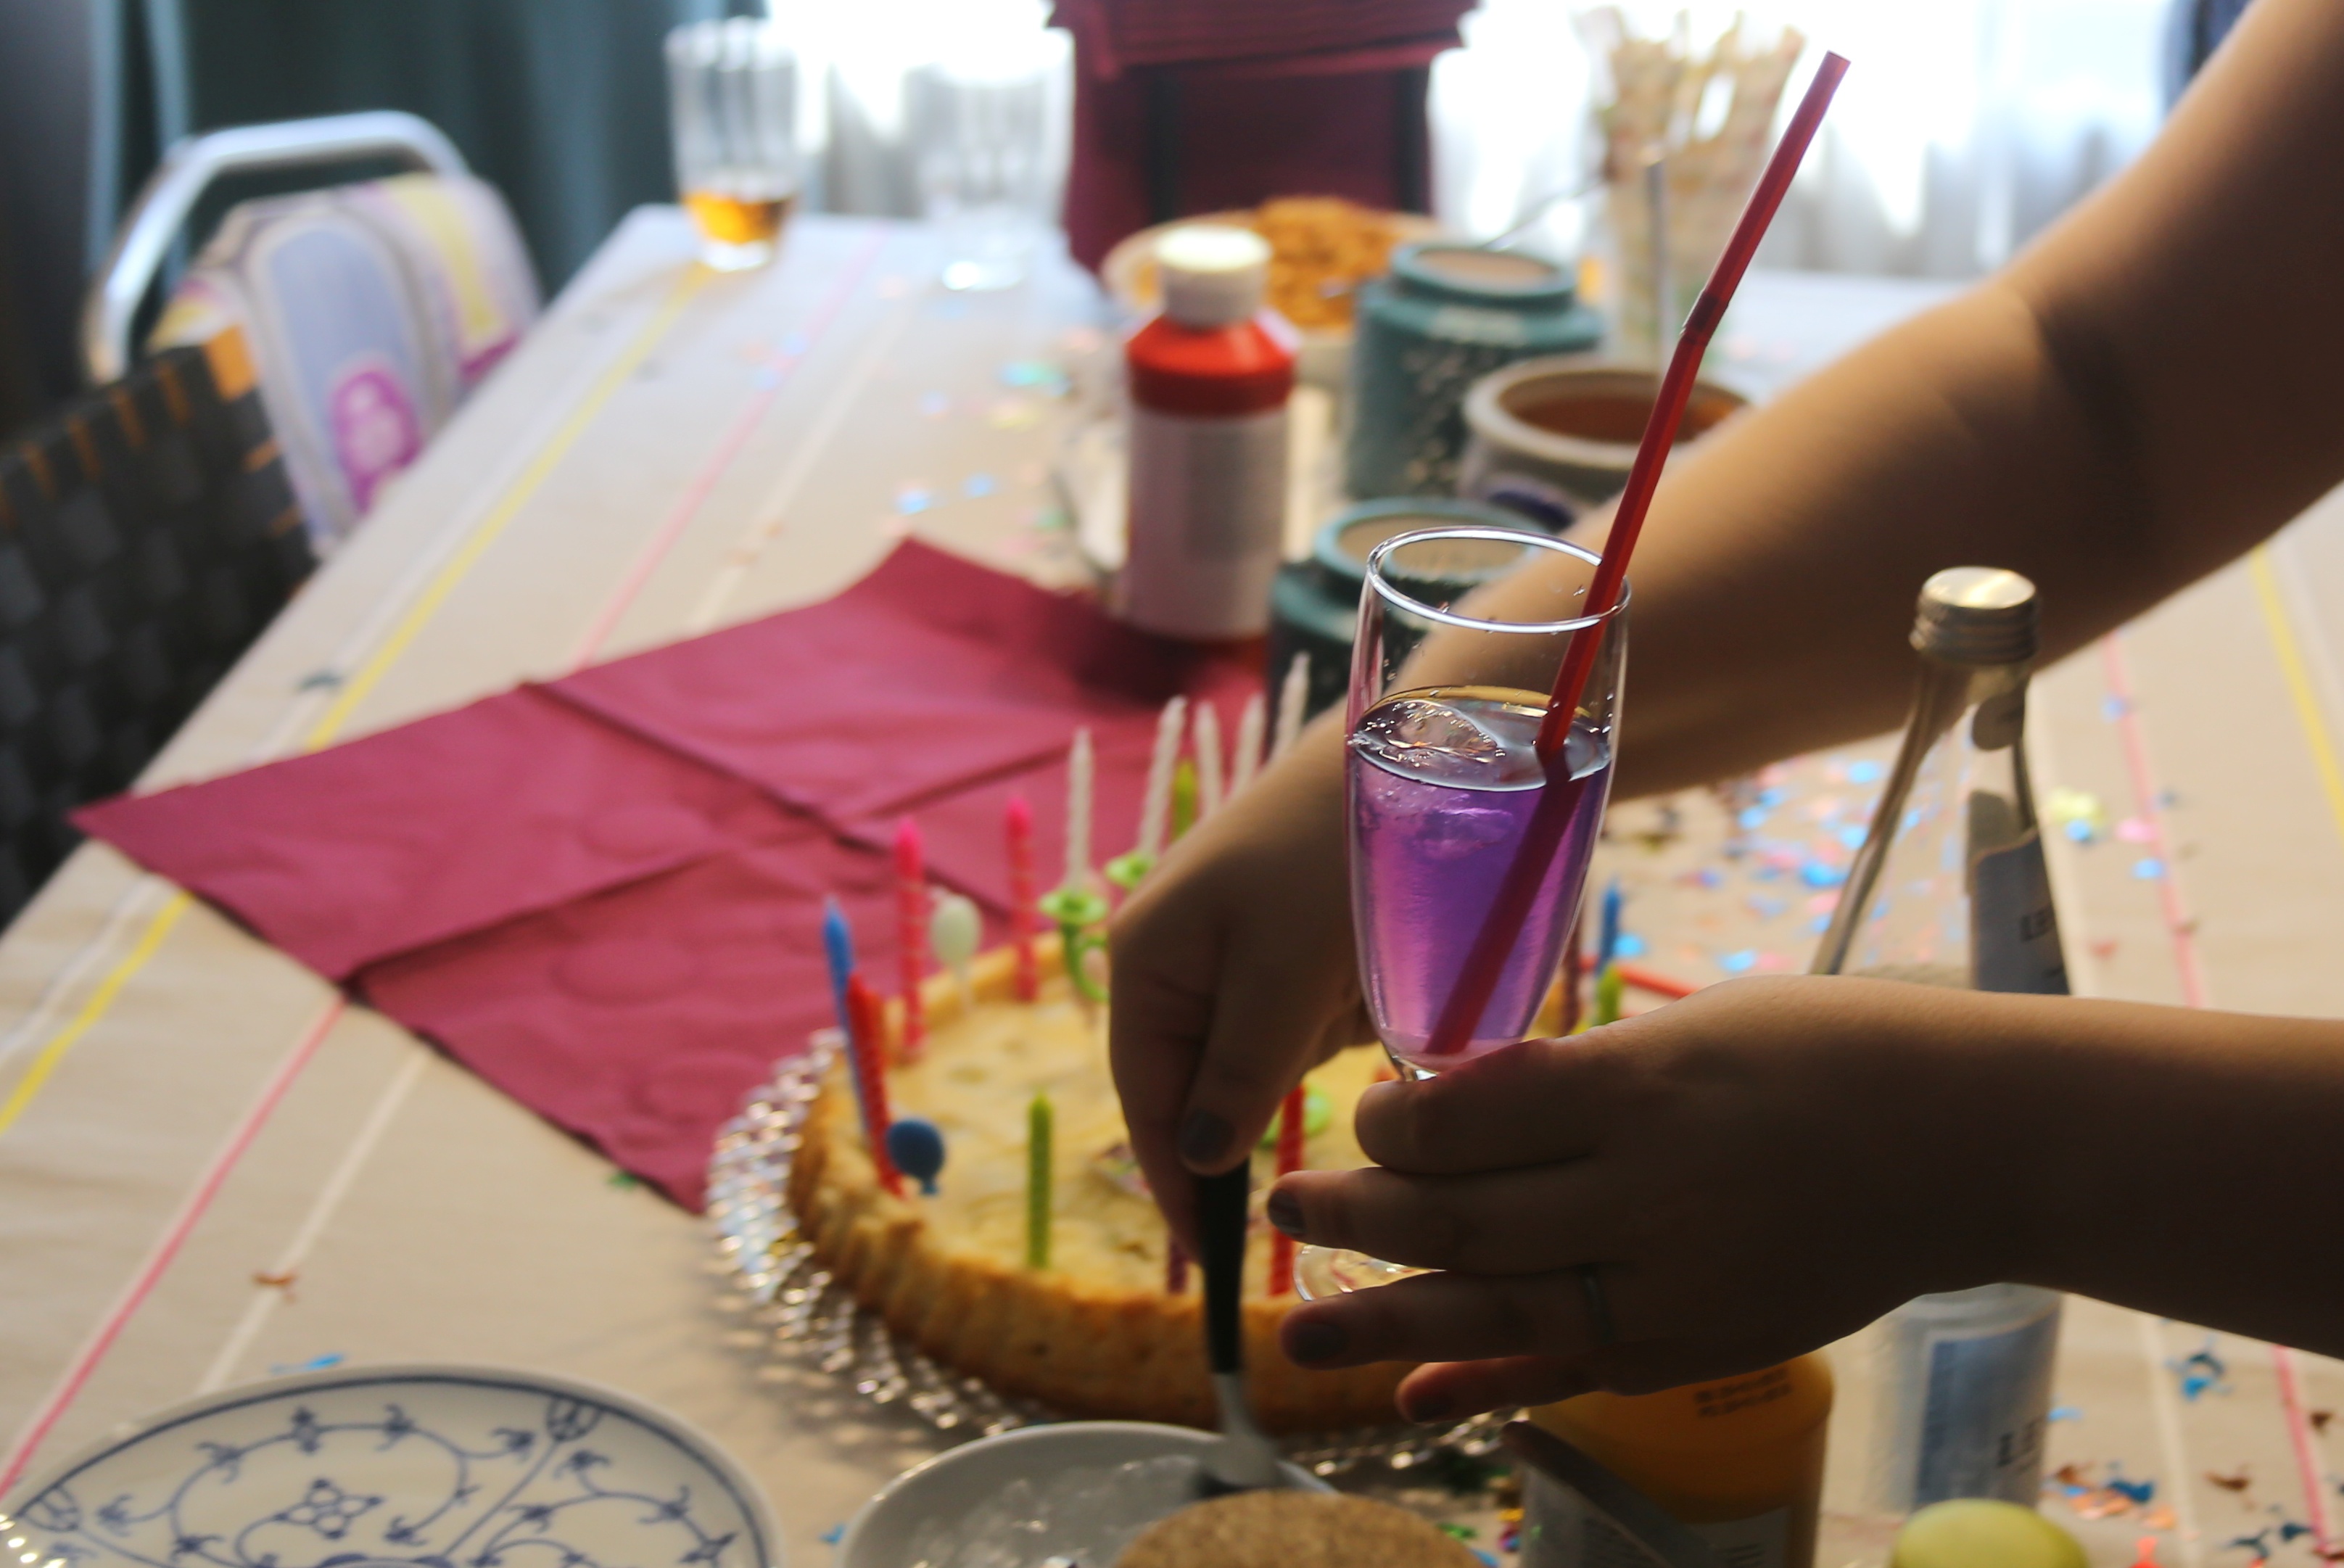
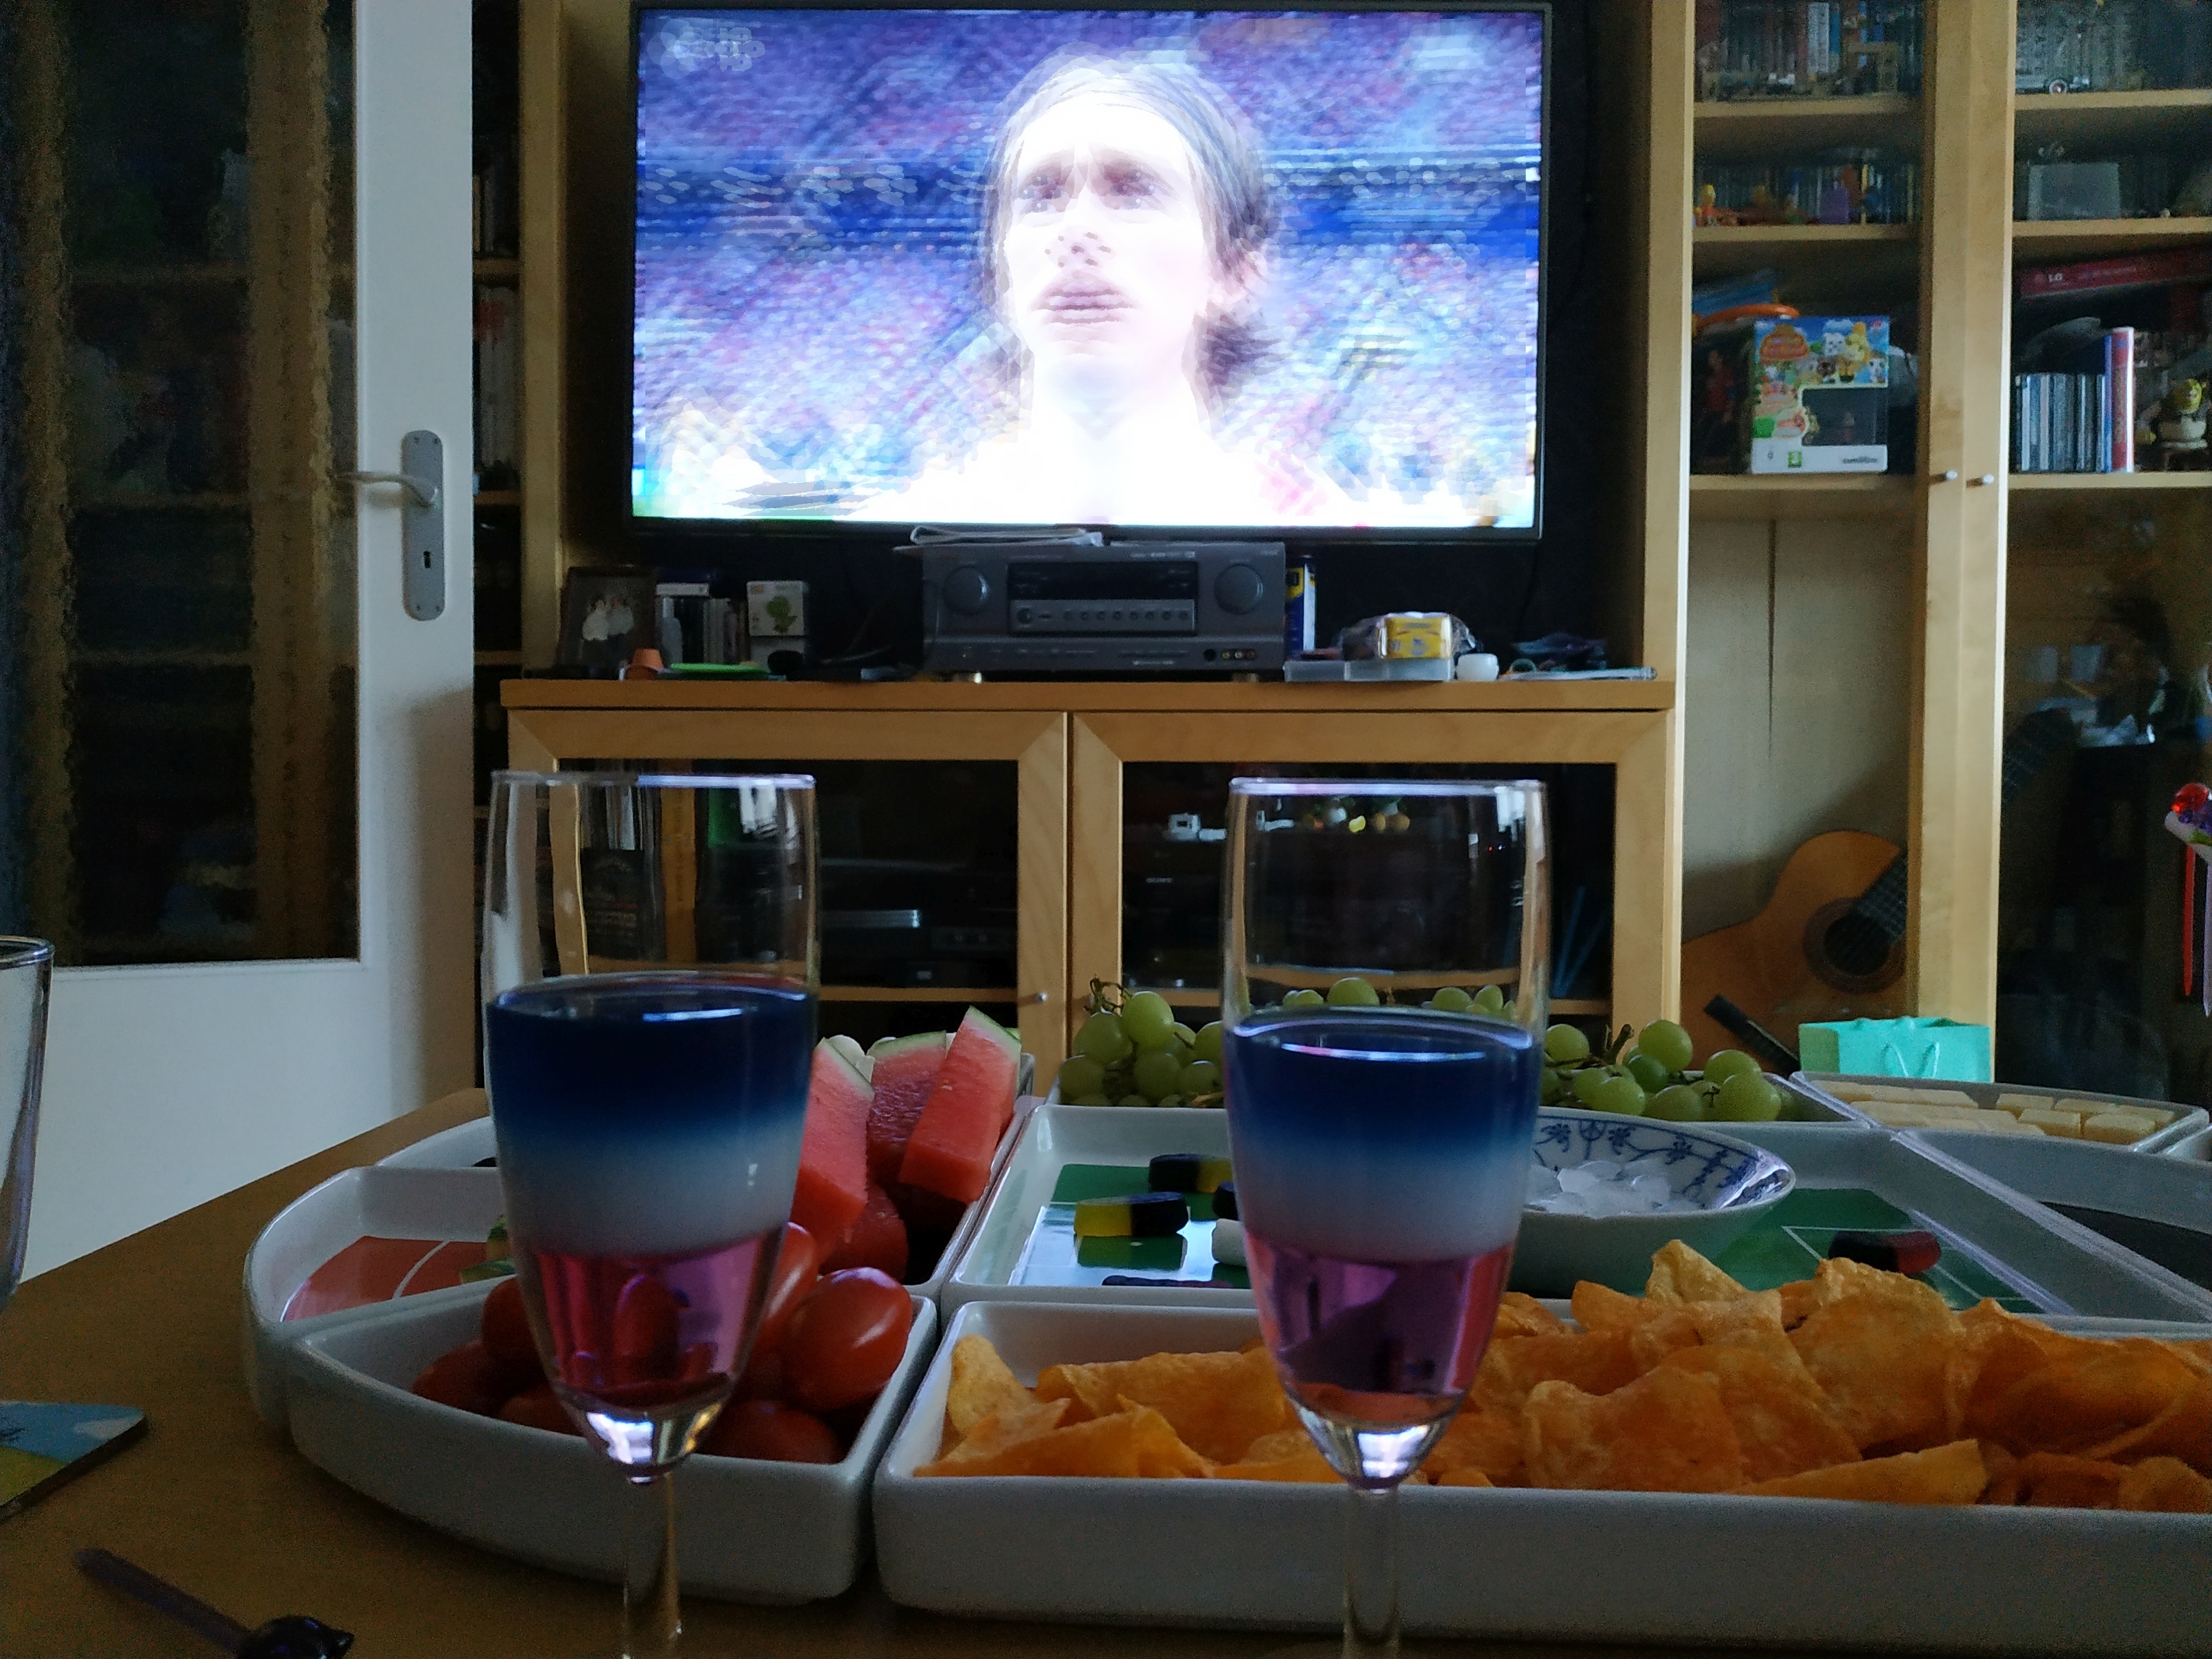
This is the color changing cocktail (non-alcoholic), as we served it during the birthday party.
It’s made with
– one part (~10ml) of elder-flower syrup with a bit of lemon juice and sugar (~1tbsp per 15ml),
– four parts (40ml) of sugar water (~1tbsp per 150ml)
– two to four parts (20-40ml) of diluted Butterfly-pea-flower-tea
You can make the bottom transparent using different ingredients and slightly less sugar. E.g. citric acid instead of lemon, filtered and diluted lemon juice…
Also, you can put in a Physalis fruit, depending on the sugar content, it will hover above or on layer 1. After you stir it and the sugar content equalizes, it will set to the bottom. There’s a setting sun for you.
I had some dry ice left over, after buying some for my birthday cocktail “workshop”. I’ve seen several videos using acetone and dry ice to cool stuff down, but instead of acetone, I was wondering if alcohol would work too. I only had larger amounts of ethanol, so I tried that instead.
Dipping a rose into dry-ice (-60°C min) cooled ethanol and crushing it
Waited a bit long, but as it’s not as cold as liquid nitrogen, I wanted to make sure it’ll work.
Liquid nitrogen is about -200°C, while dry ice (CO2) not quite -80°C.
But dry ice is widely available and to some degree safer, too.
Fog from pouring ethanol over dry ice
Dry ice “boiling” in warm ethanol (room temperature)
Things to try: With actual alcohol I could try making “dragon’s breath” whipped cream. Sadly, it would not be safe for kids this way, but easier to achieve than with liquid nitrogen (lacking a source and all).
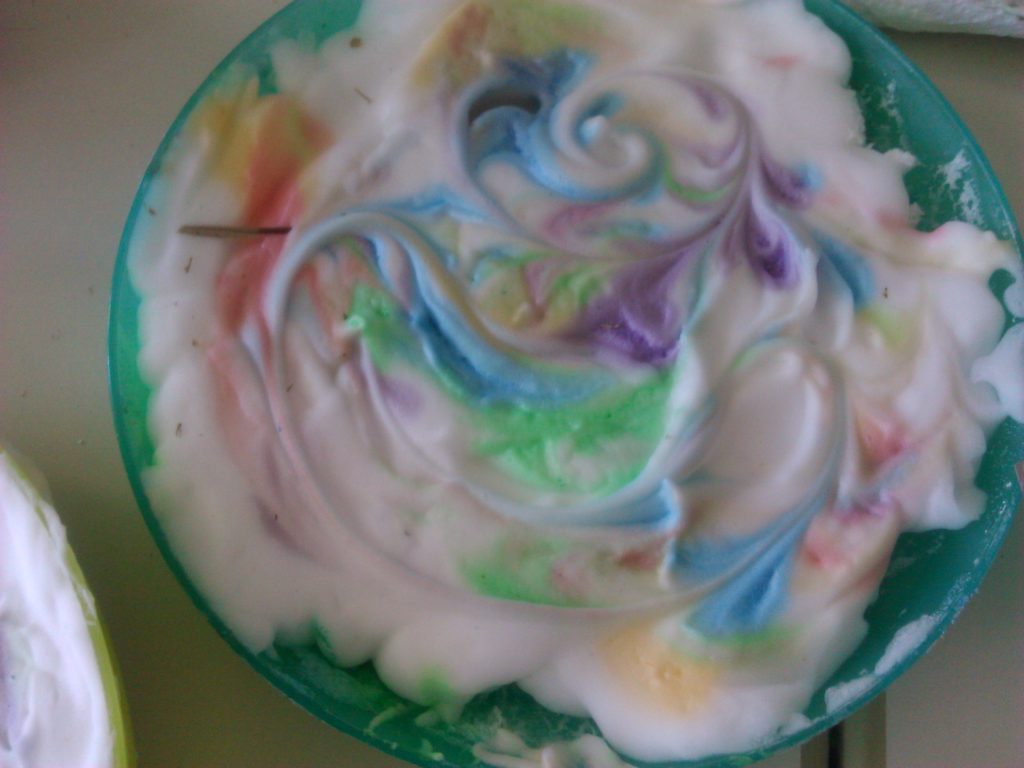
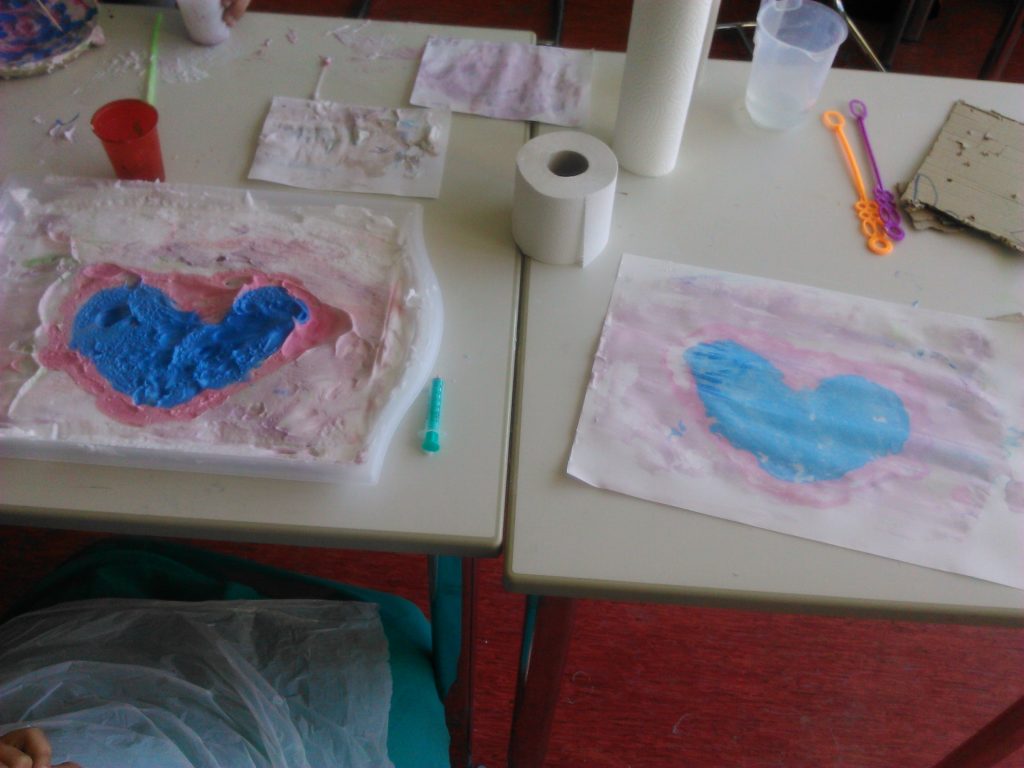
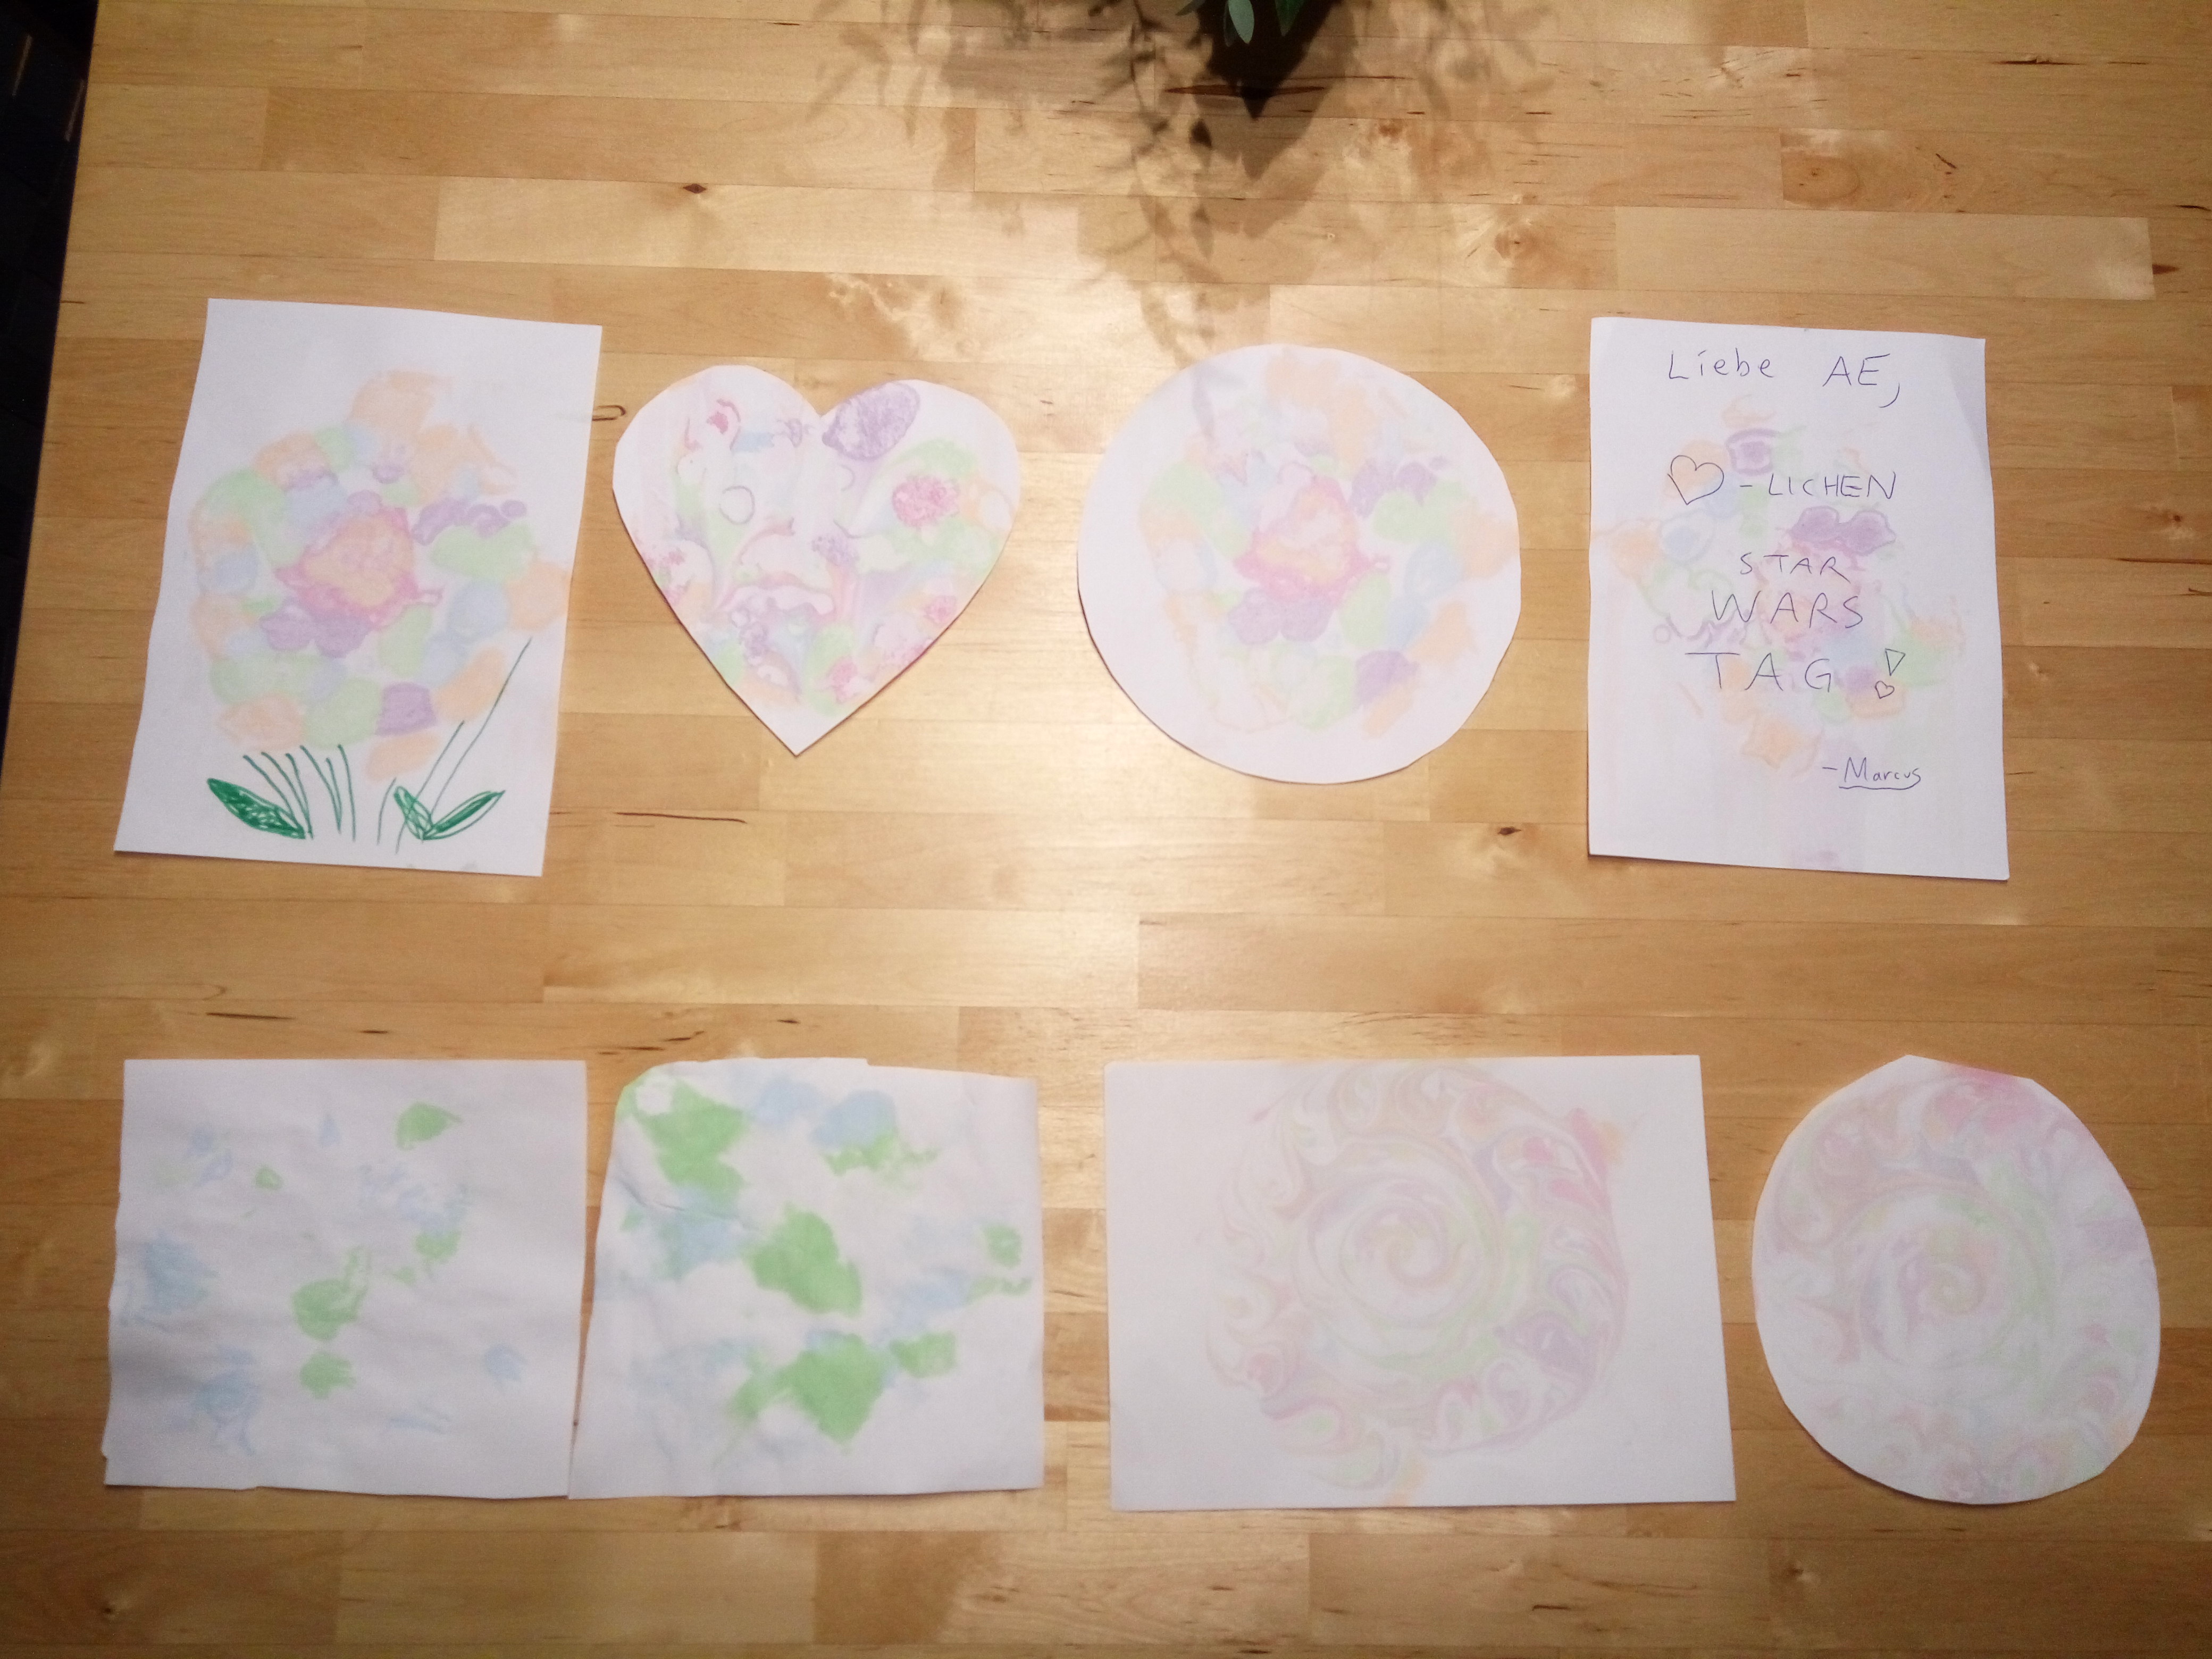
You can create colorful paper with shaving foam and food coloring!
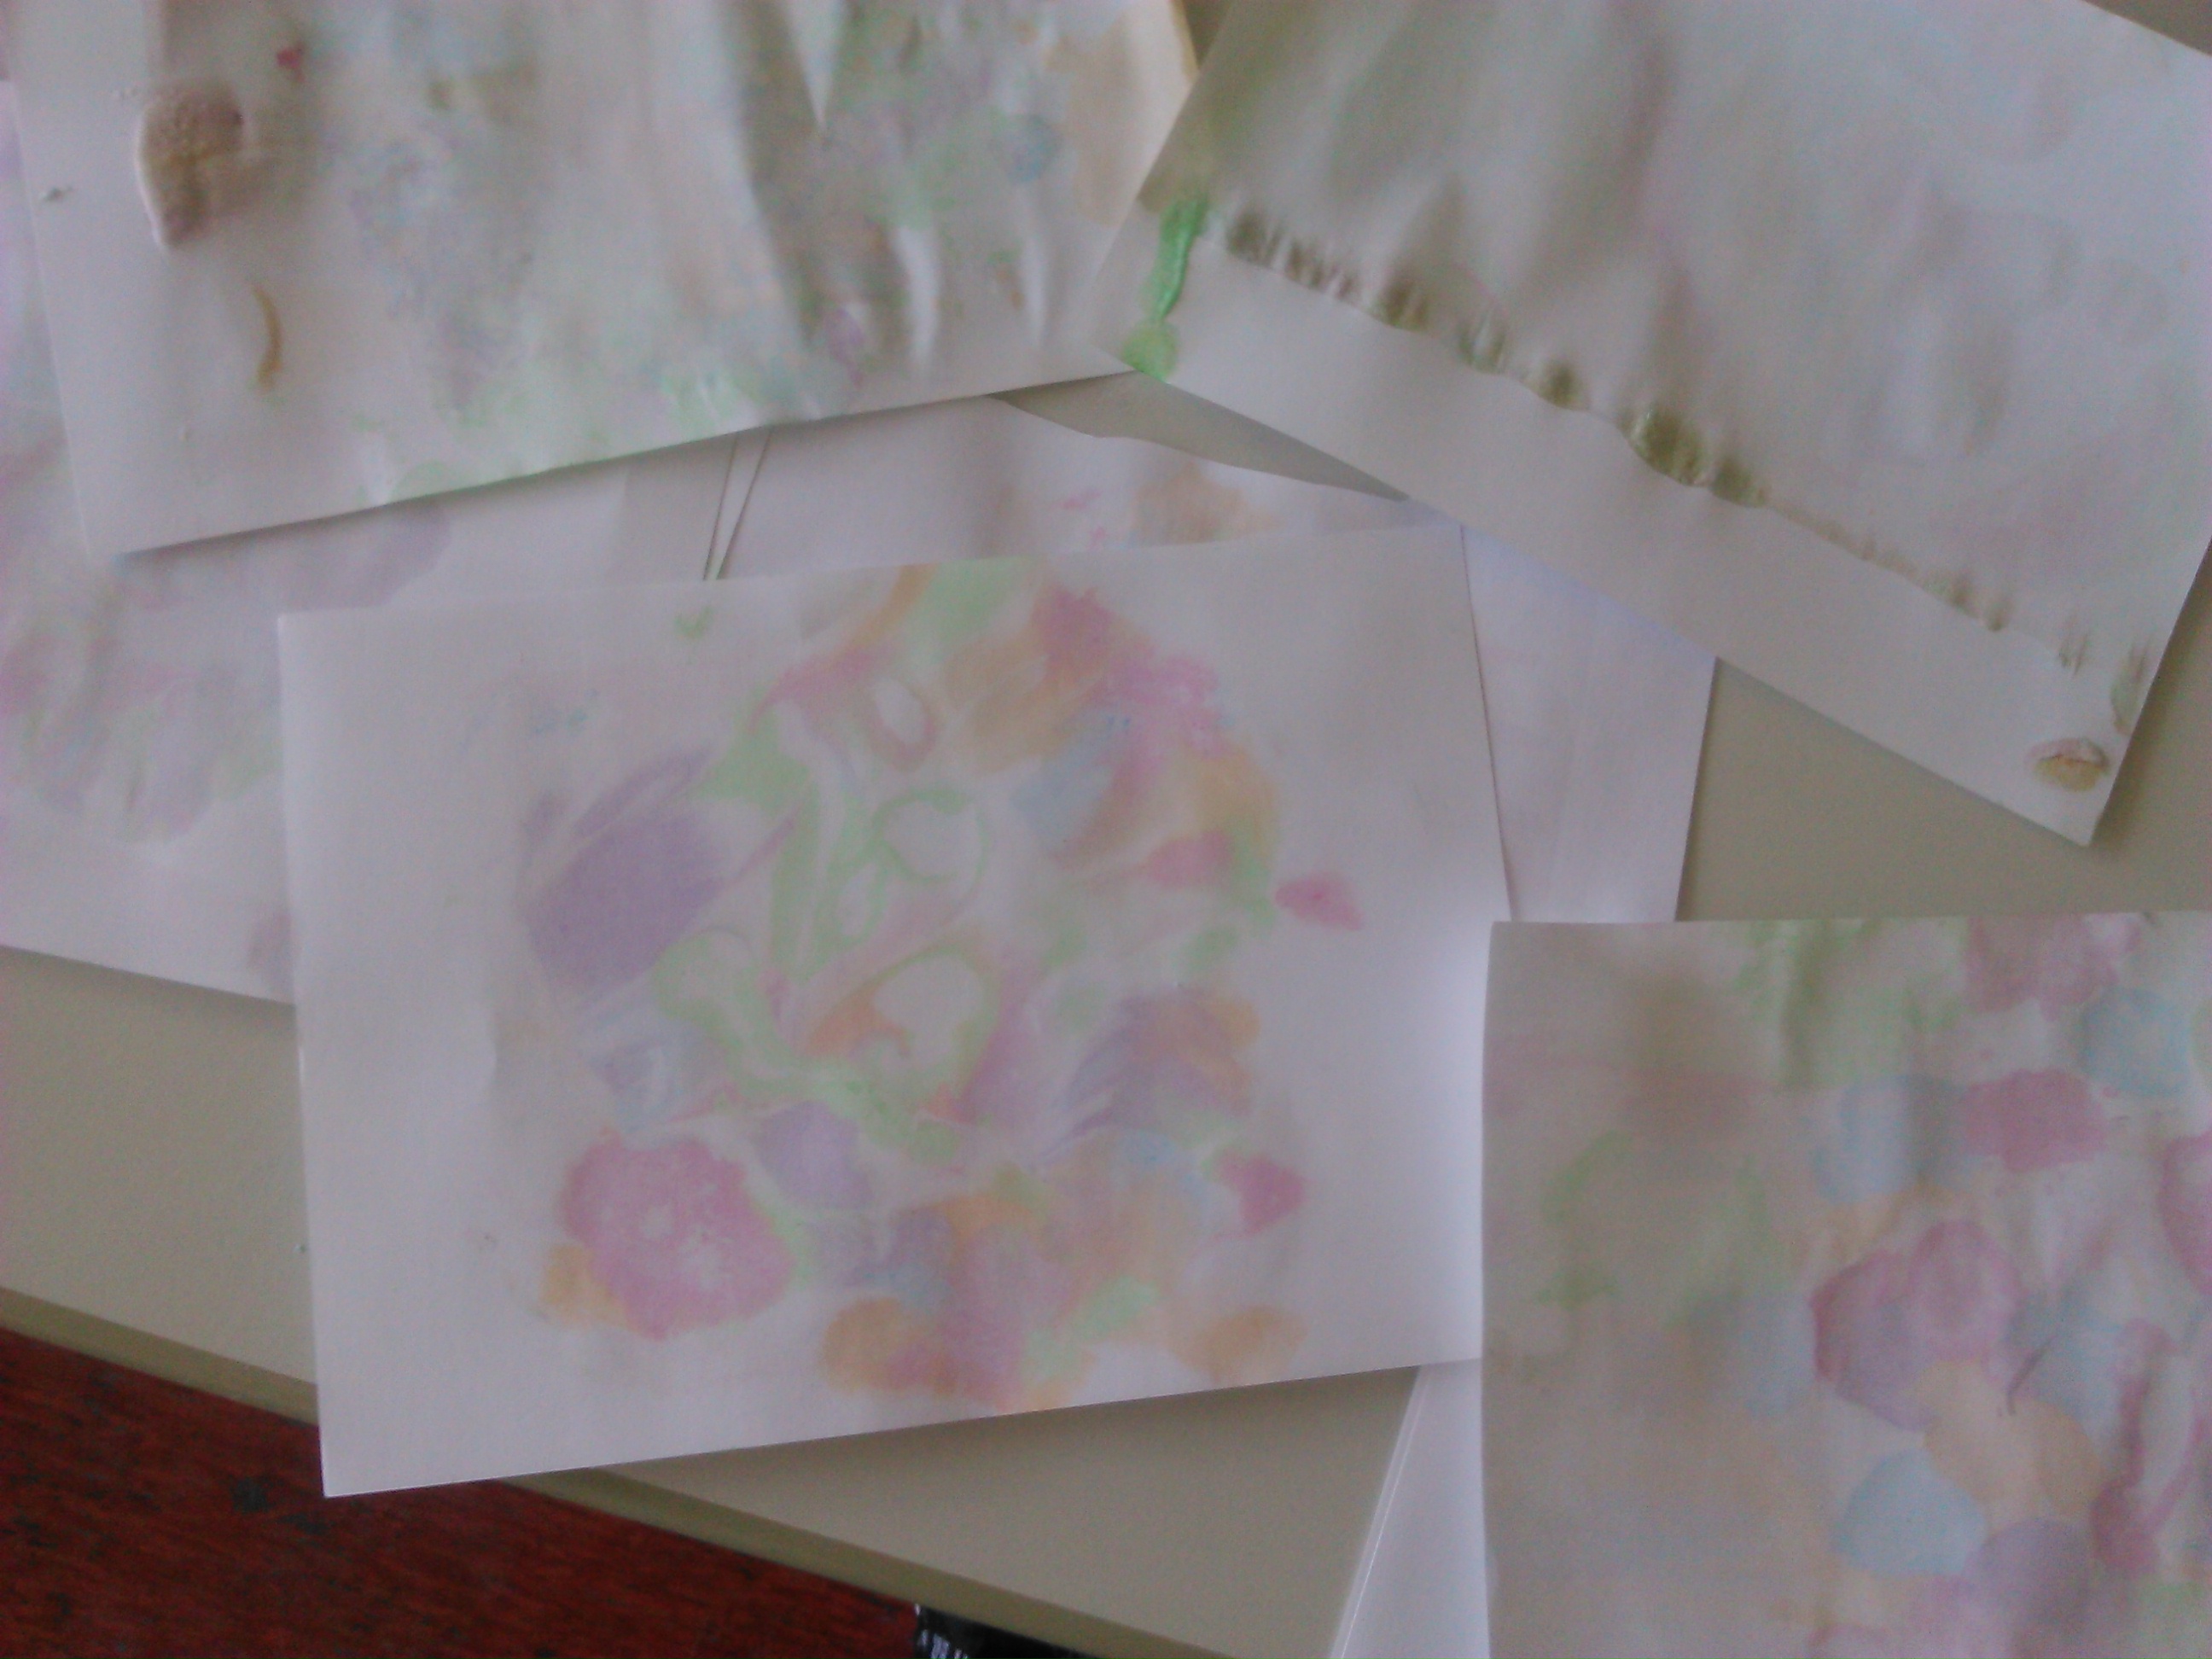
As you can re-use the same foam, you’ll get the same pattern for a bunch of sheets. Ideal for invitations!
Put a big dab of shaving cream onto a plate or tray
Use a strip of cardboard to create a planar surface
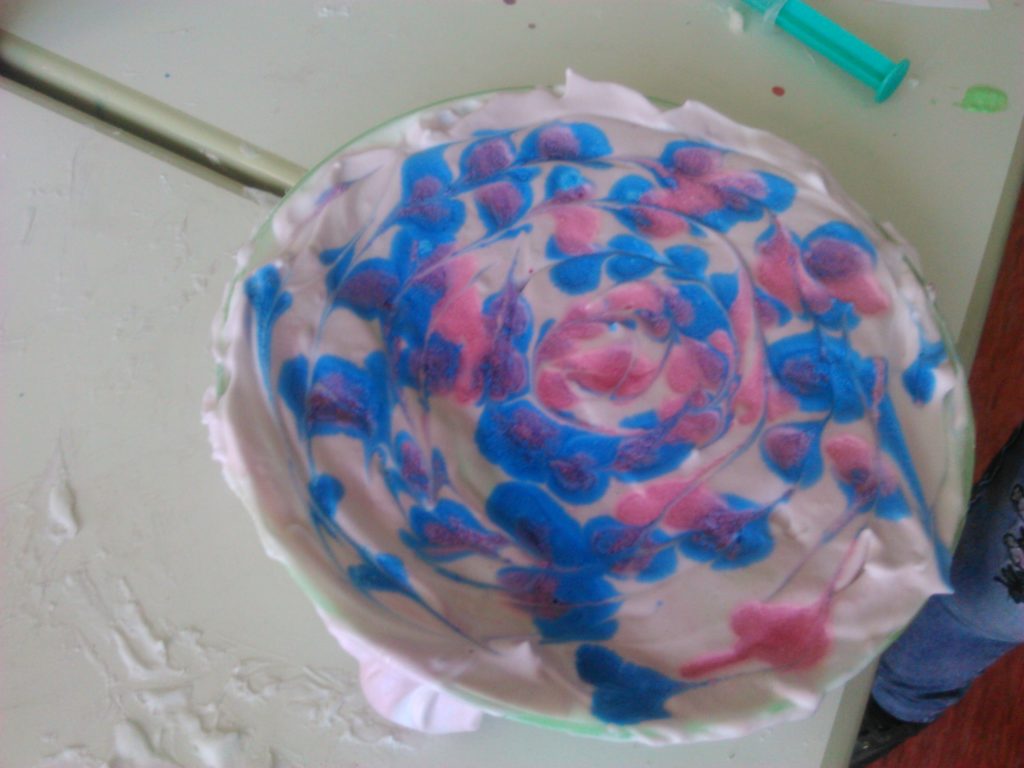
Add a few drops of food coloring (not too much!)
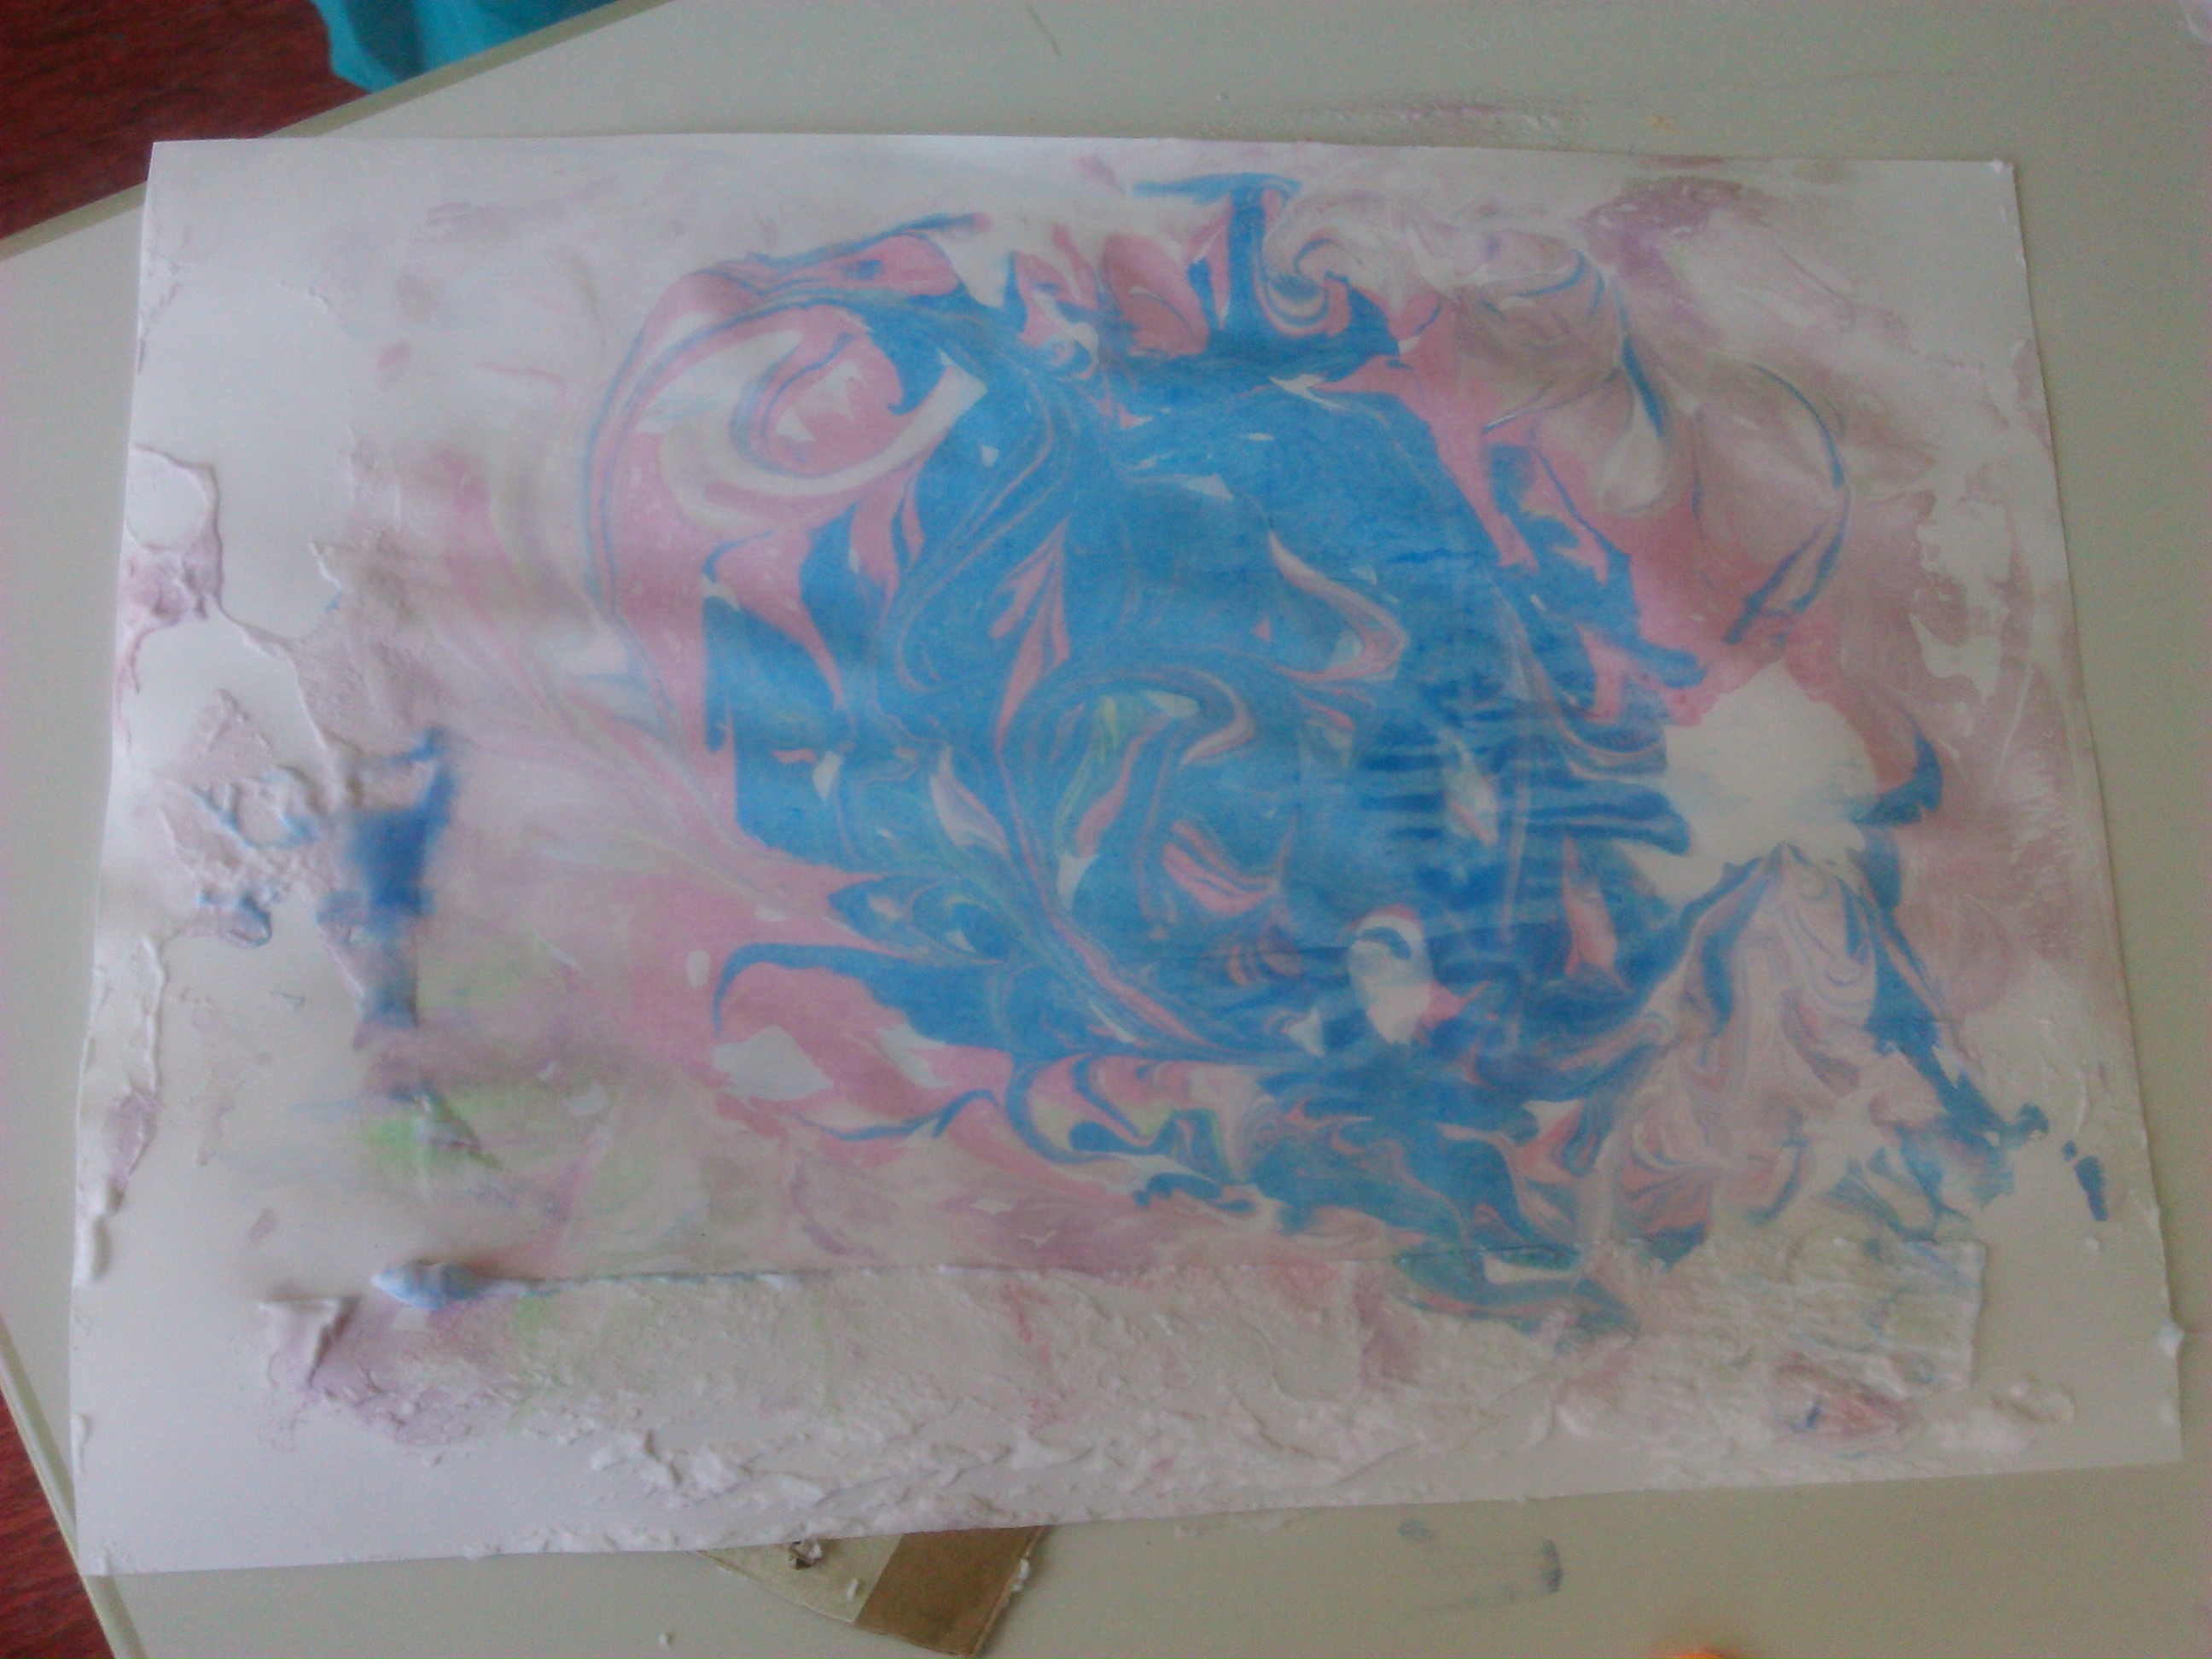
If you want, create swirls with cotton swaps!
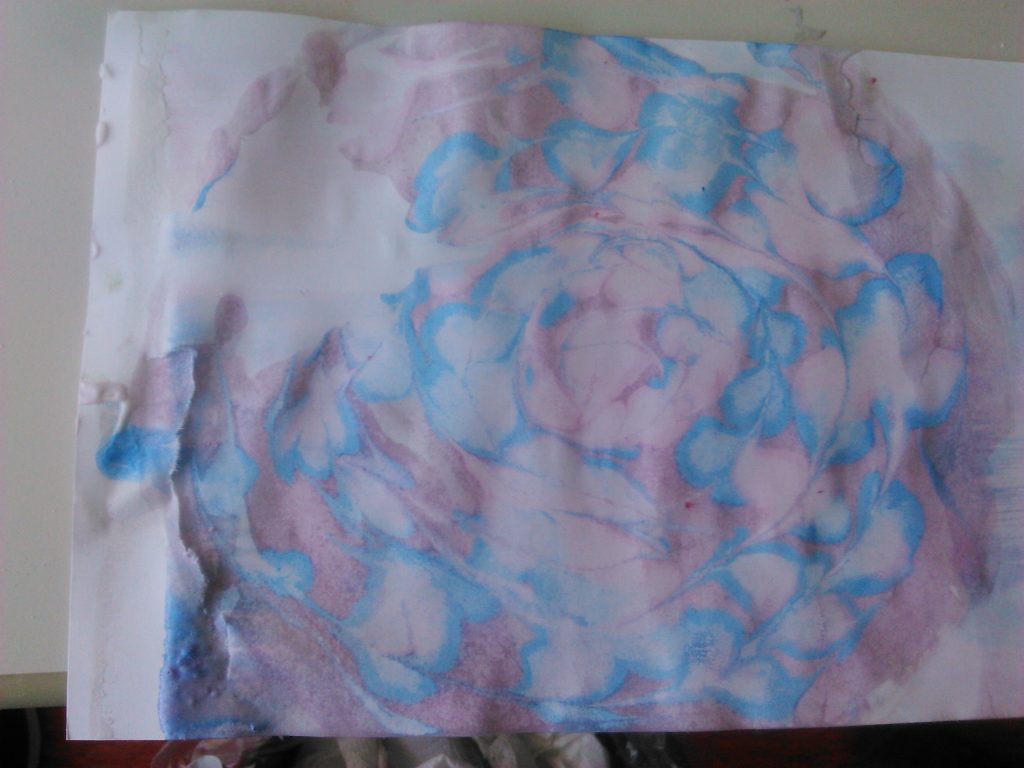
Gently press the paper into the foam
Lift it from one side
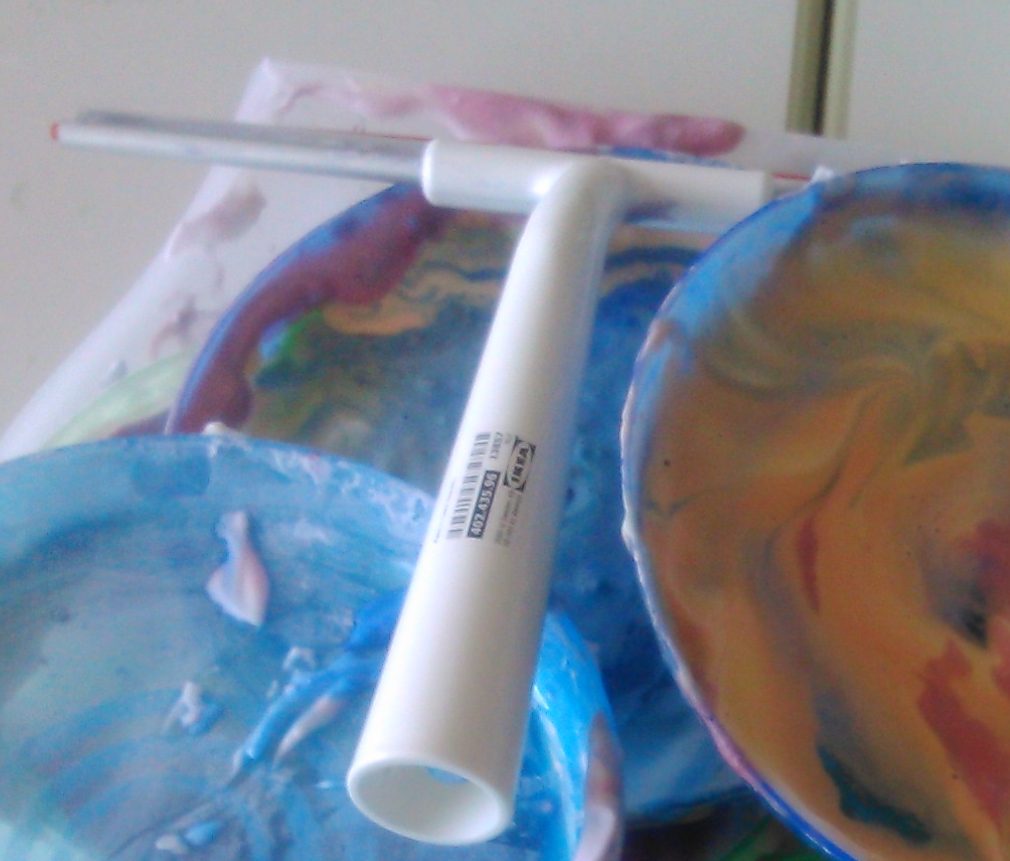
Use squeegees to remove excess foam/color
While it’s not really wet, let it dry a bit
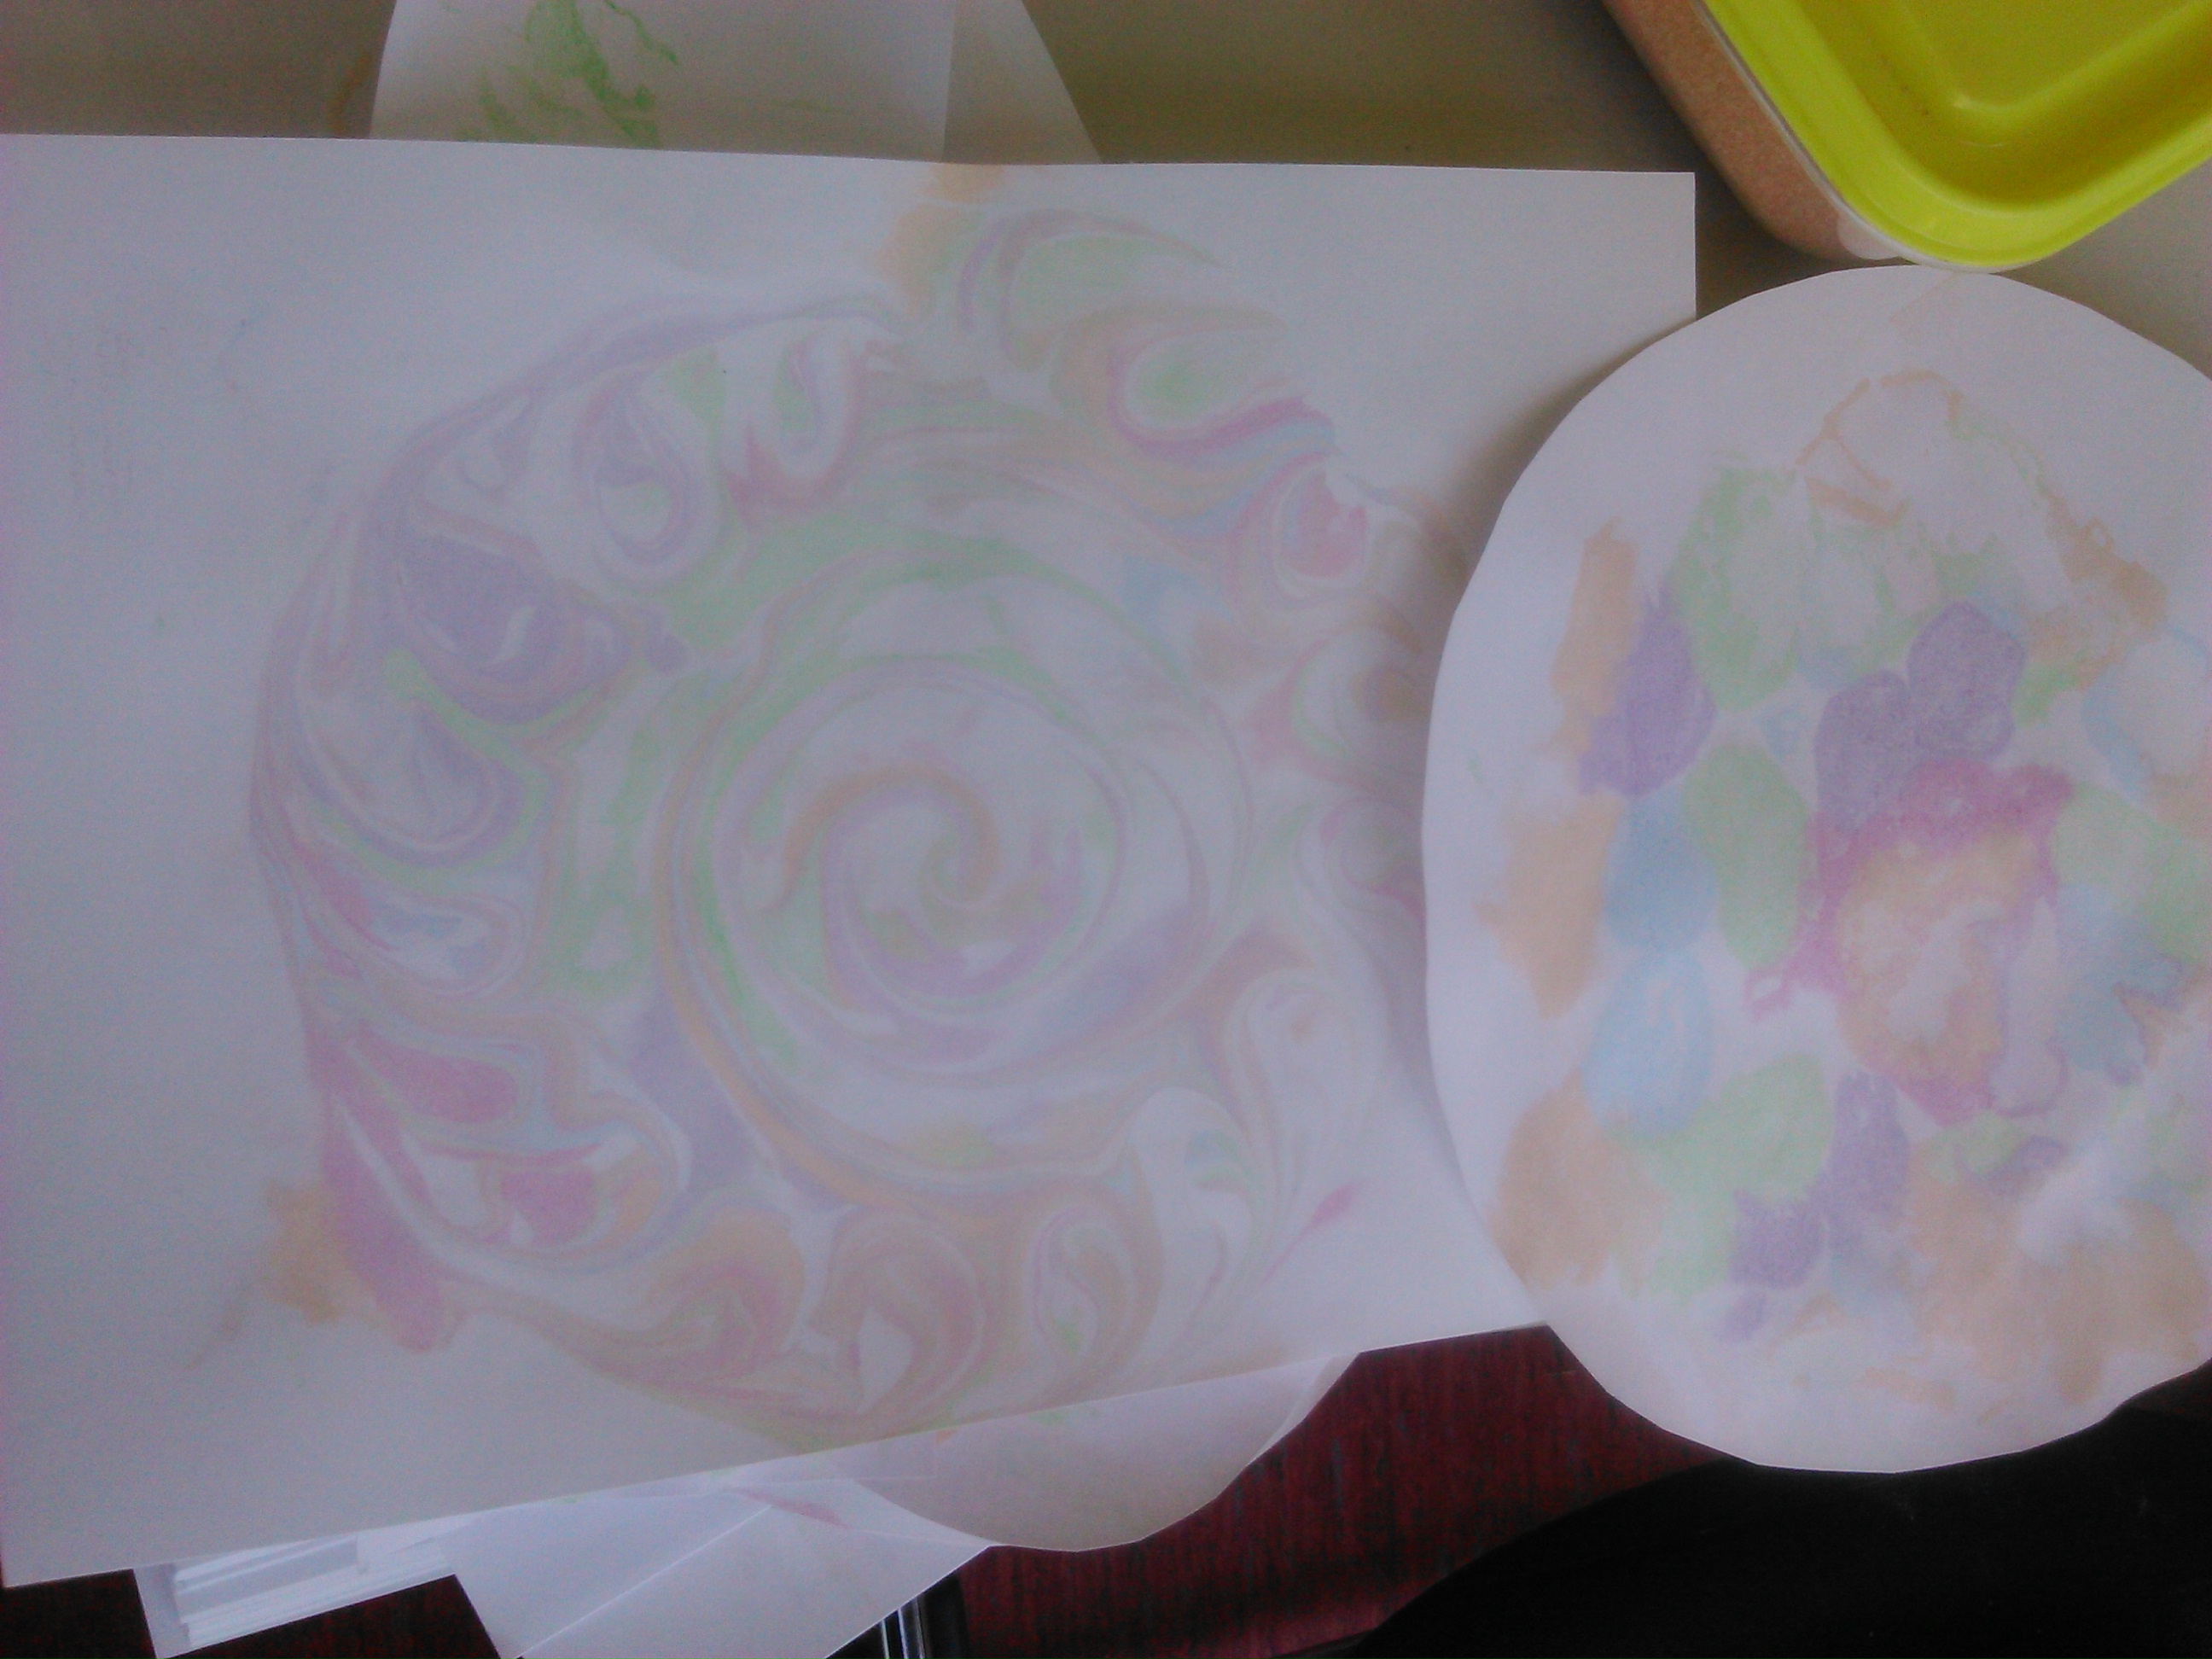
And that’s it! Colorful paper for birthday invitations or decorating.
Let the foam dry and wipe with paper towel.
Info:
The foam is slightly hydrophobic (water repelling). Only the water-based food coloring will transfer onto the paper.
Advice: Use “Sensitive” foam. Not Gel. For the food-coloring, use cups and pipettes (or straws). Do not use too much food coloring, it’ll make things too liquid and ruin the paper!
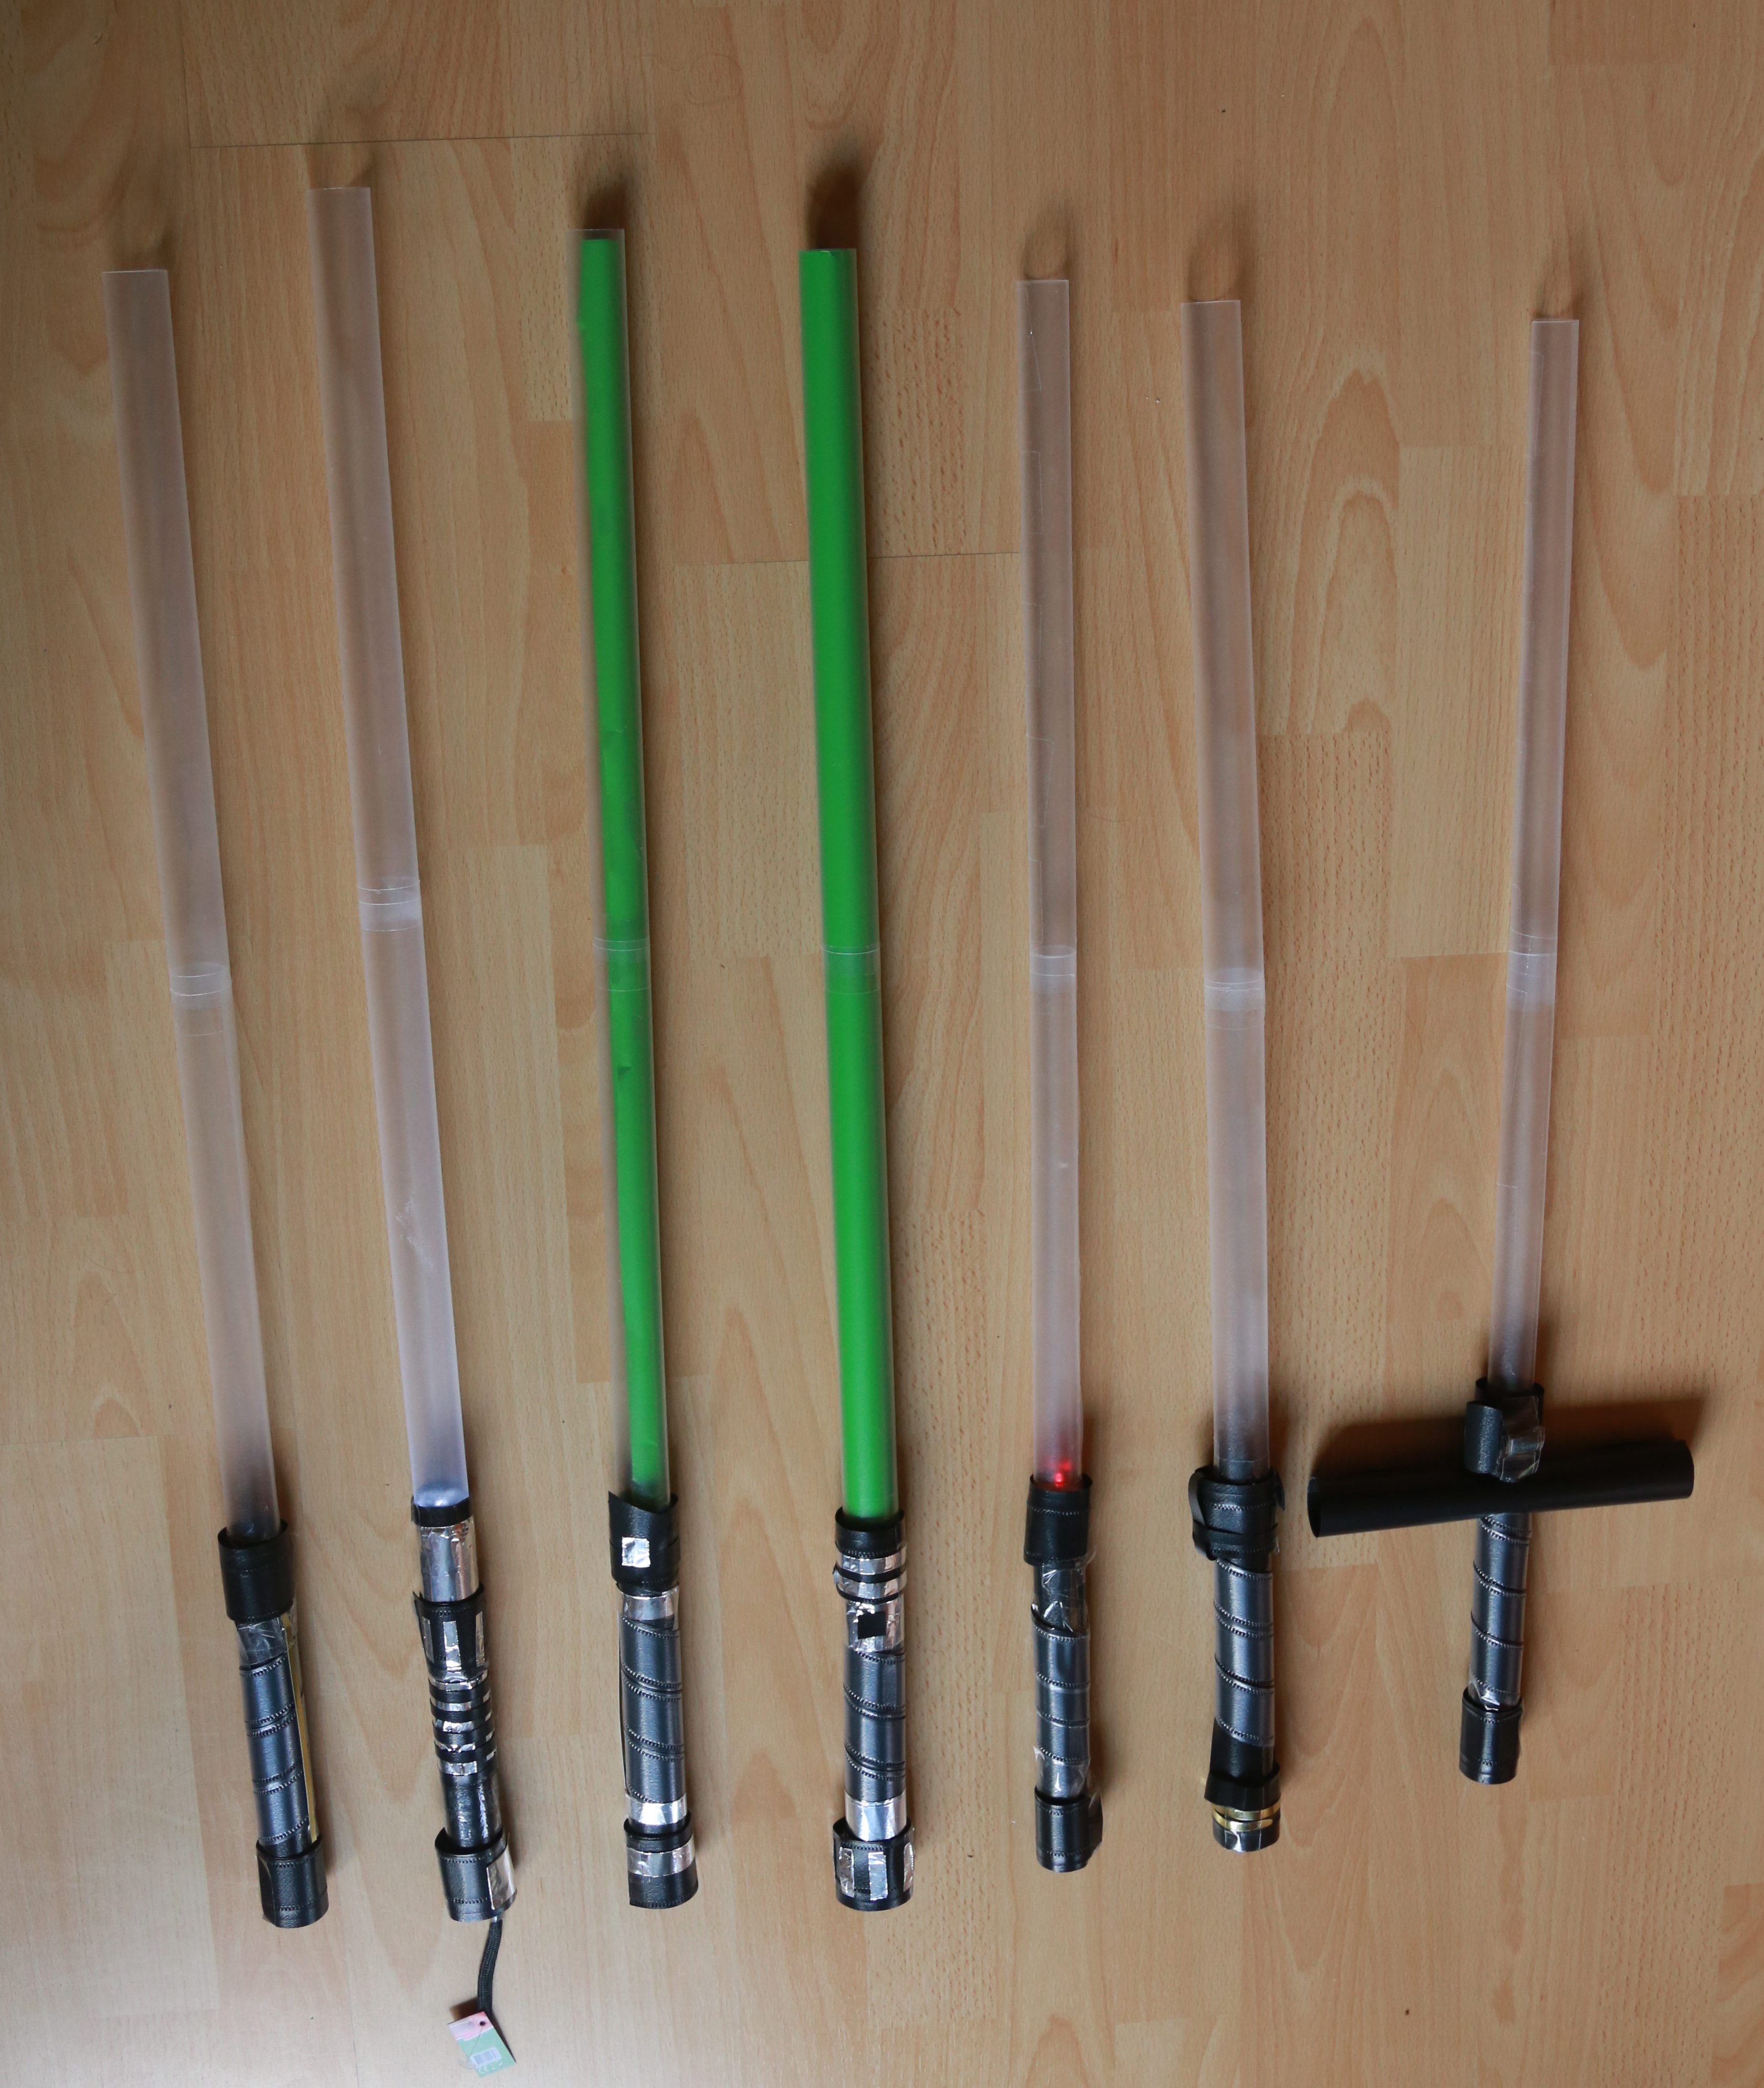
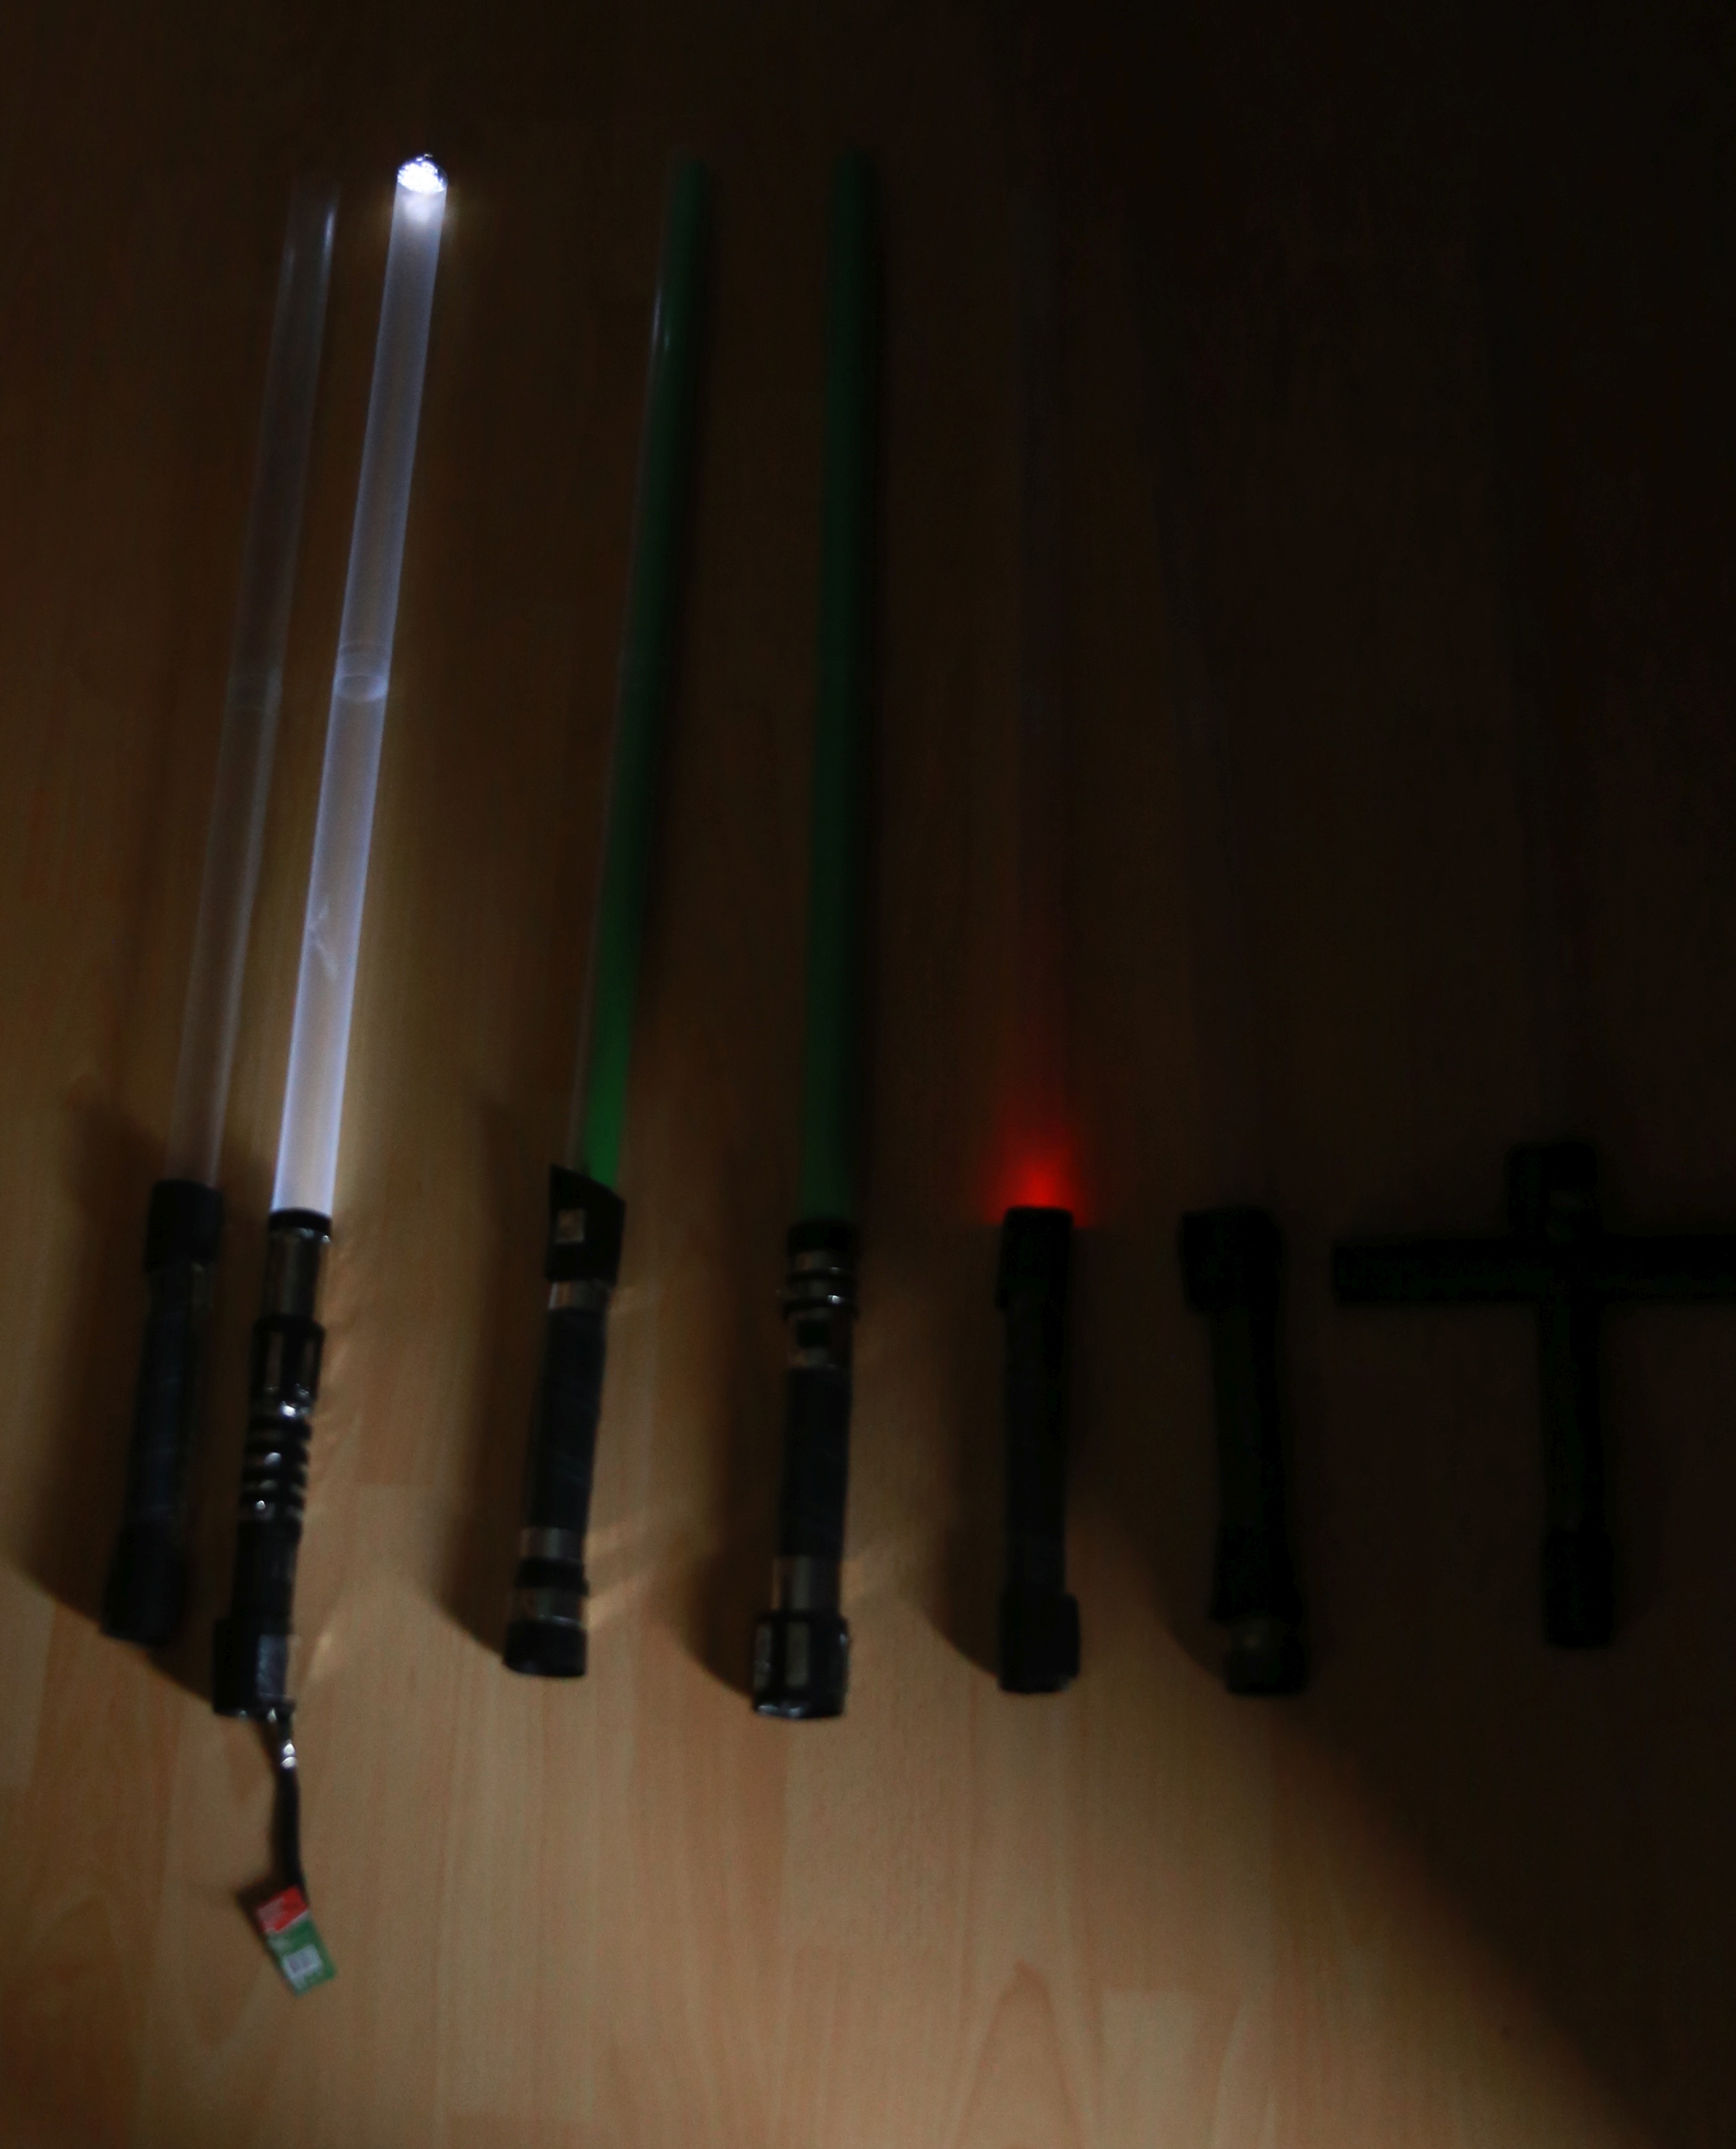
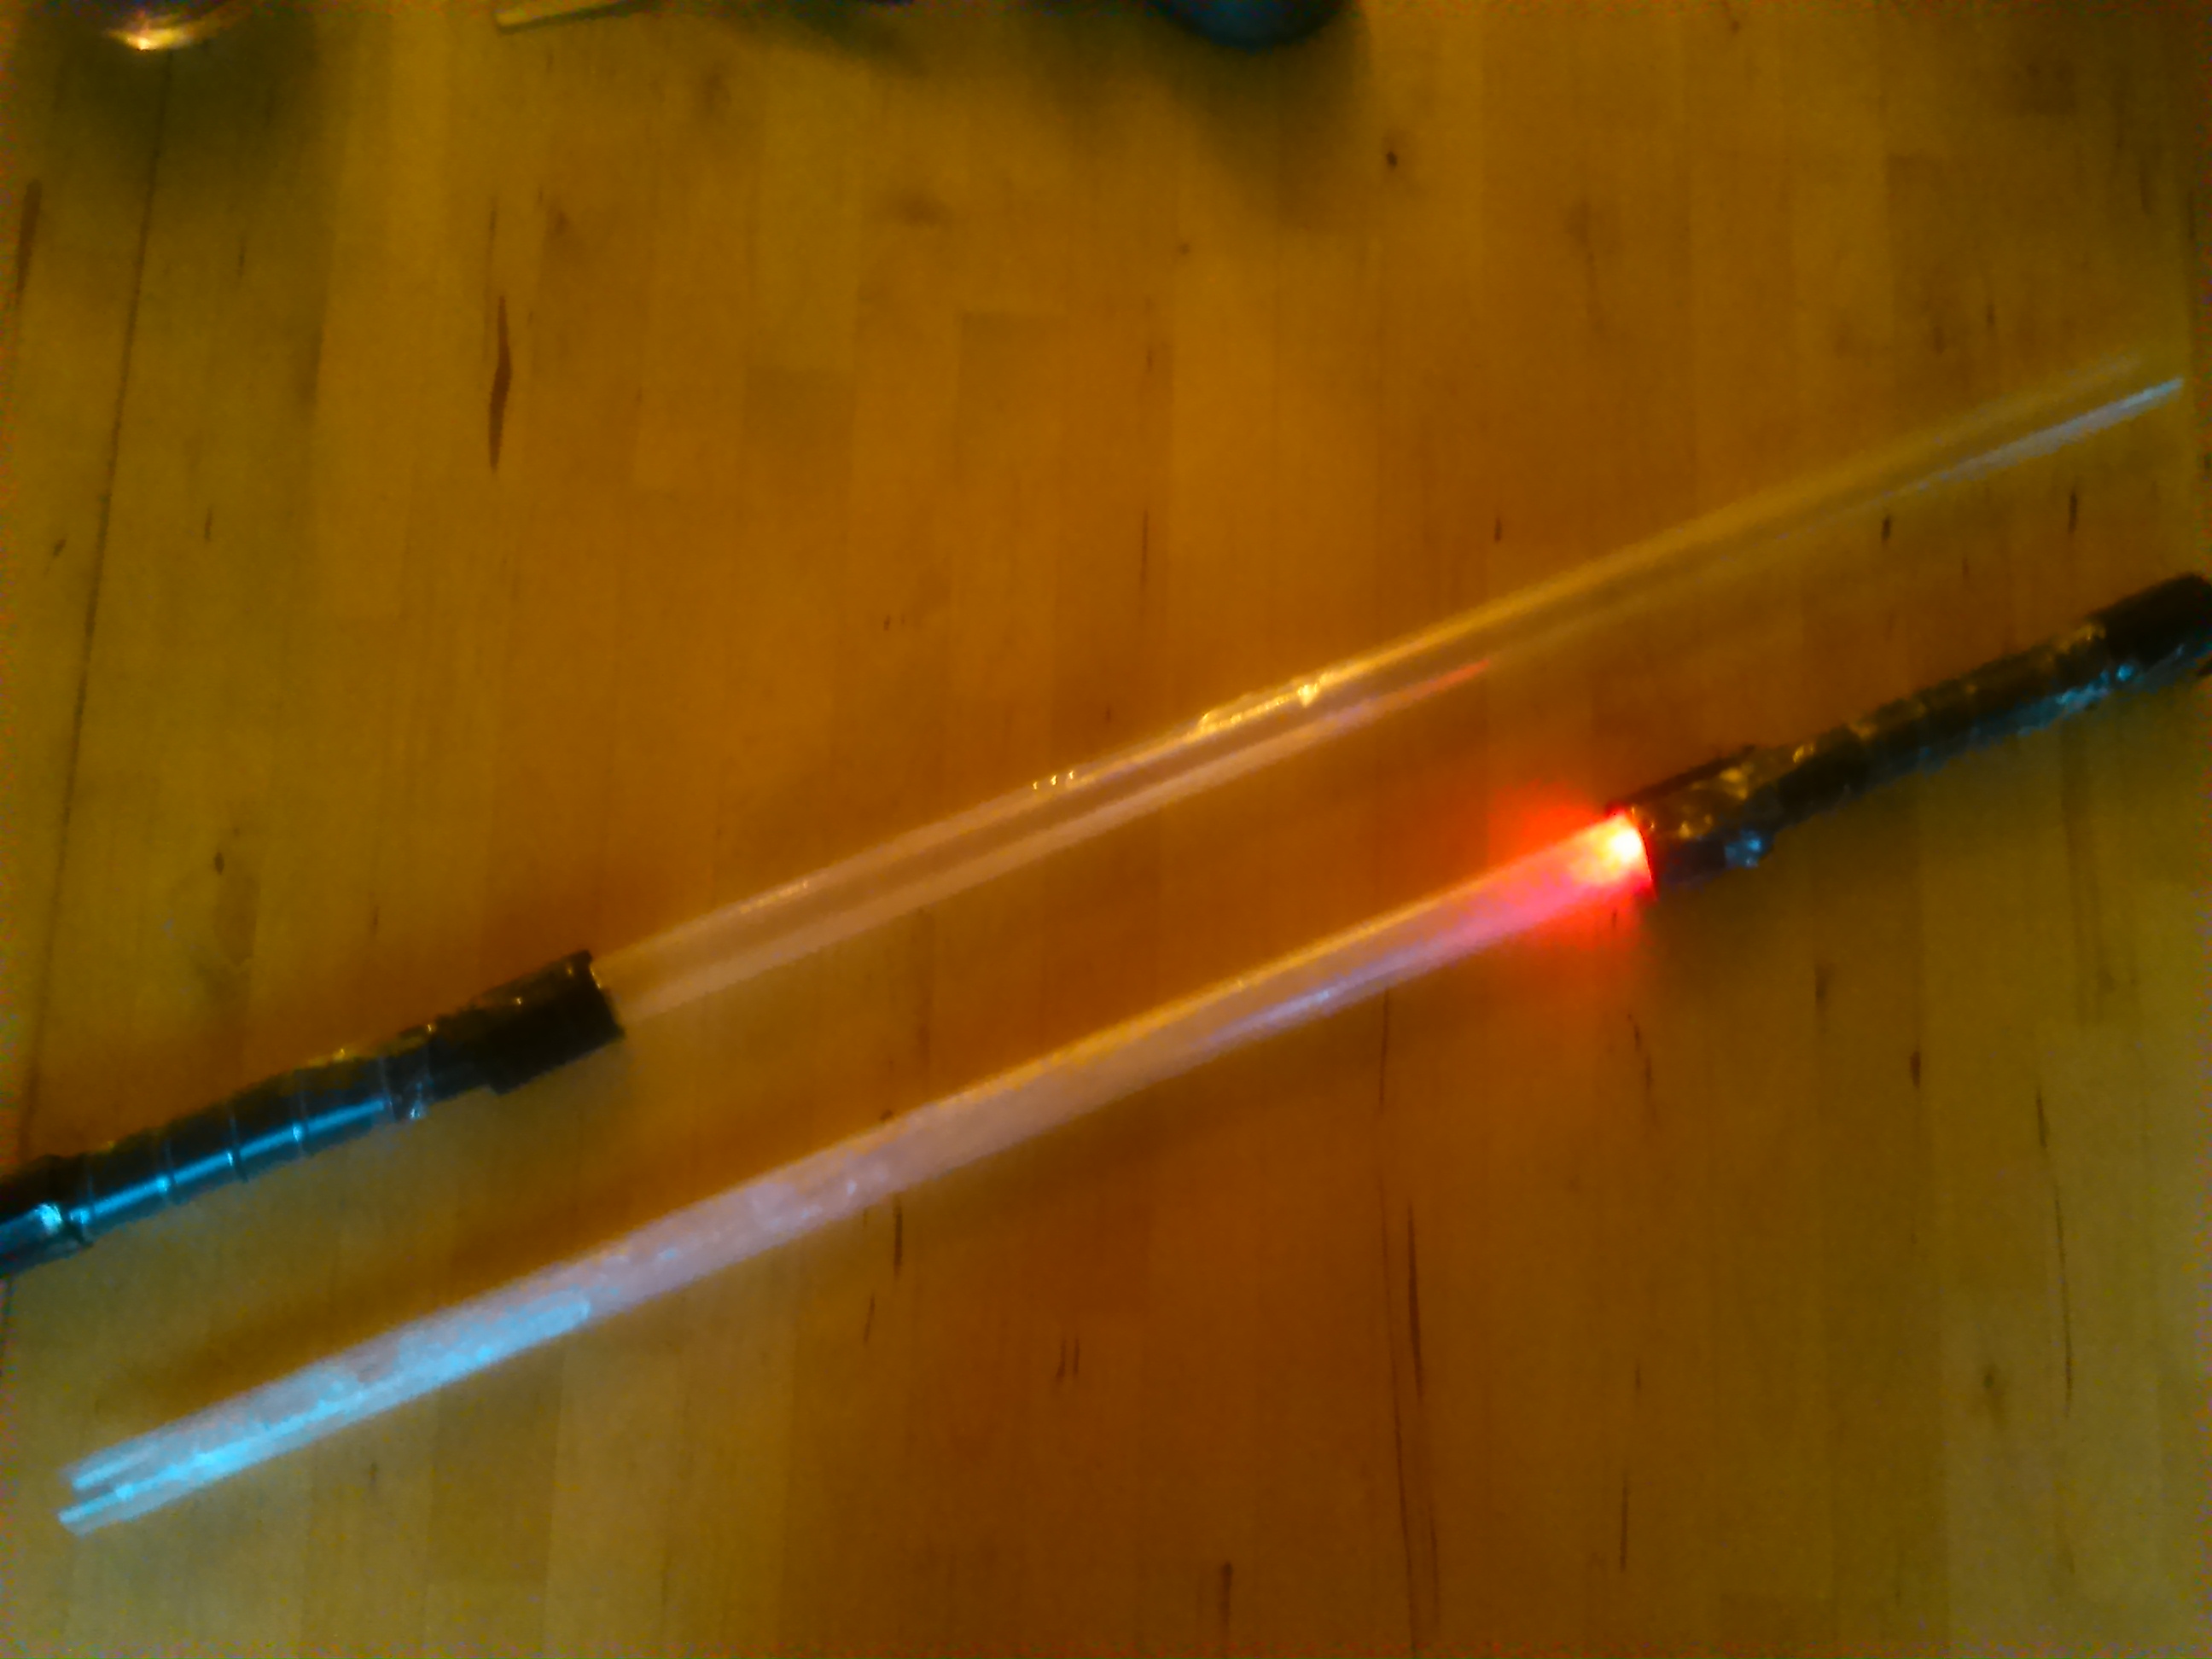
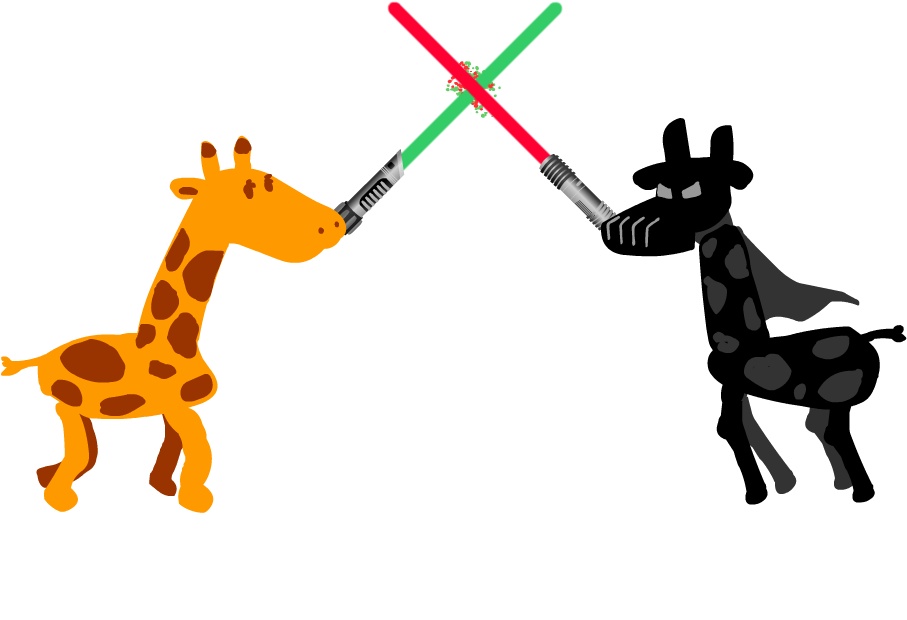
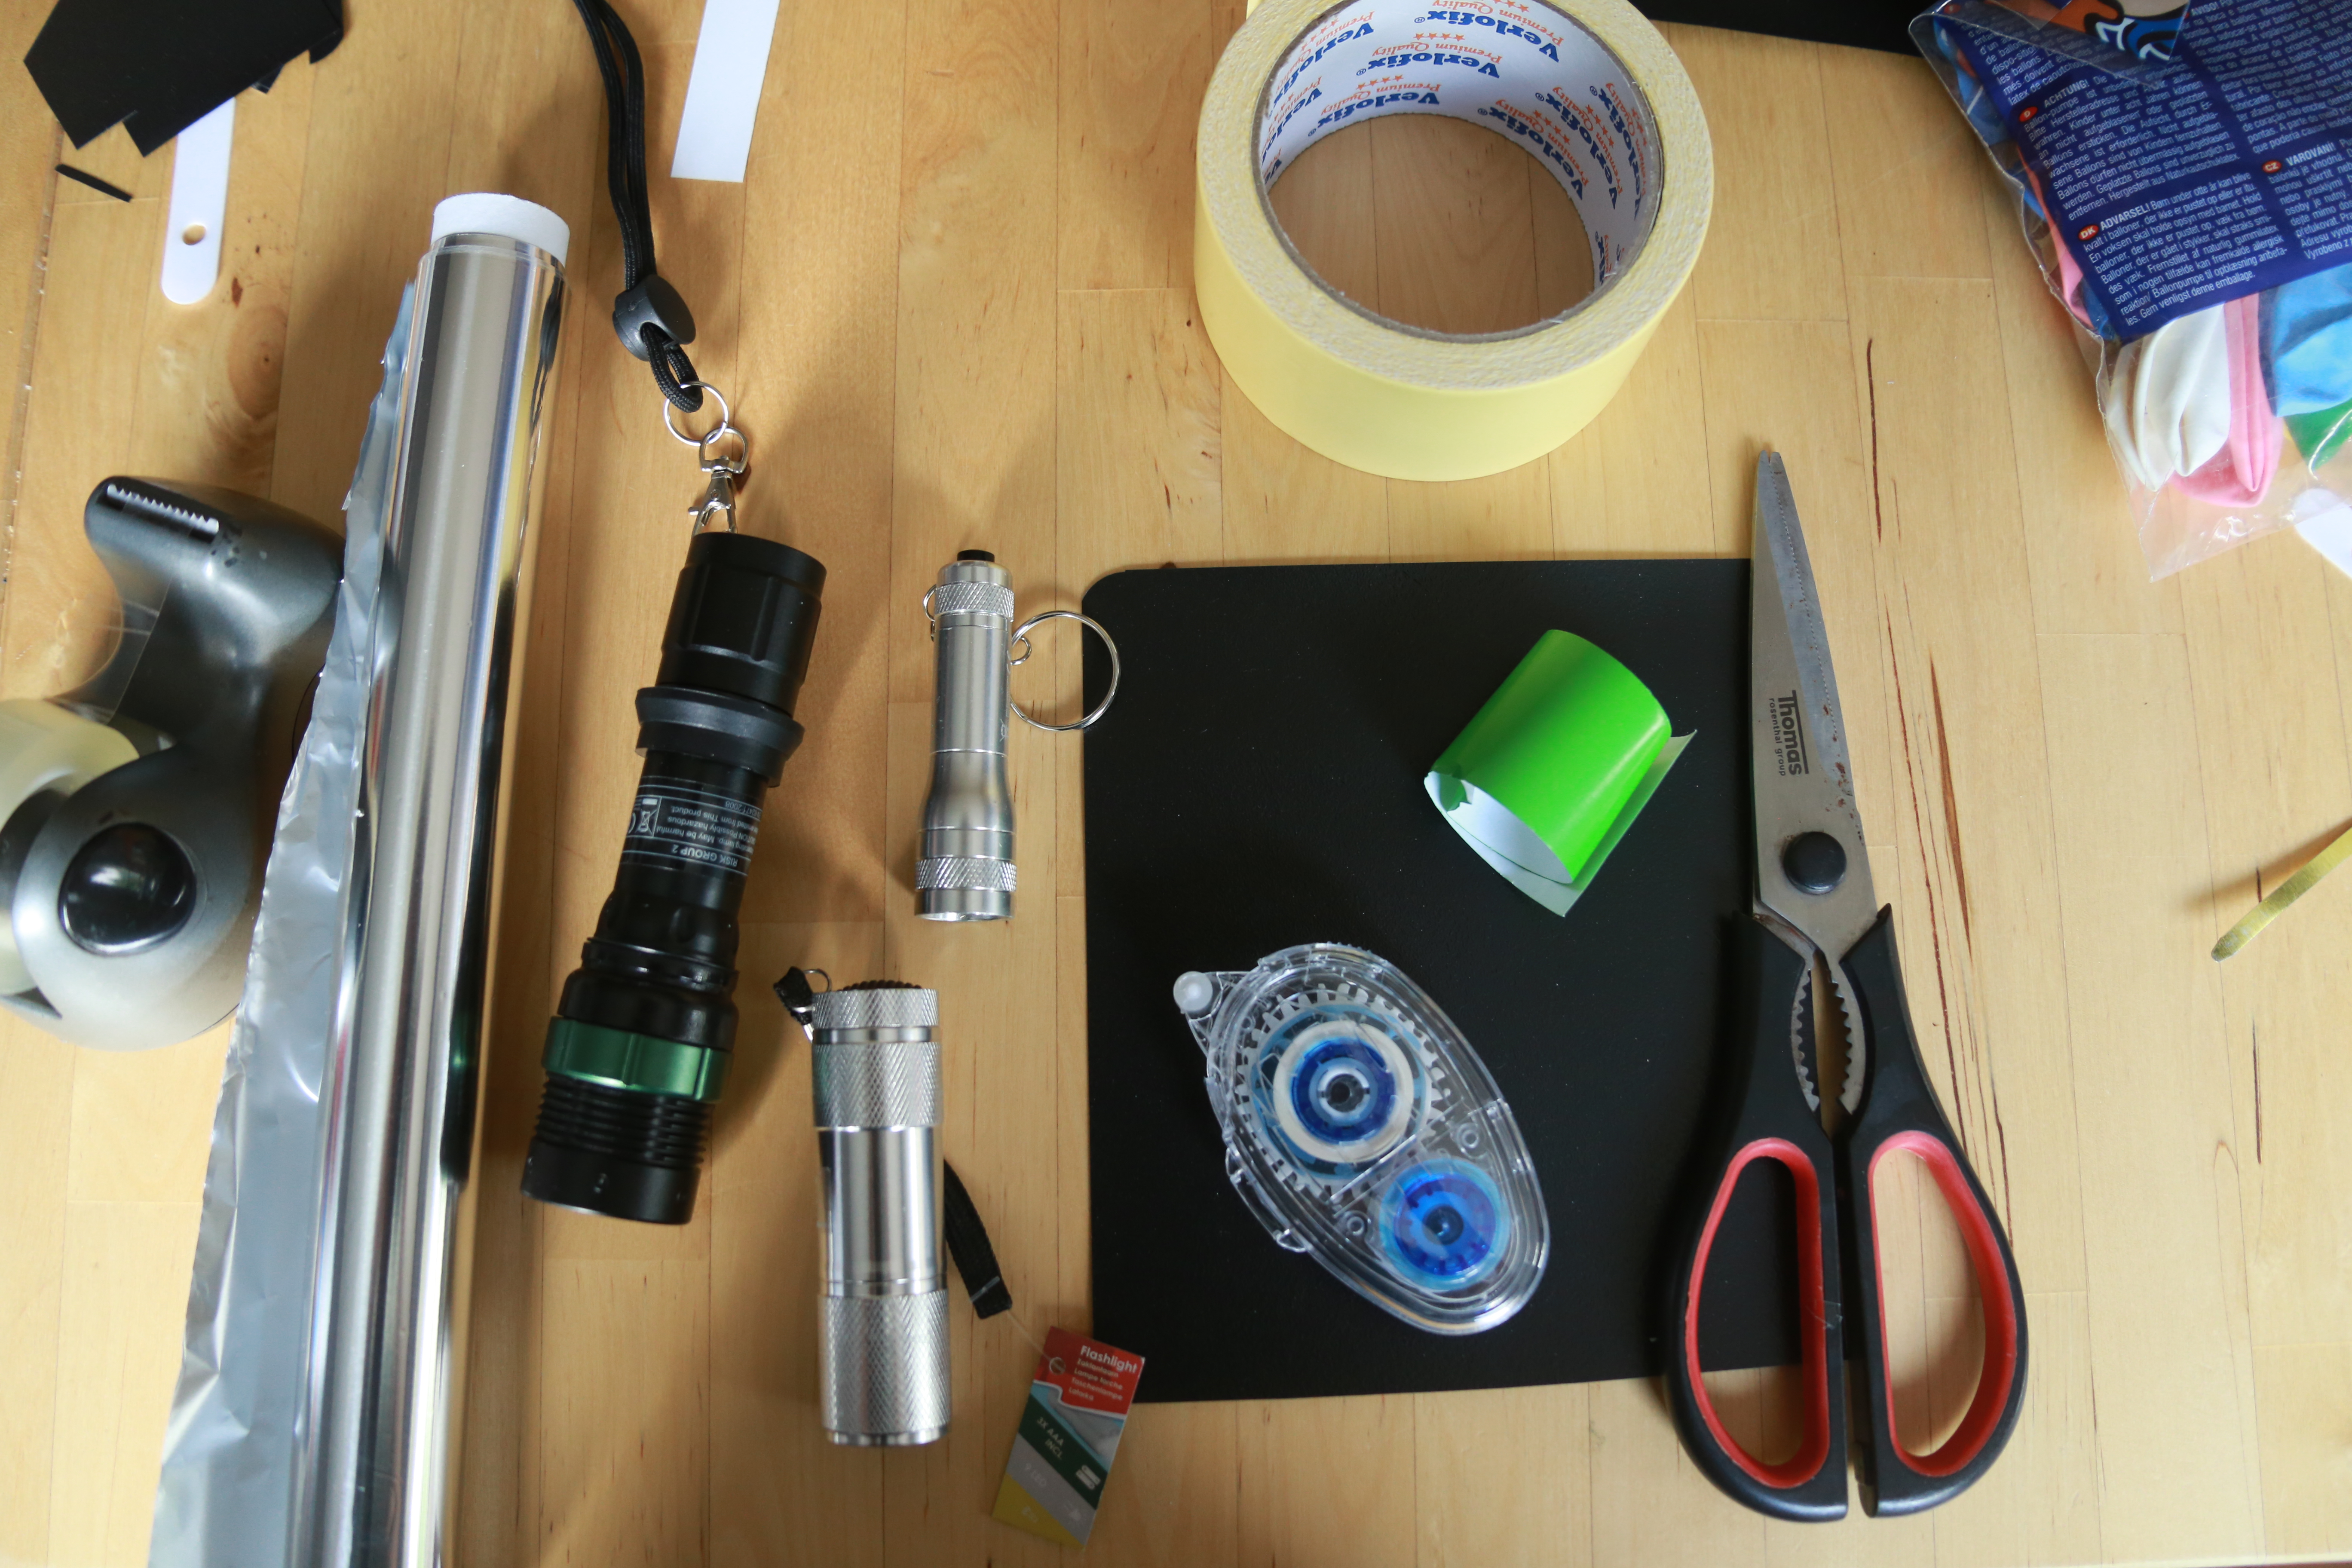
Super easy, super cheap lightsabers! (Sorry for the bad pictures)
Made out of folders, tape, and a coin battery with LED.
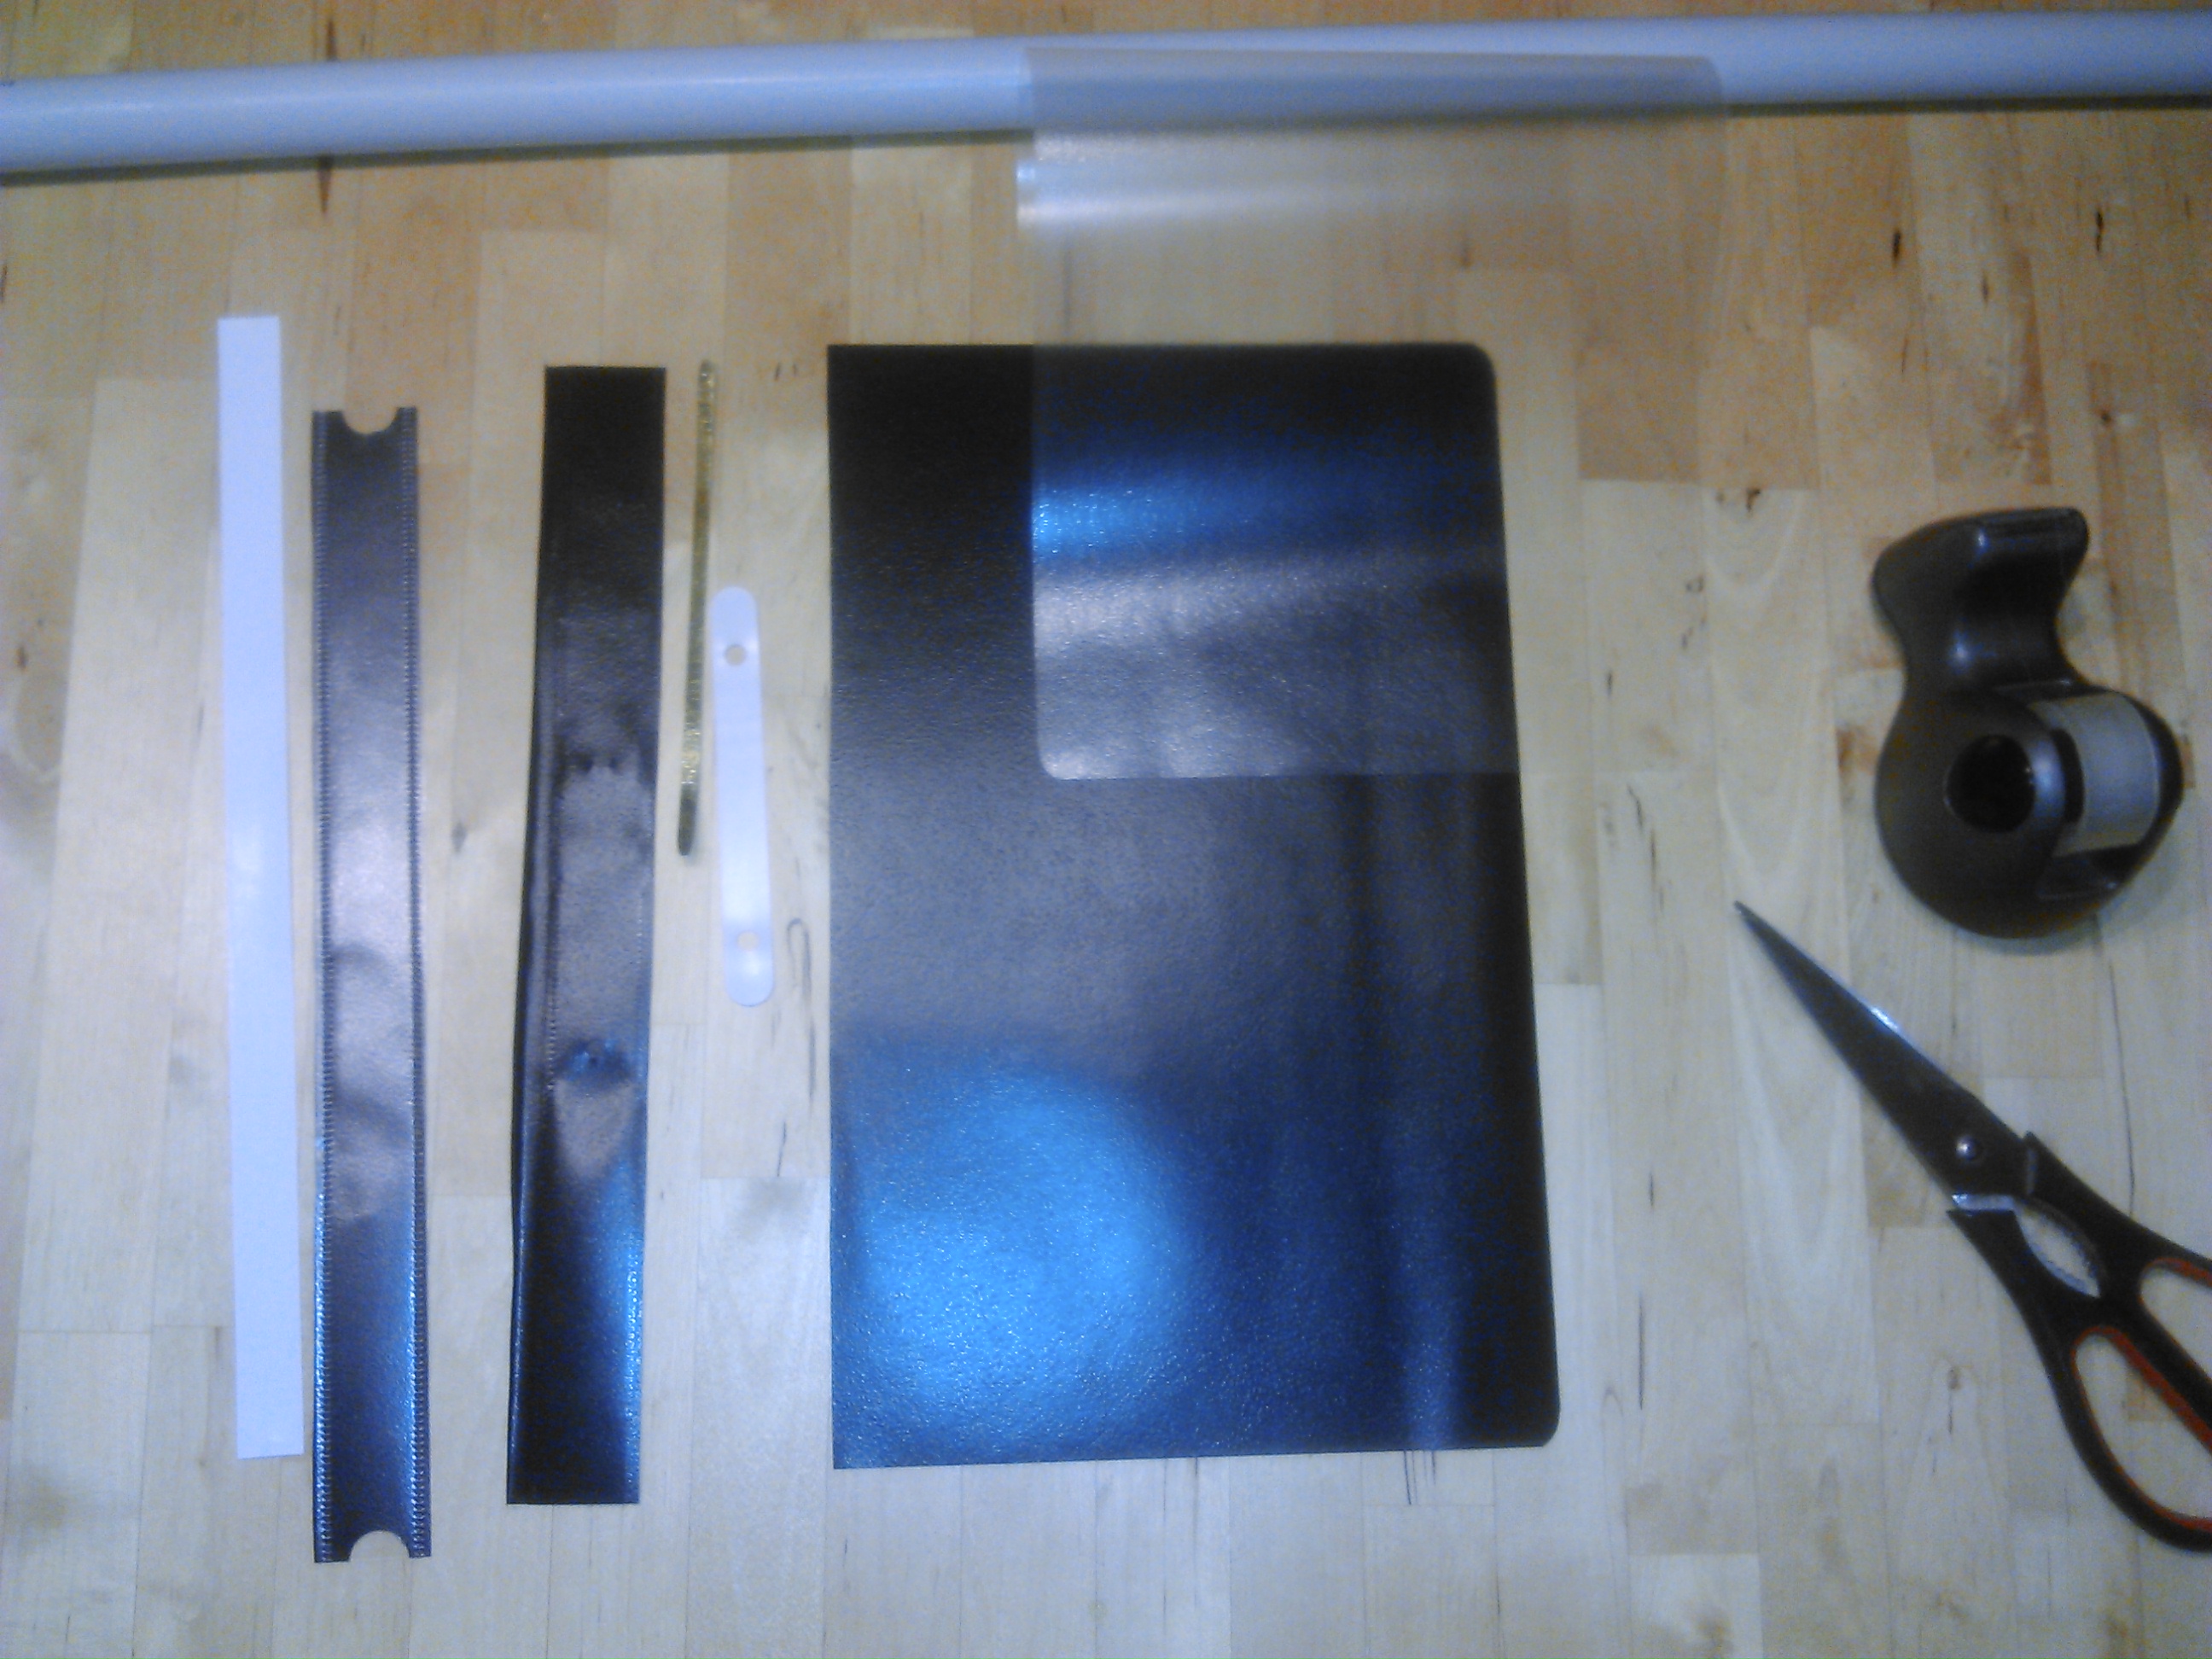
Cut the clear sheet off the black folder, and divide it into two long pieces.
Similar with the black part, just two short pieces.
Cut off the insert and the part with the metal- Leave the seam.
Use a ~20mm pipe or similar to roll the plastic around. Tape the transparent ones tightly. The black ones not as tightly. Tape the transparent ones together with a centimeter or so overlapped.
Use the parts with the seam as top and bottom of the handle.
Wrap the paper inlay part around the shaft as “leather” decoration.
Add the metal part or cut out “buttons” for decoration- Done! 🙂
Edit:
A 9 LED flashlight iluminates the saber better than the coin-cell with LED and is relatively cheap ($1).
Gift wrapping (ideally transparent) looks nice, too
Double sided tape (small roller) is ideal for the blade-seam, makes it less obvious, but does not hold the black plastic together reliably (unrolls after a day or so).
Tinfoil for decoration (better copper or aluminum tape)
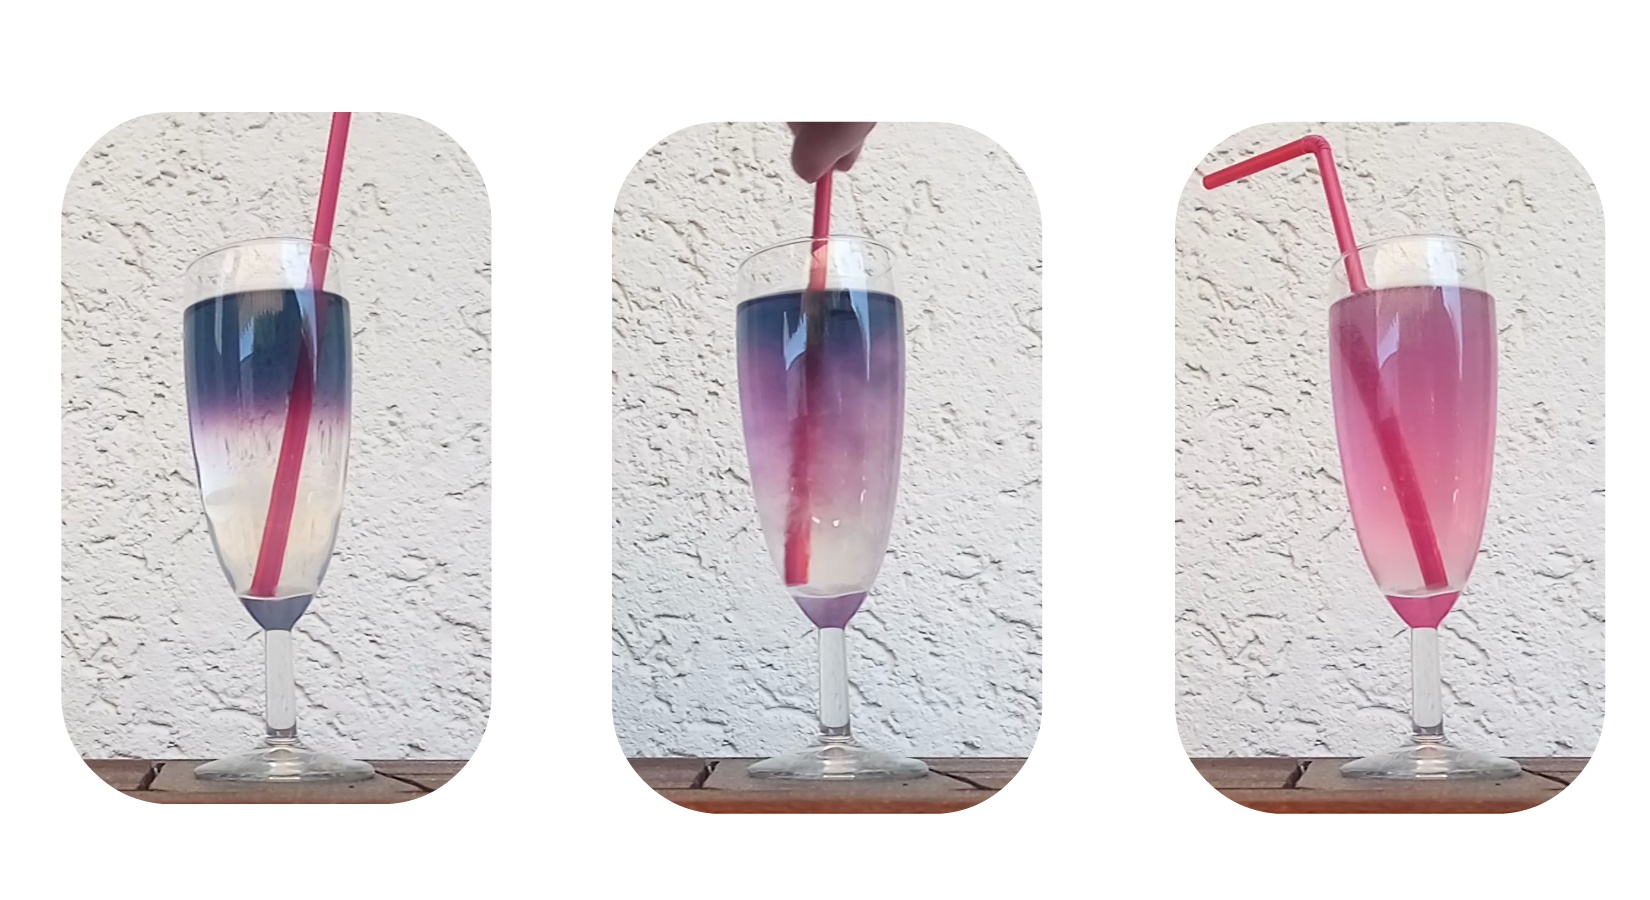
For AE’s birthday I’ve come up with this neat little sugary cocktail. AE’s birthday Baltic Sunset!
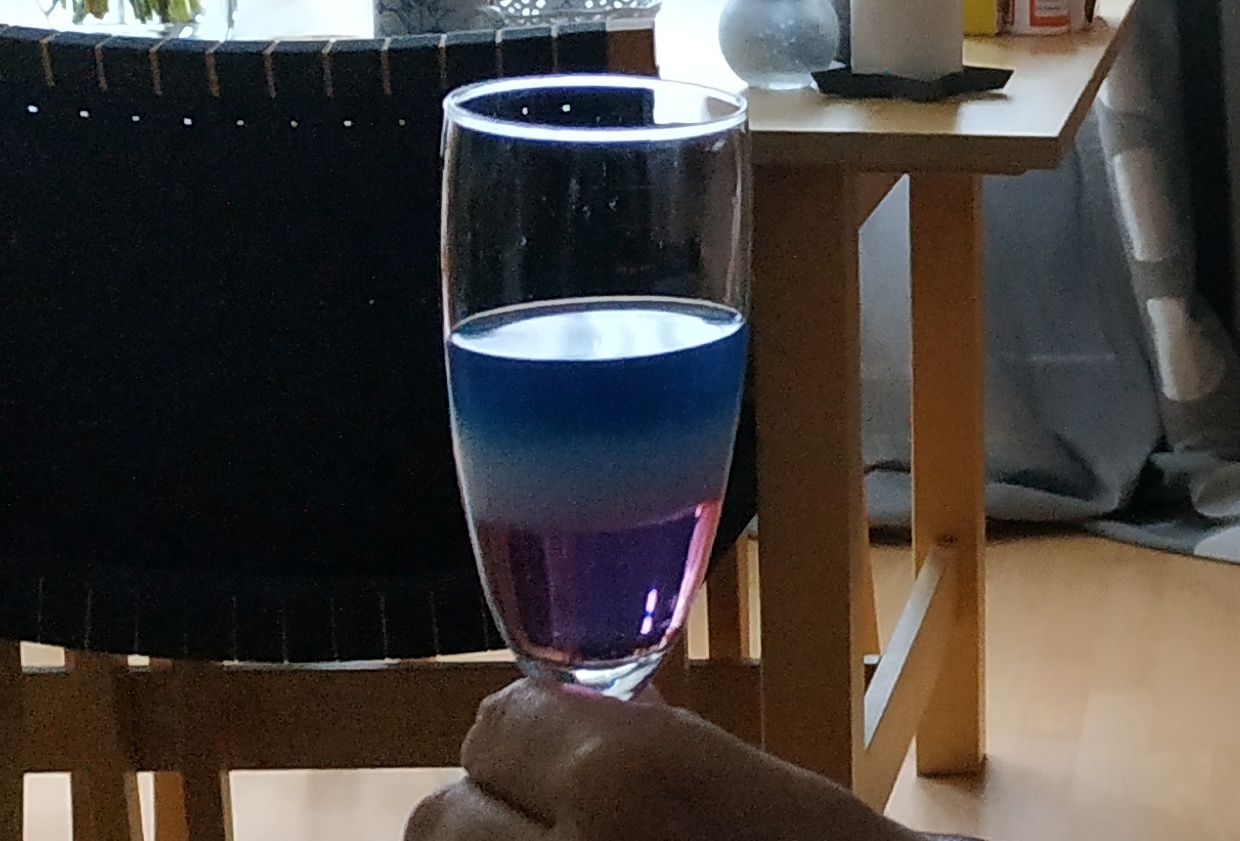
A blue haze hovering in the glass: Stir it, and the whole drink turns bright red.
It kind of reminds me of a drink featured in Star Trek TNG, but this one is far easier to make and doesn’t evaporate if mixed incorrectly 🙂
You need:
– Lemon juice
– red cabbage juice – a natural PH indicator
– Baking soda (not a baking powder mix)
– Sugar
– Three mixing containers
– Pipette or syringe
How-To:
1) Put a little cabbage juice into a glass/container, and mix it with soda until it’s blue or even green.
2) Mix a lot of sugar into lemon juice in another glass.
3) In container #3, mix the same amount of water with half sugar
4) Dilute the cabbage juice mix with water. The more, the less the Soda will influence the taste, but it won’t be as vibrant.
5) Pour the sugar lemon mix into a thin/tall glass.
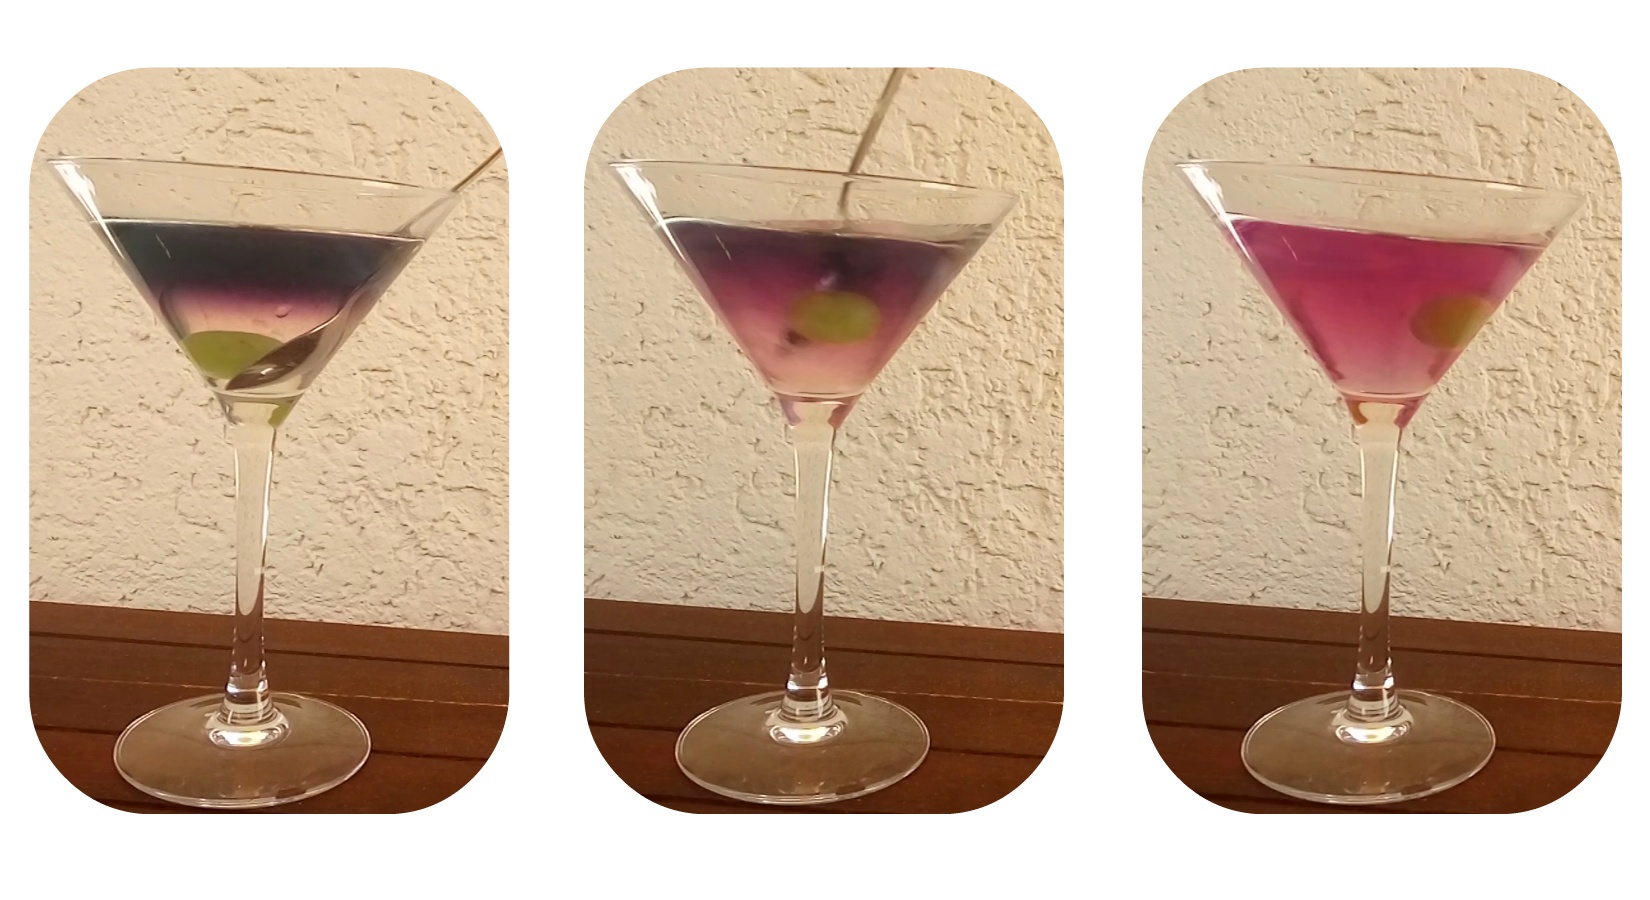
6) Use a syringe or pipette to slowly pour the sugar water on-top. The difference in sugar concentration results in a lower density, so while transparent, the layers of the lemon and water will not mix. You could even ad a different color to the bottom or have a grape hovering between layers! Make sure to create a large second layer of sugar water, as it will separate the lemon-juice from the cabbage-juice. If those mix, the color reaction will happen prematurely.
7) Carefully add the cabbage juice layer on-top of it all. It has the lowest sugar density and thus stays on-top. Either dilute it or don’t use too much, as Soda has a salty/soapy taste, and the lemon juice has to hide that later.
You can !slowly! move the glass without the layers mixing, but ideally, prepare close to where it’s served.
Instructions:
STIR and the color will change from blue to a bright red (depending on the acidity).
It will even fuzz a bit.
The cabbage doesn’t really influence taste, the soda will.
In the video, you’ll see a purple, redish layer under the blue haze, even before stirring. This is because no matter how carefully you ad the blue layer, it won’t perfectly spread on-top, but does mix a bit. Thus a thick “sugar water layer” is needed to prevent that.
Have fun! 🙂
Here some videos! 🙂 Prototype tests, not decorated. Add straws, umbrellas, sugar brim…
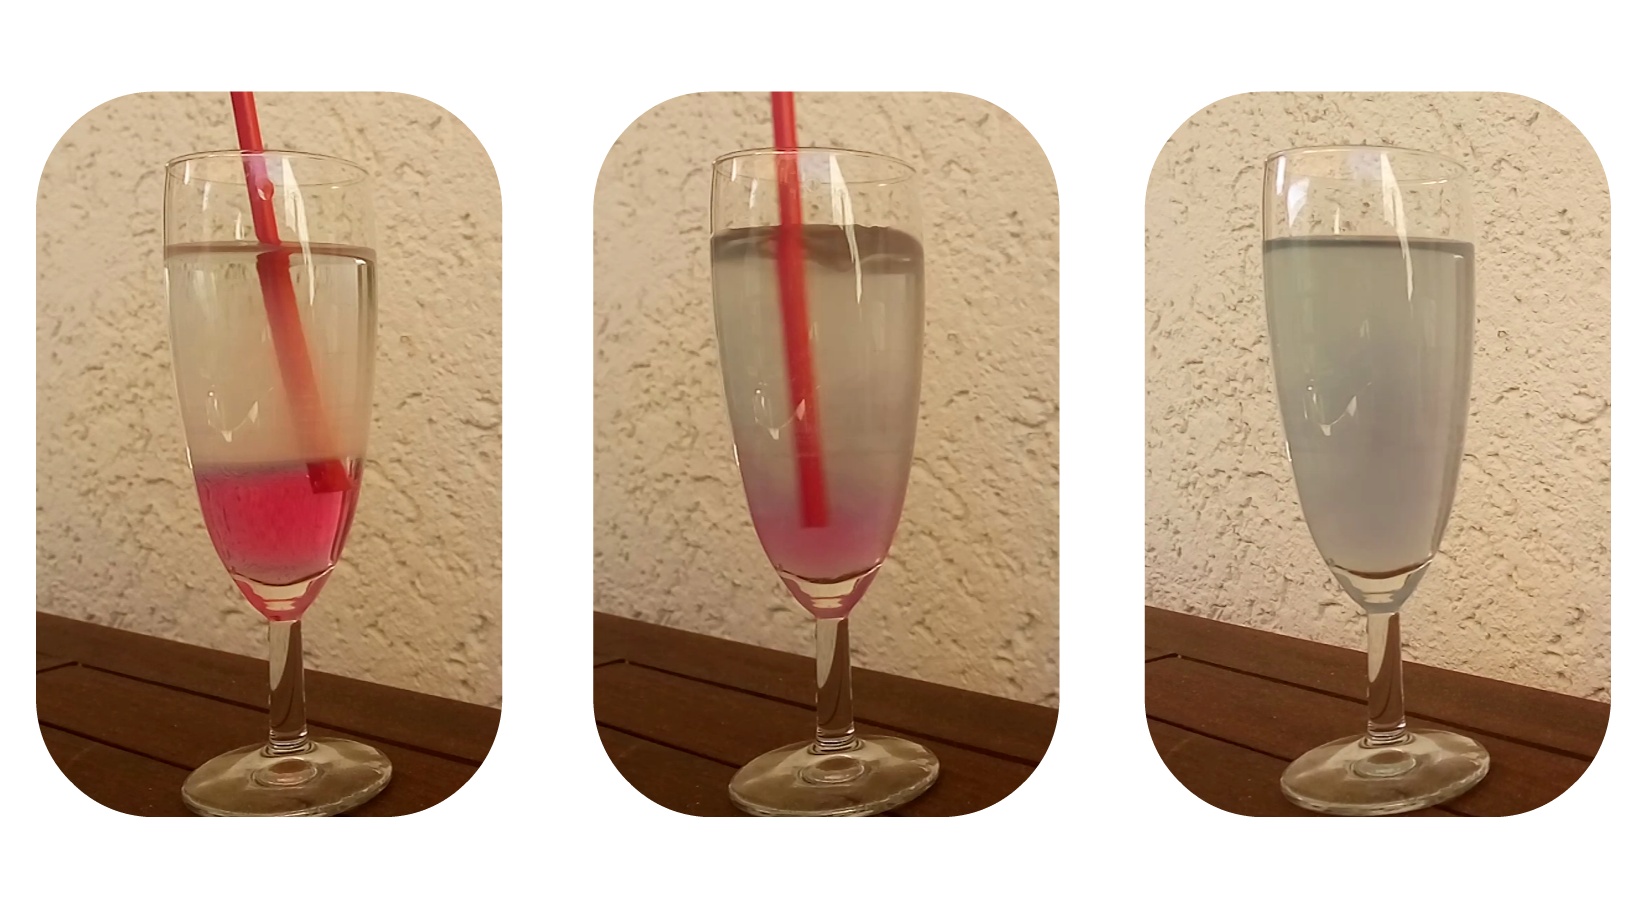
Reverse recipe:
Addition:
Blue->Turquoise->Red (Still experimenting, doesn’t quite work yet. Should get more green-ish)
Another Addition:
More successful multi-color attempt